Table of Contents
Planning a gender reveal party? Forget the confetti cannons, the real showstopper is a gender reveal cake! It's not just dessert, it’s a sweet secret waiting to be unveiled. This article is your guide to creating the perfect "a gender reveal cake", from baking basics to dazzling decorations. We'll walk you through how to make a moist, flavorful cake that hides a colorful surprise inside. Think layers of vanilla goodness, a creamy frosting, and a vibrant burst of pink or blue. We'll cover tips for achieving that perfect color, even with natural alternatives, and how to get your cake ready in advance. Whether you're a seasoned baker or a kitchen newbie, you'll find everything you need to create a memorable moment. Get ready to bake up some excitement, because this isn't just any cake; it's a gender reveal cake!
Baking the Perfect Gender Reveal Cake

Baking the Perfect Gender Reveal Cake
The Foundation: Choosing Your Cake
Okay, so you're making a gender reveal cake, that's awesome! First things first, let's talk cake. You want something sturdy enough to hold its shape, but also moist and delicious. No one wants a dry, crumbly surprise, right? I usually go for a classic vanilla cake. It's like a blank canvas that takes on color beautifully, and it's a crowd-pleaser. Plus, it's easy to work with. Think of it as the reliable friend who's always there for you. You could also use a white cake mix if you're in a rush. Just remember to add a little extra vanilla extract, it will make the cake tastes like homemade.
Now, the fun part! We need to make sure the cake is level. Nobody wants a leaning tower of frosting. Once baked, let those cake layers cool completely. I know, I know, it’s tempting to get right to the frosting but trust me, patience is key here. If you try to frost a warm cake, you'll end up with a melty mess, and nobody wants that. While they’re cooling, think about what kind of frosting you want to use. I'm a sucker for vanilla buttercream, but cream cheese frosting is also a good choice. Whatever you choose, make sure it's sturdy enough to hold the cake together.
Cake Choice | Pros | Cons |
|---|---|---|
Vanilla Cake | Versatile, great for coloring, crowd-pleaser | Can be a bit plain if not flavored well |
White Cake Mix | Quick and easy, good base for color | Might not taste as homemade |
Hiding the Surprise: The Color Reveal
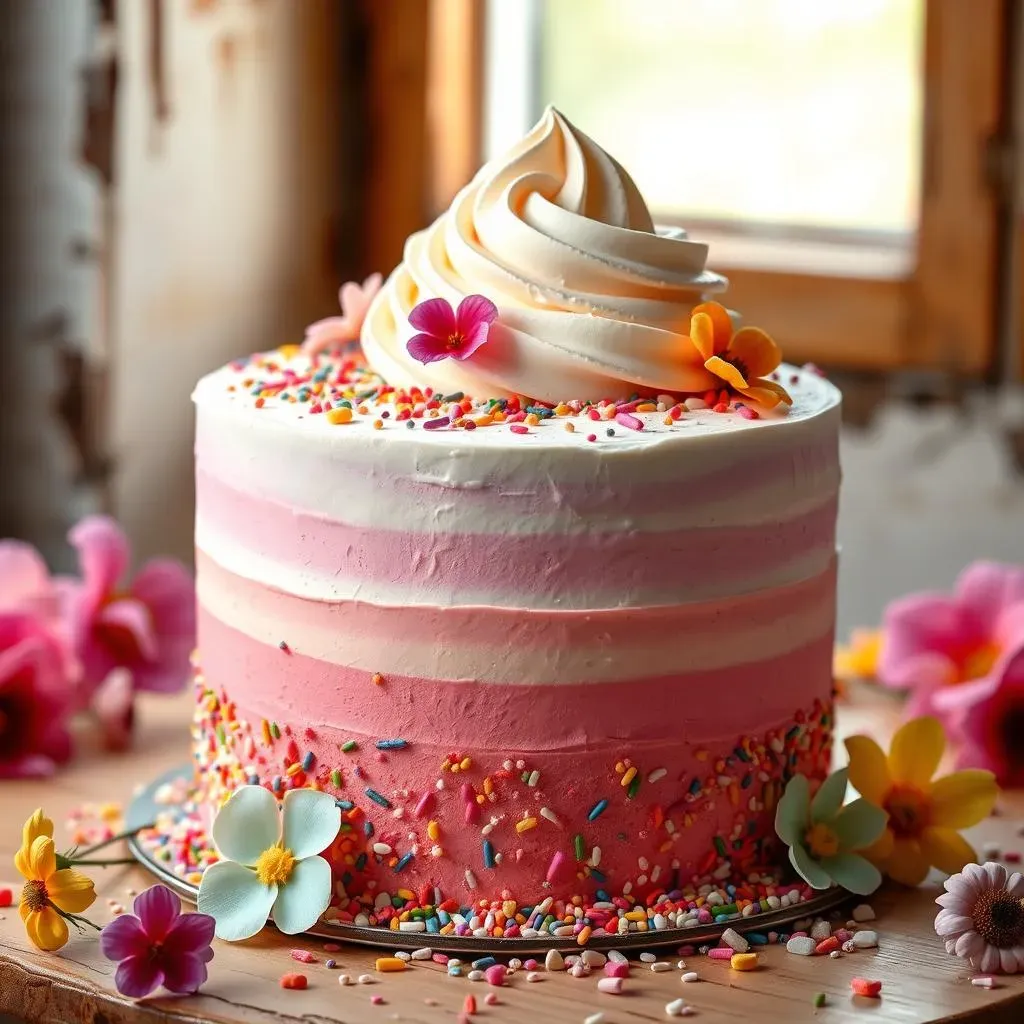
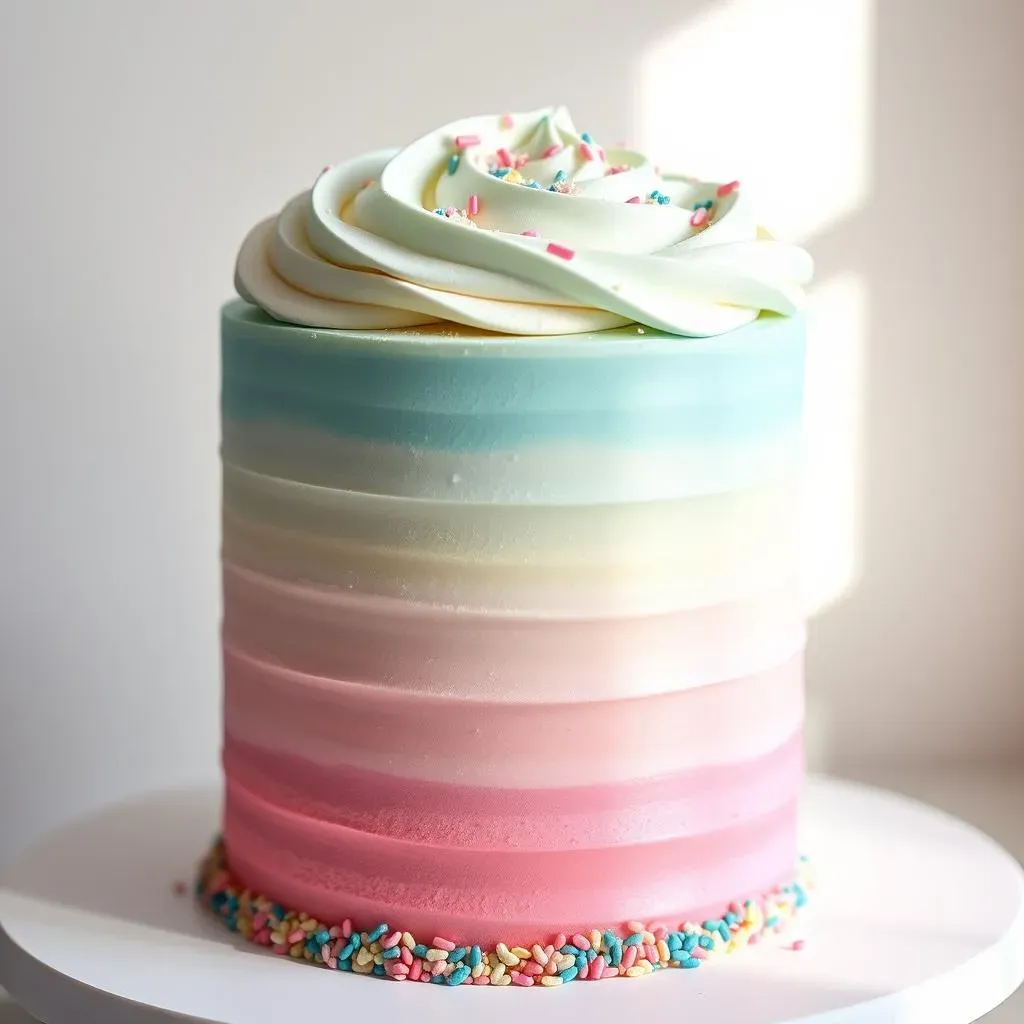
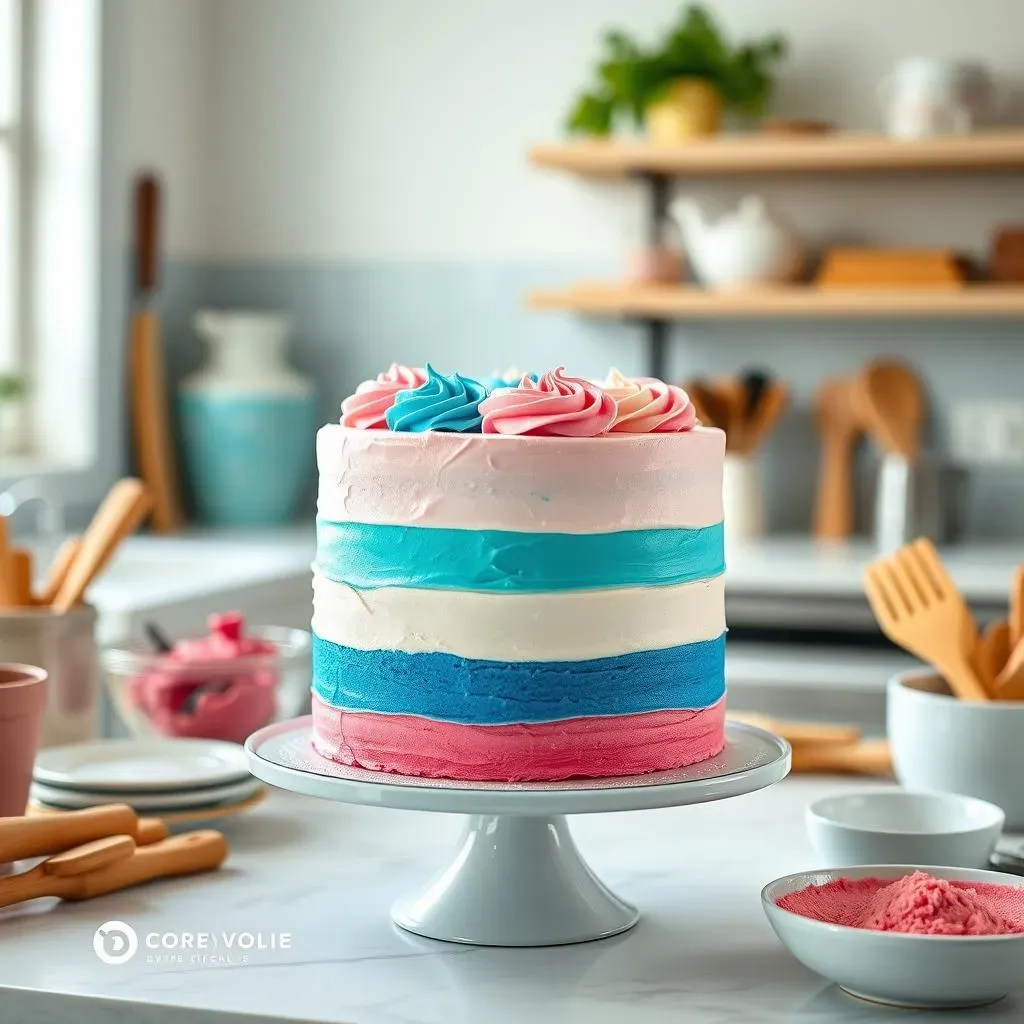
Alright, the cake layers are cool, and the frosting is ready, now for the magic! How will you reveal the gender? The color is the key! You can color the cake batter itself, the frosting inside, or even add a candy filling. My favorite trick is to create an ombre effect with the cake layers. For a girl, I’ll use shades of pink, and for a boy, shades of blue. It’s a subtle but stunning way to hint at the surprise. If you’re using food coloring, go for gel food coloring, it will give you vibrant colors without making the batter runny.
If you’re not a fan of artificial colors, there are natural options too! Beet juice for pink, or spirulina for blue. Just be careful with the quantity, natural colors can sometimes alter the taste if you use too much. Once the layers are baked and cooled, it's time for the assembly. Frost each layer with a generous amount of frosting, making sure to leave a space in the center for the big reveal. I like to make a well with the frosting so when I stack the layers the color is contained within the layers. Then, stack the layers, and do a crumb coat. After the crumb coat, chill the cake, and get ready to add the final layer of frosting.
- Gel Food Coloring: Vibrant colors, less liquid
- Natural Food Coloring: Beet juice (pink), spirulina (blue)
- Candy Fillings: Add a fun surprise element
Tips for a Colorful Gender Reveal Cake

Tips for a Colorful Gender Reveal Cake
Getting the Right Shade
Okay, so you've got your cake layers, now it's all about the color, right? You want that pop, that 'oh my gosh' moment when you cut into it. The trick is to start slow with your food coloring. It's easier to add more than to take it away. I usually start with a few drops of gel food coloring and mix it really well. Then, I check the color. Is it the shade you’re aiming for? If not, add a tiny bit more. Remember, the color will deepen a little as it sits, so don’t go overboard. If you're going the natural route, the same rule applies. Start small, mix well, and then adjust. Natural food colors can be a bit more subtle, so you might need a little more of them. Keep mixing until you get the right color.
Another thing to consider is the type of frosting you're using. Buttercream frosting tends to take color really well, while cream cheese frosting can be a bit trickier. Also, if you are using a dark chocolate cake, the color will be less vibrant. If you’re using a cream cheese frosting, you might need a bit more coloring to get the same intensity. Don't be afraid to experiment a little. It’s all part of the fun! Just make sure you’re tasting the frosting as you go, so you don’t end up with a weird-tasting color bomb.
Coloring Type | Pros | Cons | Tips |
|---|---|---|---|
Gel Food Coloring | Vibrant, easy to control | Artificial | Start with a few drops |
Natural Food Coloring | Natural, no chemicals | Subtle colors, can affect taste | Use more for intensity |
Creative Coloring Techniques
Now, let's get a little fancy, shall we? You don’t have to stick to just one color. Think about creating an ombre effect, like I mentioned earlier. It's a beautiful way to build anticipation for the big reveal. You could also do a swirl of colors inside the cake layers. Or, if you’re feeling adventurous, you can create a hidden design inside the cake. Imagine cutting into the cake and seeing a heart or a star in the opposite color. It's all about the little details that make your gender reveal cake extra special. And it's not just about the inside, think about the outside too. You can use colored sprinkles, edible glitter, or even a colored glaze on top of the cake.
If you are using multiple colors, make sure each color is distinct, so they don't blend together and create a muddy mess. You can use a piping bag to make sure the color doesn't bleed. You can also use parchment paper to create layers of color. Get creative, and have fun with it. Remember, this is a celebration, so let your imagination run wild. The most important thing is that you're having fun and creating something memorable for you and your loved ones. Don't be afraid to try new things, it's all part of the learning process!
- Ombre Layers: Gradual color transition
- Swirls: Fun and dynamic
- Hidden Designs: Surprise shapes inside
- Colored Sprinkles: Add texture and flair
Troubleshooting Color Issues
Okay, so sometimes things don’t go as planned. You might find that your color isn’t as vibrant as you hoped, or maybe it’s bleeding into the frosting. Don’t panic! If your color is too light, just add a little more food coloring. If it’s too dark, there’s not much you can do, but don't worry, it's still going to taste delicious. If you're having issues with color bleeding, make sure your frosting is thick enough. A runny frosting will cause the colors to bleed together. Also, don’t overfill the cake layers with too much color. Too much moisture can also cause the colors to spread.
One last tip: if you're using natural colors, remember that they can be a bit more finicky. They might fade a little over time, so it’s best to bake your cake as close to the event as possible. Also, some natural colors can react with the baking soda or baking powder in your cake, causing them to change color. If you notice this happening, you might need to adjust the amount of leavening agents in your recipe. Just remember, baking is a science, but it’s also an art. So, don’t be afraid to experiment and learn from your mistakes. And most importantly, have fun with it!
Gender Reveal Cake Recipe: StepbyStep

Gender Reveal Cake Recipe: StepbyStep
Let's Get Baking: Ingredients and Tools
Alright, let's get down to the nitty-gritty, shall we? To make this magical gender reveal cake, you’ll need a few things. For the cake itself, we're talking about flour, sugar, eggs, butter, milk, and vanilla extract. Don't forget the baking powder and salt, they're the unsung heroes of baking. And of course, the star of the show – food coloring! Grab your gel food coloring or your natural alternatives. For the frosting, you’ll need butter, powdered sugar, vanilla extract, and a little milk or cream. I like to add a pinch of salt to my frosting, it brings out the sweetness. As for tools, you’ll need mixing bowls, measuring cups and spoons, a whisk or electric mixer, cake pans (I recommend 6-inch pans for a nice tall cake), parchment paper, and an offset spatula. Oh, and an oven, obviously! You can also get a cake turntable, it will make frosting the cake a breeze.
Before we start, make sure all your ingredients are at room temperature. This helps them mix together smoothly. And don’t forget to preheat your oven! Nobody likes a cake that is still raw in the middle. I usually set my oven to 350°F (175°C). Now, let's get baking! First, we'll cream together the butter and sugar until it's light and fluffy. Then, we’ll add in the eggs one at a time, mixing well after each addition. Next, we’ll add in the vanilla extract. In a separate bowl, whisk together the dry ingredients. We’ll add the dry ingredients to the wet ingredients, alternating with the milk, mixing until just combined. Be careful not to overmix, it will make the cake tough. And now, the final step: divide the batter into three equal parts and add the food coloring to each part. Now you’re ready to bake!
Ingredient | Purpose | Notes |
|---|---|---|
Flour | Structure | All-purpose works well |
Sugar | Sweetness | Granulated sugar |
Butter | Moisture | Unsalted, room temperature |
Eggs | Binding | Room temperature |
Milk | Moisture | Whole milk for best flavor |
Vanilla Extract | Flavor | Pure vanilla extract |
Baking and Assembling the Cake
Okay, the batter is ready, and the oven is preheated, let’s bake! Pour each colored batter into a prepared cake pan. Make sure to use parchment paper on the bottom of the pans, it will make removing the cake easier. Bake for about 25-30 minutes, or until a toothpick inserted into the center comes out clean. Let the cakes cool in the pans for about 10 minutes before inverting them onto a wire rack to cool completely. While the cakes are cooling, let’s make the frosting! In a large bowl, cream together the butter and powdered sugar until it’s light and fluffy. Add in the vanilla extract and milk or cream, and mix until you have a smooth and creamy frosting. Now it's time to assemble the cake!
Once the cake layers are completely cool, it's time to assemble. Place one layer on a cake stand or plate. Spread a generous layer of frosting on top. Top with the second layer, and repeat with the frosting. Finally, top with the third layer. Now, do a crumb coat by spreading a thin layer of frosting all over the cake. This will lock in the crumbs and give you a smooth surface for the final layer of frosting. Chill the cake in the fridge for about 30 minutes to let the crumb coat set. Once the crumb coat is set, add the final layer of frosting. You can use a piping bag to make it fancy, or just spread it on with an offset spatula. Decorate the cake with sprinkles, edible glitter, or whatever you like. And there you have it, your gender reveal cake is ready! Now comes the hard part... waiting to cut into it!
- Bake Time: 25-30 minutes at 350°F (175°C)
- Cooling: 10 minutes in pans, then on wire rack
- Crumb Coat: Thin layer of frosting to lock in crumbs
- Chill Time: 30 minutes for crumb coat to set
Customizing Your Gender Reveal Cake

Customizing Your Gender Reveal Cake
Beyond the Basics: Unique Ideas
Alright, so you've got the basic cake down, but what if you want to take it to the next level? Let's talk about some fun and unique ways to customize your gender reveal cake. Forget just pink or blue, how about adding some edible glitter? It's like a party on a cake! Or you can use different flavored extracts in the cake layers, like almond or lemon. You can also add different kinds of fillings, like fruit jams or chocolate ganache. And it’s not just about the inside, think about the outside too. You can use different types of frosting, like Swiss meringue or chocolate buttercream. Or you can create a drip cake with a colored glaze. The possibilities are endless!
Another fun idea is to add some candy to the inside of the cake. Imagine cutting into the cake and a cascade of pink or blue candies falling out. You can use M&Ms, sprinkles, or even small edible pearls. If you're feeling crafty, you can even create cake toppers. Think about using fondant to make little baby shoes or rattles. Or you can use paper cutouts or even small toys. The key here is to make it personal and fun. Think about the parents' personalities and try to incorporate them into the cake design. It’s all about making it a memorable experience. Don't be afraid to think outside the box and try new things. It’s your cake, so make it your own!
Customization | Description | Why it's Fun |
|---|---|---|
Edible Glitter | Adds sparkle and shine | Makes the cake festive |
Flavored Extracts | Adds unique taste | Elevates the flavor |
Candy Fillings | Surprise inside | Adds an element of fun |
Cake Toppers | Personalize the cake | Adds visual interest |
Personalizing the Presentation
Presentation is key, people! It's not just about how the cake tastes, it's also about how it looks. Think about the cake stand you’re using, a pretty cake stand can make all the difference. You can also use a themed cake topper that matches the party’s decoration. You can also add some candles or sparklers for a dramatic effect when you cut the cake. And don’t forget about the serving utensils, a cute serving set can elevate the whole experience. It’s all about the little details that make your gender reveal cake extra special. You can even add a personalized message on the cake. Or you can create a custom cake box with the parents' names and the baby’s due date. It’s all about making it a memorable experience for everyone involved.
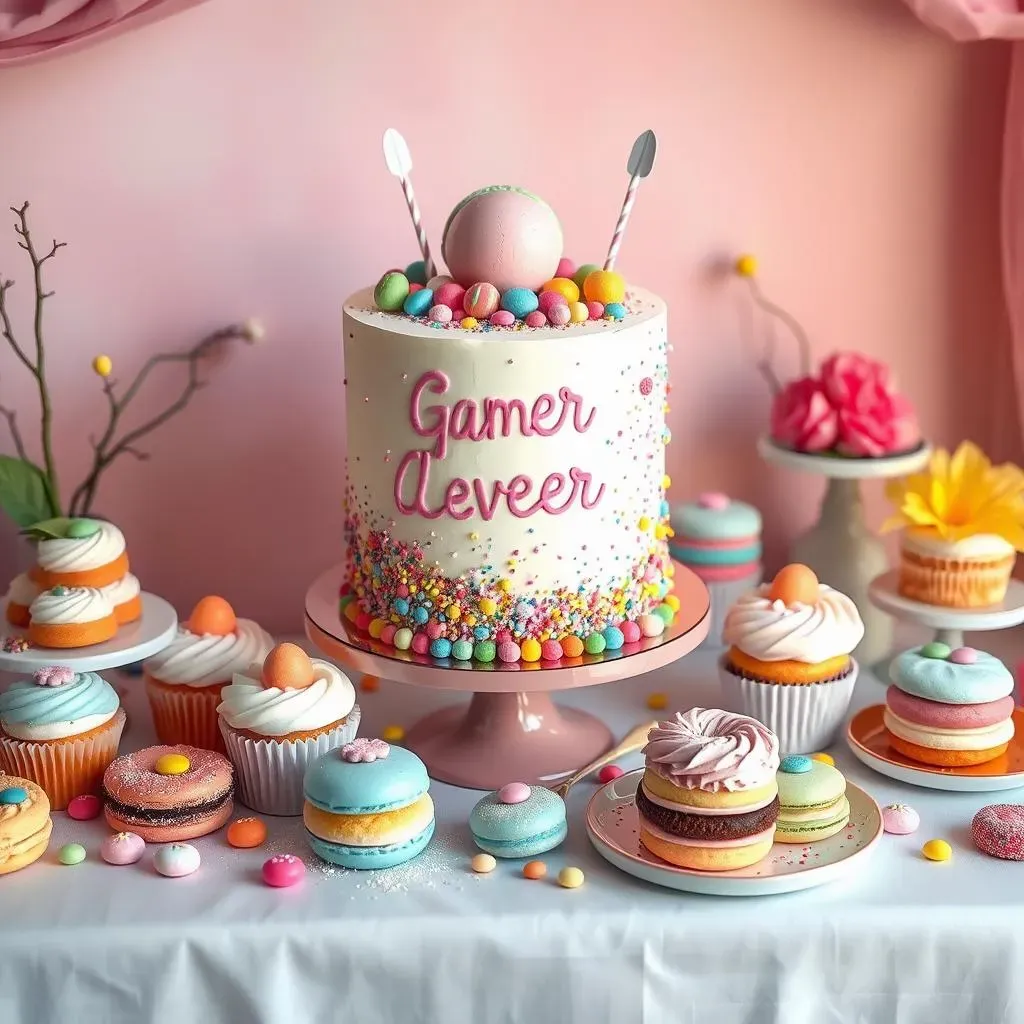
If you are planning a big party, you can also create a dessert table that matches the cake. Think about adding cupcakes, cookies, and other treats that complement the cake's design. You can also add some decorations that match the cake's theme, like balloons, banners, and flowers. The goal is to create a cohesive and visually appealing setup. You can also add some personalized touches, like photos of the parents or baby-themed decorations. Remember, this is a celebration, so have fun with it! The most important thing is that you are creating a warm and welcoming environment for everyone. Don't be afraid to let your creativity shine, it’s your party after all!
- Cake Stand: Choose a pretty stand to display the cake
- Themed Topper: Matches the party's theme
- Serving Utensils: Cute and coordinated set
- Dessert Table: Complementary treats and decorations
Making it Memorable
At the end of the day, it’s not just about the cake itself, it’s about the moment you share with your loved ones. So, make it memorable! Think about the atmosphere you want to create. Maybe some soft music in the background, or some fun games to play before the big reveal. You can also ask the parents to share some words about their expectations for the baby. It's about creating a warm and loving environment where everyone feels included. Remember, this is a celebration of a new life, so make it as special as possible. And don't forget to take lots of pictures! You'll want to remember this moment for years to come. The most important thing is that you are celebrating with your loved ones and creating memories that will last a lifetime.