Table of Contents
Planning a gender reveal party and craving something as sweet as the news you're sharing? Forget the generic pink or blue balloons; let's talk buttercream! This article is your guide to the wonderful world of buttercream gender reveal cake ideas. We're not just slapping frosting on a cake; we're crafting a delicious masterpiece that will have your guests oohing and aahing before they even know the big secret. We’ll start with the essential buttercream basics, ensuring your frosting is as smooth as your baby's skin. Then, we'll move into creative design ideas, showing you how to make your cake a real showstopper. Next, you'll learn easy techniques so you don't need to be a pro baker to create a stunning reveal. Finally, we'll tackle the common issues that can arise, so you're ready for anything. Get ready to bake up a storm and unveil your precious news in the sweetest way possible!
Buttercream Basics for Your Gender Reveal Cake

Buttercream Basics for Your Gender Reveal Cake
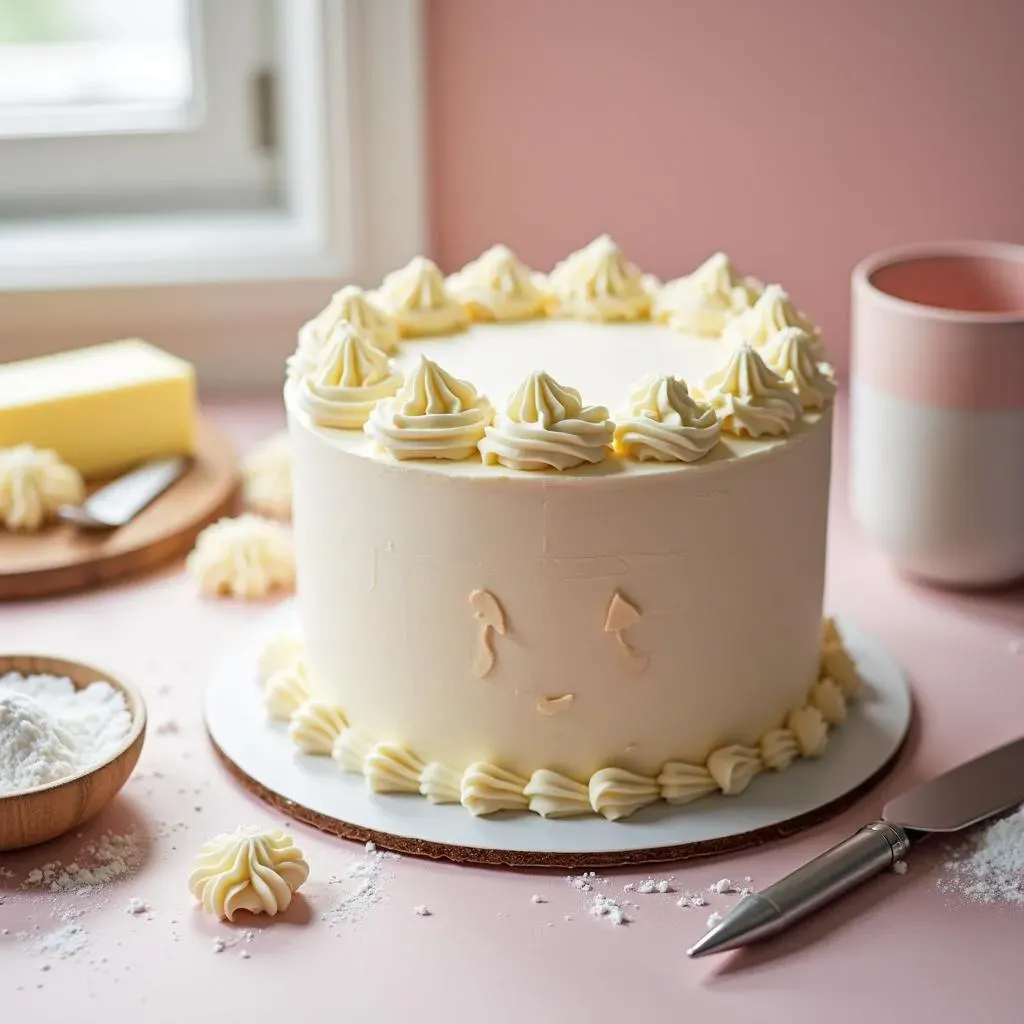
Alright, let's get down to the nitty-gritty of buttercream, the unsung hero of our gender reveal cake. It's not just about slapping some sweet goo on a cake. It’s about creating a smooth, dreamy canvas that can handle all our creative designs and of course, hide that big reveal. First things first, you've got to start with good ingredients. Think high-quality butter – the real stuff, not margarine – and powdered sugar that's been sifted to avoid any lumps. Room temperature butter is your best friend here; it creams better and makes for a fluffier frosting. Don't skimp on the vanilla extract either; it adds a depth of flavor that’s just irresistible. This is where you lay the foundation for a cake that will be as delicious as it is revealing.
Now, let’s talk about the different types of buttercream. American buttercream is the most common, it is super easy to make with just butter, sugar, and flavoring, but it can sometimes be a bit too sweet. Swiss meringue buttercream, on the other hand, is silkier and less sweet, but requires a bit more effort with the egg whites and sugar. Then there's Italian meringue buttercream which is similar to Swiss but uses hot sugar syrup, making it more stable and even more silky. For a gender reveal cake, you want something that’s both delicious and holds its shape well, so I’d suggest either American or Swiss, depending on your comfort level in the kitchen. American is great for beginners. Swiss, if you want to impress with that extra smooth finish.
Buttercream Type | Sweetness | Difficulty | Best For |
|---|---|---|---|
American Buttercream | Very Sweet | Easy | Beginners, Simple Designs |
Swiss Meringue Buttercream | Less Sweet | Medium | Smooth Finish, Intricate Designs |
Italian Meringue Buttercream | Less Sweet | Hard | Stable, Professional Finish |
Creative Buttercream Designs for Gender Reveal Cakes

Creative Buttercream Designs for Gender Reveal Cakes
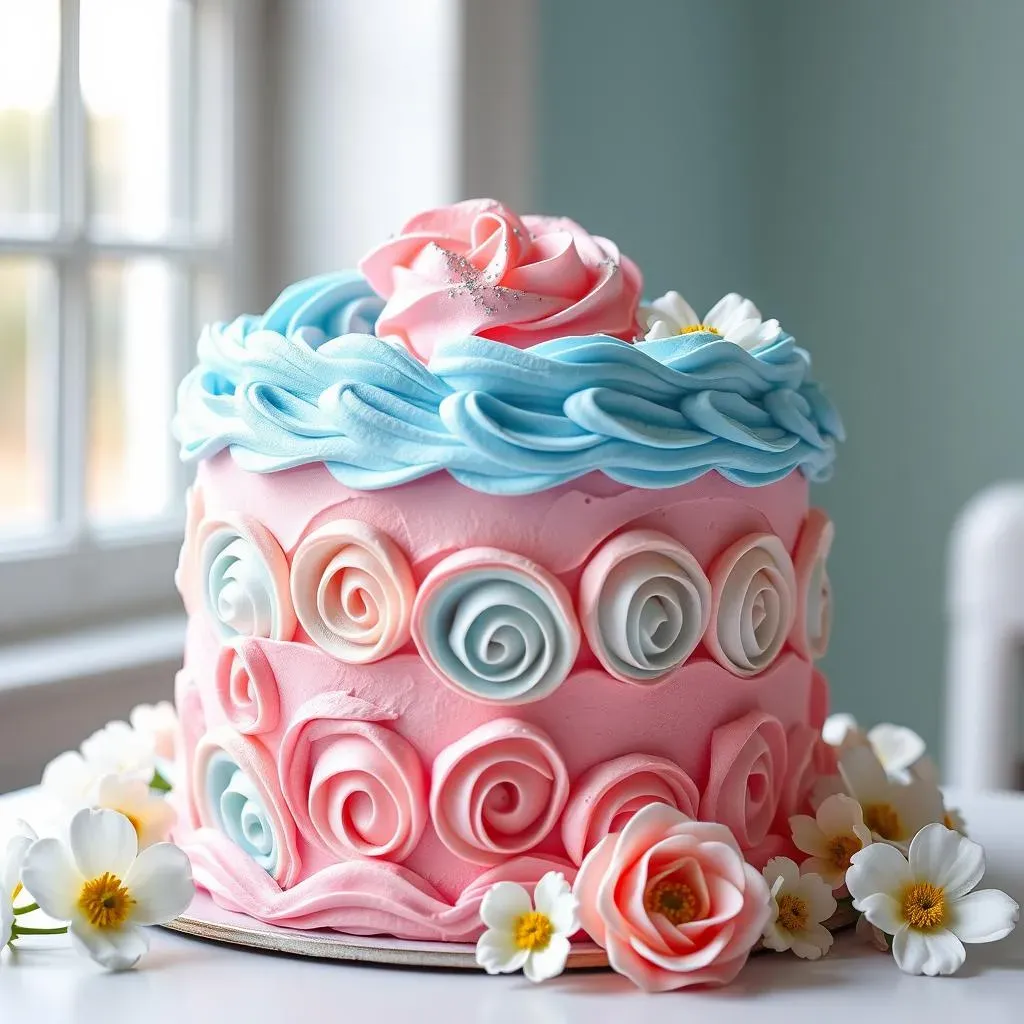
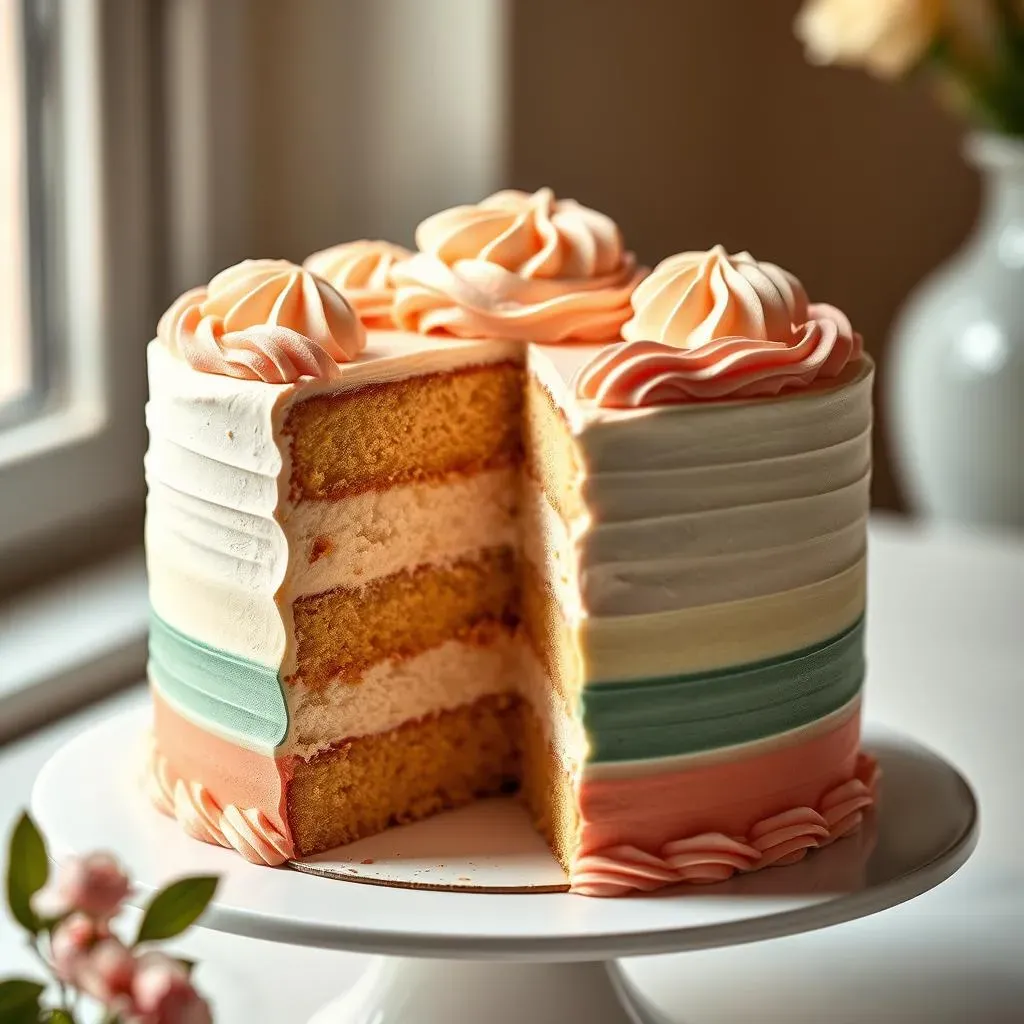
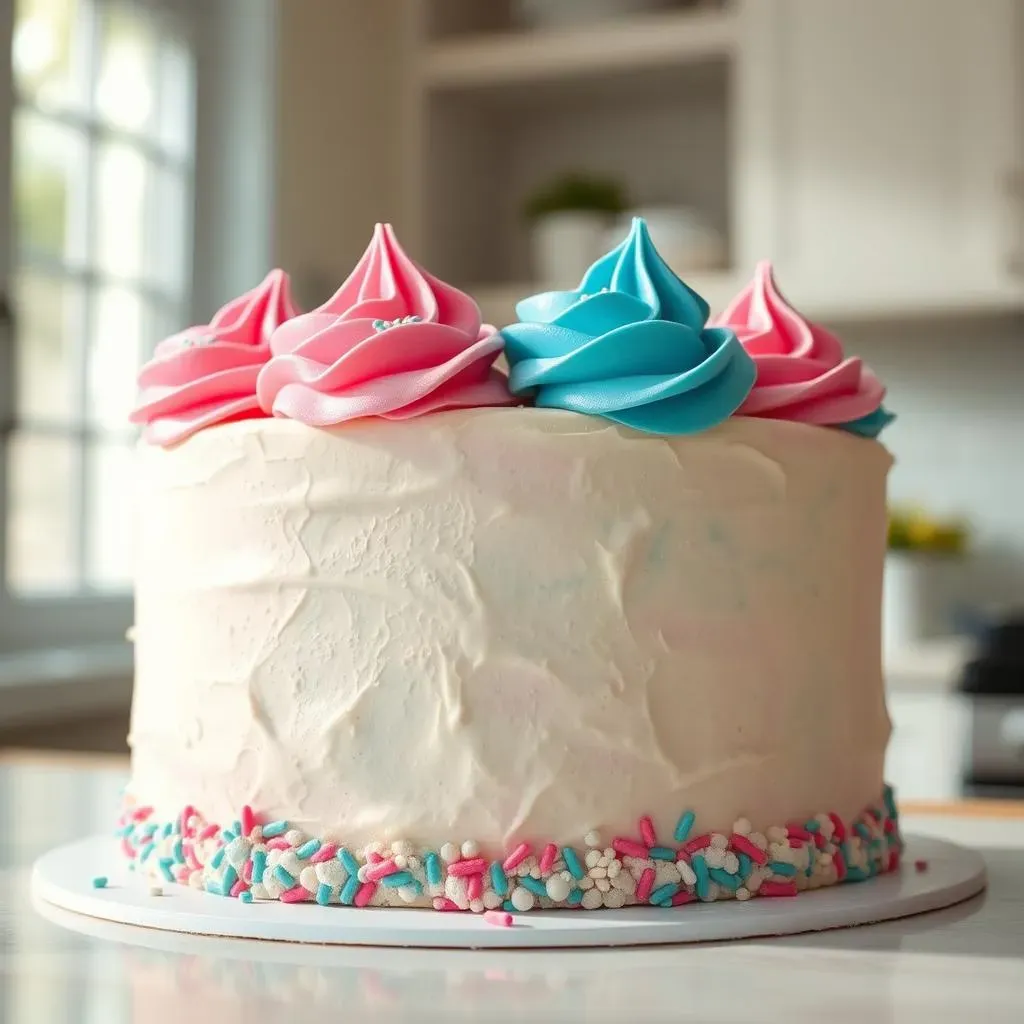
Okay, so you’ve got your buttercream down, now let's make it pretty! When we talk about creative buttercream designs for gender reveal cakes, we're not just talking about a single color of frosting. Think about the big reveal moment. Do you want something subtle, like a hidden color inside, or something more dramatic, like a burst of pink or blue on the outside? One popular idea is an ombre design, with the cake frosting fading from white to pink or blue, hinting at the surprise. Another idea is to create a neutral-colored cake and then fill the inside with either blue or pink frosting, that will reveal the gender when cut. You can also use edible glitter or sprinkles to add that extra touch of magic.
Let's not forget about the piping techniques. A simple rosette pattern can look elegant, while a more intricate floral design can make your cake a real piece of art. You can even create fun patterns with different piping tips. If you are feeling adventurous, try using a palette knife to create a textured look. Another fun idea is to create a "fault line" cake, where the middle of the cake is left unfrosted, and you can fill it with candy or sprinkles in the reveal color. Think about what best represents the parents, and go wild. Don't be afraid to experiment. The most important thing is to have fun and make a cake that will be memorable for everyone.
Here are some creative design ideas for your buttercream gender reveal cake:
- Ombre Effect: Smoothly transition from white to pink or blue on the cake's exterior.
- Hidden Color Inside: Frost the exterior in a neutral color, and fill the inside with colored buttercream.
- Rosette Pattern: Pipe small rosettes all over the cake for an elegant look.
- Floral Designs: Create delicate buttercream flowers using different piping tips.
- Textured Finish: Use a palette knife to create a unique textured effect.
- Fault Line Cake: Leave a section of the cake unfrosted and fill it with candy in the reveal color.
Easy Buttercream Techniques for a Stunning Reveal

Easy Buttercream Techniques for a Stunning Reveal
Getting Started with Buttercream Basics
Okay, so you want that wow factor without spending hours in the kitchen? I get it. Let's talk about some easy buttercream techniques for a stunning reveal. First things first, you need a smooth base. That means making sure your cake layers are level. No one wants a leaning tower of cake, right? Use a serrated knife to trim the tops if they are uneven. Then, apply a thin "crumb coat" of buttercream all over the cake. This seals in any loose crumbs and gives you a clean surface for the final frosting. Chill the crumb-coated cake for about 20 minutes before you start the real magic. This step is crucial, don’t skip it!
Next, it's all about the tools. You don't need a fancy bakery setup. A good offset spatula is your best friend for applying buttercream smoothly. If you don't have an offset spatula, a butter knife will work, but the offset spatula will make it easier. A cake scraper is great for creating straight edges and a smooth finish. Start by applying a generous amount of buttercream on the top of the cake and then spread it evenly down the sides. Use your scraper to smooth the buttercream, removing any excess. Remember, it doesn't have to be perfect; we are going for stunning, not flawless. Even a slightly rustic look can be beautiful.
Simple Piping and Reveal Tricks
Now, let’s add some flair. Simple piping techniques can make a big difference. A star tip is great for creating a border of small rosettes around the base of the cake or on top. You can also use a round tip to pipe dots or swirls. Don't overthink it, just have fun with it. For the big reveal, you can use a piping bag to fill the center of the cake with colored buttercream, that will be revealed when you cut the cake. Or, you can pipe a thick layer of white or neutral buttercream on top, and then use a toothpick to draw a question mark or a baby-related symbol, which will then be filled with the reveal color.
Another great idea for a reveal is to use a "surprise" filling. You can cut a small circle out of the center of one or more cake layers before frosting the cake. Then, fill the hole with colored sprinkles or candies. When you cut into the cake, the filling will spill out, revealing the gender. For a simple ombre effect, you can divide your buttercream into two or three bowls and add different amounts of food coloring to each. Then, apply the lightest color to the top of the cake and blend it into the darker colors as you move down. Remember, practice makes progress, so don’t be afraid to experiment a little!
Technique | Description | Tools Needed | Difficulty |
|---|---|---|---|
Crumb Coat | Thin layer of buttercream to seal crumbs | Offset spatula, bowl scraper | Easy |
Smooth Finish | Even buttercream layer on cake | Offset spatula, cake scraper | Easy |
Simple Piping | Basic designs like rosettes or dots | Piping bag, star or round tip | Easy |
Surprise Filling | Hole filled with colored sprinkles or candy | Knife or cookie cutter | Easy |
Ombre Effect | Blended transition between colors | Multiple bowls, offset spatula | Medium |
Troubleshooting Your Buttercream Gender Reveal Cake

Troubleshooting Your Buttercream Gender Reveal Cake
Why is My Buttercream Too Runny?
Okay, so you’ve whipped up your buttercream and it’s looking more like soup than frosting? Don't panic! This is a common problem, and it's usually caused by a few things. First, the temperature of your butter is crucial. If it's too warm, it will make your frosting runny. You need that sweet spot of room temperature. Think of it like Goldilocks and the three bears, not too warm, not too cold, just right. Another culprit is adding too much liquid. Whether it's milk, cream, or vanilla extract, go easy. Start with less and add more as needed. Sometimes, the humidity in your kitchen can also play a role, making the frosting a bit looser.
If your buttercream is too runny, you can try a few things to fix it. First, pop it in the fridge for about 15-20 minutes to let the butter firm up. Then, whip it again. If that doesn’t work, try adding a little more sifted powdered sugar, one tablespoon at a time, until it reaches the right consistency. Be careful though, adding too much powdered sugar can make it overly sweet. If you've added too much liquid, you can also try adding a bit of cornstarch, one teaspoon at a time, to help thicken it up. Remember, patience is key. Don’t throw in the towel yet, you've got this!
Why is My Buttercream Too Stiff?
Alright, so the opposite problem now, your buttercream is so stiff it could probably hold up a small building? Again, this is fixable. The most common cause is adding too much powdered sugar. It's like you're trying to make concrete instead of frosting. Another reason could be that your butter was too cold when you started mixing. Cold butter doesn't cream well, resulting in a stiff frosting. Also, over-mixing can sometimes make your frosting too stiff, because it incorporates too much air.
If your buttercream is too stiff, you can try adding a little liquid, like milk or cream, one teaspoon at a time, and then whip it again until it reaches the right consistency. You can also try adding a little bit of softened butter. This will help to loosen it up and make it more spreadable. If you've over-mixed it, try gently folding it a few times to release the excess air. Remember, small adjustments can make a big difference. It's all about finding that perfect balance. You’re not aiming for stiff peaks here, you're aiming for smooth, spreadable bliss.
Problem | Possible Cause | Solution |
|---|---|---|
Too Runny | Warm butter, too much liquid, humidity | Chill, add powdered sugar, add cornstarch |
Too Stiff | Too much powdered sugar, cold butter, over-mixing | Add liquid, add softened butter, gently fold |
How Do I Prevent Color Bleeding?
Color bleeding can be a real pain, especially when you're trying to keep your gender reveal a surprise. Color bleeding happens when the food coloring seeps into the surrounding buttercream. This usually occurs when you use too much food coloring, or when the buttercream is too wet. Gel food coloring is your best friend here, as it's more concentrated and less likely to change the consistency of the buttercream. Liquid food coloring has more water and can make the buttercream too wet and cause bleeding. Also, make sure the cake layers are completely cooled before you start frosting, as any heat can cause the colors to run.
To prevent color bleeding, start by adding a small amount of gel food coloring to your buttercream, then add more as needed until you reach the desired color. Don't add too much liquid. If you are creating a design with different colors, allow the base layer to set before adding additional colors. You can also create a "barrier" layer of plain buttercream between the different colors to prevent them from mixing. If you’re using a surprise filling, make sure it isn't too wet. For example, if you're using fresh berries, pat them dry before placing them in the cake. Remember, a little planning goes a long way in preventing a color catastrophe.