Table of Contents
Planning a gender reveal party? Forget the messy confetti cannons and predictable balloons. Let's get to the good stuff: delicious, adorable, and secretly colored cake pops! These aren't your average treats. They're tiny flavor bombs packed with the big news – is it a boy or a girl? This article is your guide to creating the perfect cake pop gender reveal ideas that will wow your guests and make your big announcement extra special. We'll walk you through everything from the simple ingredients you'll need, to the step-by-step process of making these little beauties. We'll also cover some fun variations, storage tips, and even what to serve them with. So, whether you're a seasoned baker or a kitchen newbie, get ready to make some magic (and some seriously tasty cake pops!). Get ready to discover how to turn a simple cake pop into the highlight of your gender reveal party.
Why You'll Love This Cake Pop Gender Reveal Recipe

Why You'll Love This Cake Pop Gender Reveal Recipe
A Sweet Surprise
Let's be honest, gender reveals can be a bit predictable. Balloons, confetti, the same old thing. But cake pops? They're different. They're cute, they're fun, and they hold a delicious secret inside. Imagine the look on your guests' faces when they bite into a seemingly innocent treat and discover a burst of pink or blue. It’s not just a reveal; it's an experience, a tasty surprise that everyone can enjoy. Plus, they're way less messy than confetti. Nobody wants to be cleaning up tiny paper scraps for hours after the party.
I remember going to my cousin's gender reveal, and it was just the same old blue and pink balloons. It felt a little... flat. That's why I love cake pops; they add a touch of whimsy and a whole lot of flavor to the big reveal. It's like a little edible treasure hunt, and who doesn't love that?
Easy, Customizable, and Crowd-Pleasing
Beyond the surprise factor, this recipe is a winner because it’s incredibly easy. You don’t need to be a professional baker to pull these off. We're talking simple ingredients, straightforward steps, and minimal fuss. Plus, you can customize them to match your party theme. Think different sprinkles, colored drizzles, or even little edible decorations. And the best part? Everyone loves cake pops. They're the perfect bite-sized treat that's guaranteed to be a hit with both kids and adults. No more worrying about whether your guests will actually enjoy the reveal treat; these are a guaranteed crowd-pleaser.
I've made these for several parties now, and they disappear in minutes every single time. It’s so satisfying to see people's faces light up when they taste them, and the reveal is just the cherry on top, or rather, the sprinkles on the cake pop.
Reason | Why it's Great |
|---|---|
Surprise Element | Hidden color reveal inside a delicious treat |
Easy to Make | Simple recipe, no fancy baking skills needed |
Customizable | Match your party theme with different colors and decorations |
Crowd-Pleasing | Everyone loves a good cake pop! |
Less Mess | No confetti cleanup headaches |
Ingredients for Perfect Gender Reveal Cake Pops
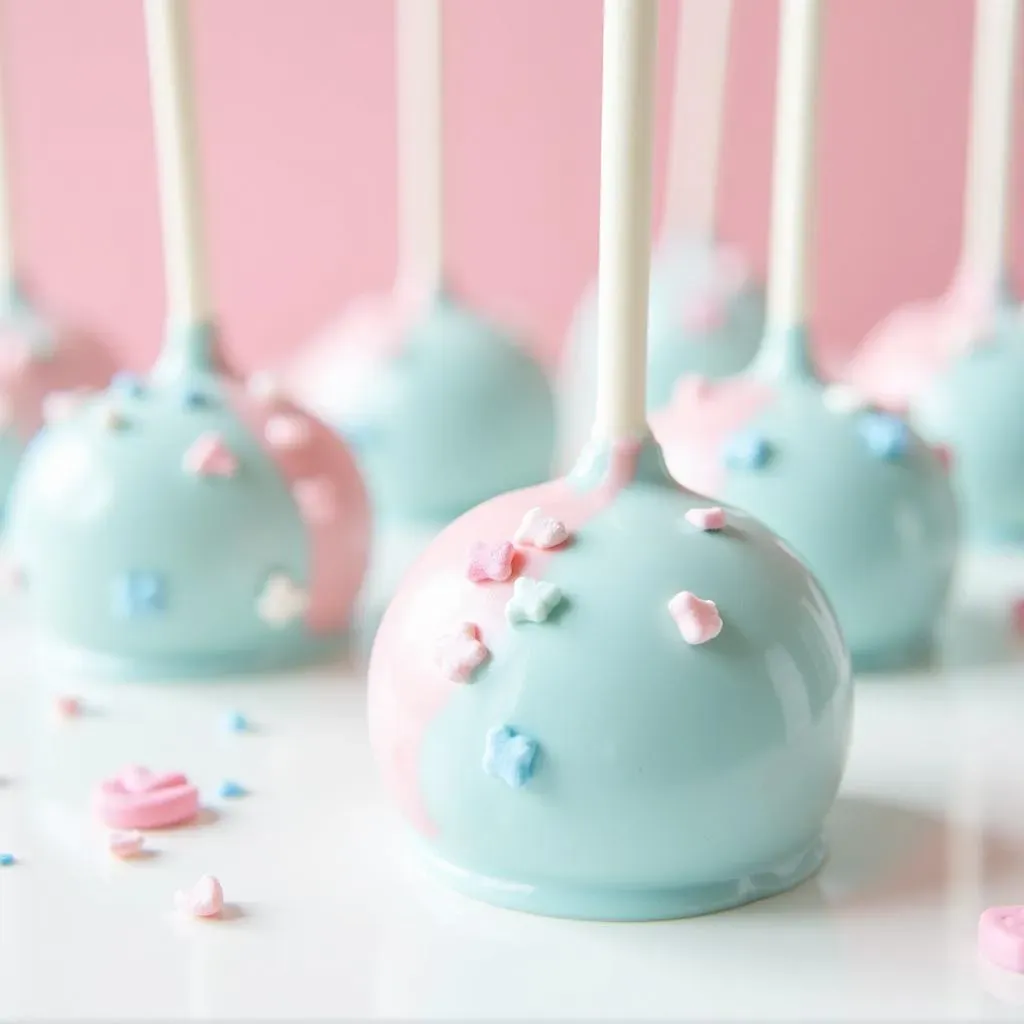
Ingredients for Perfect Gender Reveal Cake Pops
The Basics You'll Need
Alright, let's talk ingredients. Don't worry, it's not some crazy, complicated list. We're sticking to the basics here because simple is often best. You'll need a box of white cake mix, because we need a neutral base for our surprise color. Grab some white frosting, the kind that comes in a tub is totally fine – no need to get fancy with homemade frosting unless you're feeling ambitious. Now, for the magic touch, you need gel food coloring. This is key! Gel coloring gives you a much more vibrant color than the liquid kind, and it won't mess with the consistency of your frosting. You'll need either pink or blue, depending on what you're revealing. And finally, for that smooth, beautiful outer shell, we’re using white almond bark. It melts like a dream and gives you that perfect candy coating.
I always use gel food coloring, I tried the liquid stuff once, and it made my frosting runny and the color was super pale, never again. Trust me, it's worth the extra dollar or two. And you can find all of these things at pretty much any grocery store, so no need to go hunting in specialty shops.
The Shopping List
- 1 box of white cake mix
- 1 container of white frosting
- Pink or blue gel food coloring
- White almond bark
StepbyStep: Making Your Surprise Cake Pops
StepbyStep: Making Your Surprise Cake Pops
Bake and Crumble
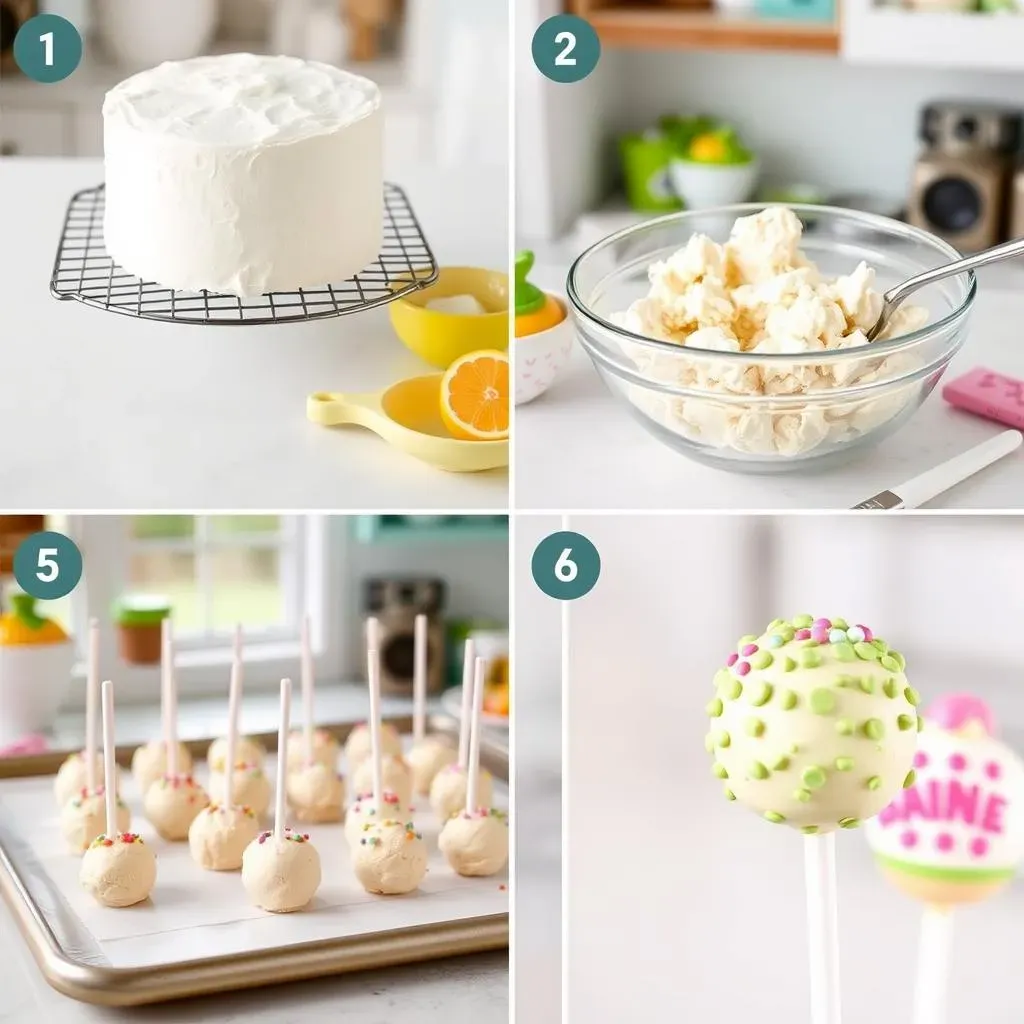
Okay, let's get started making these cake pops! First, bake your white cake mix according to the box directions. Once it’s baked, let it cool completely. This is important; you don't want to start crumbling a warm cake. Once it's cool, crumble the entire cake into a large bowl. You're aiming for a fine crumb, like sand. If you have any large chunks, just break them down with your fingers. I like to use my hands for this part; it feels kind of therapeutic. But you can also use a fork if you’re not into getting your hands dirty.
I remember the first time I tried making cake pops, I didn't let the cake cool enough. It turned into a sticky mess, and I had to throw it all away! So, learn from my mistake: patience is key here. Let that cake cool completely before you crumble it, and you’ll be off to a much better start.
Mix and Roll
Now for the fun part, it's time to add in the frosting. Scoop your white frosting into the bowl with the cake crumbs. Start with about half of the container and mix it all together. You’re looking for a consistency that's moist enough to stick together but not too wet. It should feel like playdough, you know, like those fun times as kids! If it seems too dry, add a little more frosting, a spoonful at a time. If it's too wet, you can add a bit more of the cake crumbs. Once you’ve got the right consistency, use a small cookie scoop or a tablespoon to scoop out the mixture and roll it into balls. Place them on a baking sheet lined with parchment paper. Pop them in the fridge for about 30 minutes to firm up, this will make it easier to dip them later.
Getting the right consistency is crucial. Too dry, and your cake pops will crumble. Too wet, and they’ll slide right off the stick. It might take a little practice, but you’ll get the hang of it. Remember, it’s supposed to feel like playdough, so don't be afraid to get handsy with it!
Step | Description |
|---|---|
Bake | Bake the white cake mix according to the box directions. |
Cool | Let the cake cool completely. |
Crumble | Crumble the entire cake into a large bowl. |
Mix | Add white frosting and mix until moist. |
Roll | Scoop and roll into balls, place on parchment paper. |
Chill | Refrigerate for 30 minutes. |
Substitutions and Fun Variations on Cake Pops

Substitutions and Fun Variations on Cake Pops
Cake Mix Swaps
Okay, so you've got the basic cake pop recipe down, but what if you want to mix things up? Let's talk cake mix. While white cake mix is perfect for that classic look, don't be afraid to experiment. You can use vanilla cake mix for a slightly richer flavor or even a lemon cake mix for a tangy twist. Chocolate cake mix could also be a good choice if you want to go for a different flavor profile, just be aware that the color might not be as vibrant. I once tried a red velvet cake mix, and while it tasted amazing, it kind of made the reveal a bit confusing, because it was already a reddish color, so maybe avoid that one.
The key is to pick a cake mix that complements the overall vibe of your party. If you’re doing a more rustic theme, vanilla or lemon could be great. If you're going for something bold and fun, consider something like confetti cake mix. Just remember that the color of the cake itself will affect how vibrant your pink or blue filling shows up.
Frosting and Flavor Boosts
Now, let's talk frosting. While we're using white frosting as a base, you can definitely add some flavor. Think about adding a teaspoon of vanilla extract or almond extract to the frosting for an extra layer of taste. You can also use different flavors of frosting entirely. Cream cheese frosting would be delicious, or even a chocolate frosting if you're using a chocolate cake mix. You could also add a few drops of flavored extracts like peppermint or coconut. The possibilities are endless! Just remember to keep the frosting color light if you want the pink or blue to really pop.
I once added a bit of lemon zest to my frosting, and it gave the cake pops a lovely fresh flavor. It was a big hit! Don't be afraid to get creative with your flavor combinations. It's all about making these cake pops your own. And if you're feeling really adventurous, you can even make your own frosting from scratch. Just make sure it's not too runny, or it'll be a mess.
Substitution | Why try it? | Things to consider |
|---|---|---|
Vanilla Cake Mix | Richer flavor | Color may be slightly off-white |
Lemon Cake Mix | Tangy twist | Good for spring or summer themes |
Cream Cheese Frosting | Extra richness | May be slightly softer, chill well |
Flavor Extracts | Add unique flavor | Use sparingly, can be strong |
Chocolate Cake Mix | Chocolatey Goodness | Color will be darker |
Dipping and Decoration Delights
Okay, let's move on to the dipping. While white almond bark is a classic choice, you can also use white chocolate melts or even candy melts in different colors. You can also add a bit of food coloring to your melted almond bark to create a pastel base for your cake pops, just make sure it's oil-based coloring. And for decorations? The sky's the limit! Sprinkles are always a good idea, but you can also use edible glitter, mini chocolate chips, or even little edible pearls. I like to drizzle melted chocolate over the dipped pops for an extra touch, or you can even use colored candy melts to create a fun pattern. You can also add little edible toppers, like baby-themed decorations or little edible flowers.
I once saw someone use edible markers to draw little faces on their cake pops, it was super cute! Don't be afraid to let your creativity shine here. It's all about making these cake pops visually appealing and extra special for your big reveal. The more creative you get, the more memorable they will be.
How to Store Your Gender Reveal Cake Pops
How to Store Your Gender Reveal Cake Pops
Room Temperature vs. Refrigerator
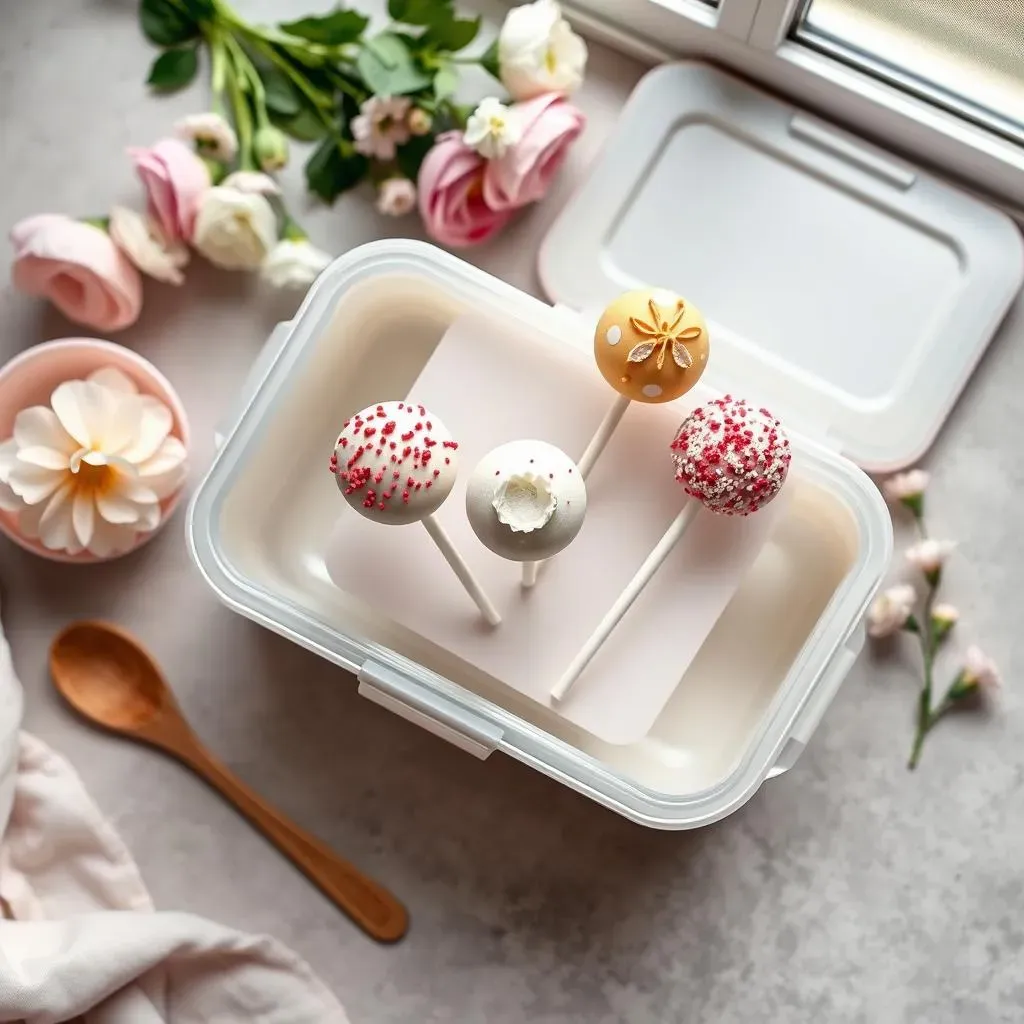
Alright, so you've made your beautiful cake pops, and now you're wondering how to keep them fresh until the big reveal, right? Well, the good news is that cake pops are pretty resilient. If you’re planning to serve them within a day or two, storing them at room temperature is totally fine. Just make sure you keep them in an airtight container to prevent them from drying out. A cake carrier or a large plastic container with a lid works great. However, if you're making them further in advance, or if your room is particularly warm, you'll want to store them in the refrigerator. The fridge will keep them fresh for up to a week, but make sure they're in an airtight container to prevent them from absorbing any weird fridge smells. Nobody wants a cake pop that tastes like last night's leftovers.
I remember once, I left a batch of cake pops out on the counter in the summer, and they got all melty and sad. It was a sticky mess, and I had to throw them away. Lesson learned: if it's warm, the fridge is your friend!
Preventing Cracks and Condensation
Now, here’s a pro tip: when you take your cake pops out of the fridge, you might notice some condensation forming on the coating. This can sometimes lead to cracks or a sticky surface. To prevent this, let them sit at room temperature for about 15-20 minutes before serving. This allows them to slowly come to temperature, reducing the shock of the warm air and preventing condensation. Also, make sure your cake pops are completely dry before you put them in the container, so they don’t stick together. If you’re layering them, you can use parchment paper between the layers to prevent any sticking. Trust me, a little bit of extra care when storing them can make a huge difference in how they look and taste when it's time for the big reveal.
I've had my fair share of cracked cake pops, and it's always so disappointing after all the effort you put in. Learning the trick about letting them come to room temperature slowly was a game changer. Now, my cake pops stay smooth and beautiful until the moment they're devoured.
Storage Method | Best For | How to Store | Things to Consider |
|---|---|---|---|
Room Temperature | Serving within 1-2 days | Airtight container, cool and dry place | Can dry out if left out too long |
Refrigerator | Serving within a week | Airtight container | May form condensation, let them come to room temperature before serving |
What to Serve Alongside Your Cake Pops
What to Serve Alongside Your Cake Pops
Sweet and Savory Pairings
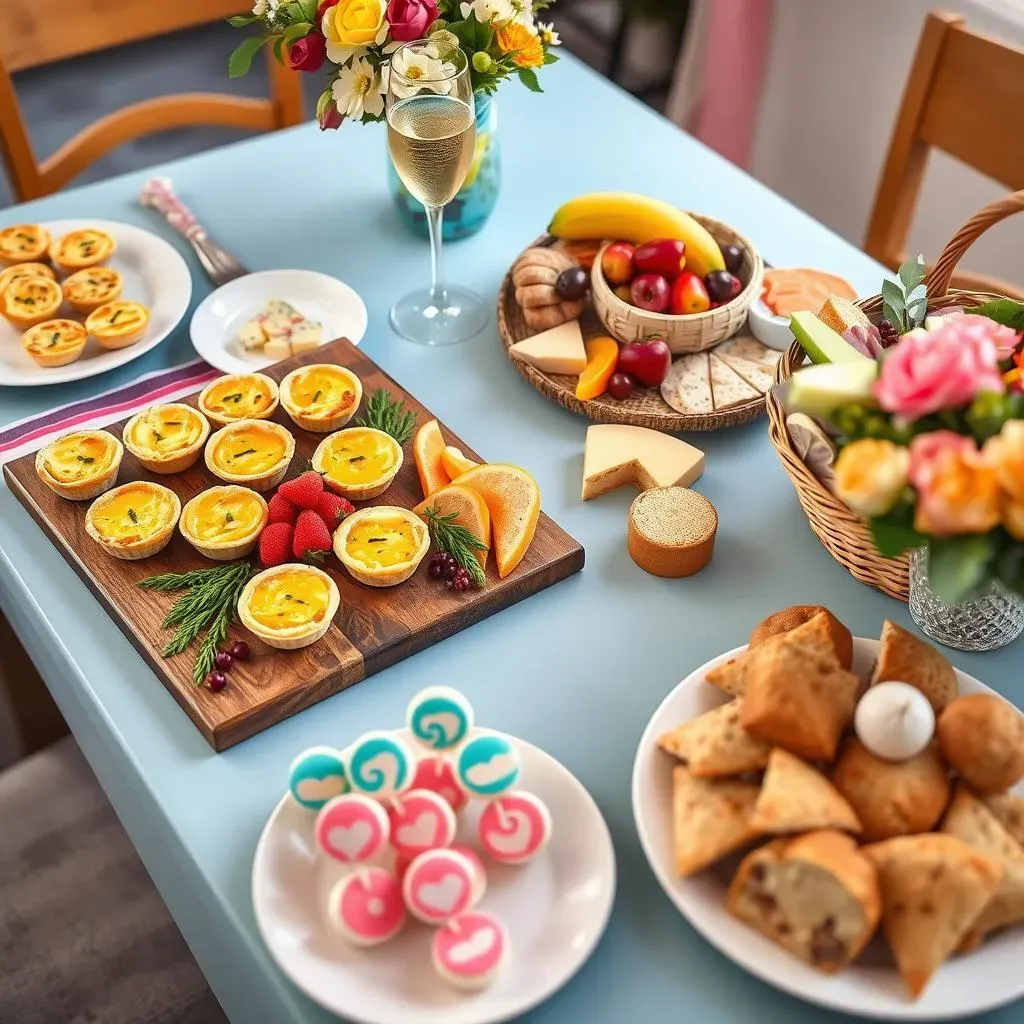
Okay, so you've got your gorgeous gender reveal cake pops ready to go. But what else should you serve? While they’re delicious on their own, a good party spread needs some variety. Think about balancing the sweetness of the cake pops with some savory options. For example, a brunch-style charcuterie board with cheeses, meats, fruits, and crackers would be a great option. The salty and savory flavors will complement the sweetness of the cake pops perfectly. You could also add some mini quiches, savory scones, or even some bruschetta. The key is to offer a range of flavors and textures so that everyone finds something they enjoy. And don't forget some fresh fruit to cleanse the palate after all that sweetness.
I've found that having a mix of sweet and savory really keeps people coming back for more. It's nice to have something to nibble on that isn't all sugar, especially if you have guests who aren't big on sweets. Plus, it makes the whole spread feel more complete and sophisticated, even if it's just a casual gathering. I remember once, I didn't have anything savory at a party, and people were craving something salty after all the cake. Lesson learned: always have balance!
Drinks and Refreshments
Let's not forget the drinks! You'll want to have a variety of beverages to keep your guests hydrated and happy. Sparkling cider or champagne are great options for a celebratory toast, and they pair well with the sweetness of the cake pops. You can also have some non-alcoholic options like flavored sparkling water, juices, or iced tea. A fun idea is to have a "mocktail" station where guests can mix their own drinks with different juices, sodas, and garnishes. And of course, don't forget the classics like coffee and tea, especially if your party is in the morning or afternoon. It's all about having something for everyone.
I like to have a signature drink at my parties; it makes it feel a little more special. For a gender reveal, you could even do a pink or blue drink and keep the gender a secret until the cake pops are revealed! It's a fun way to build up the anticipation. I think the key is to have a mix of fun, celebratory drinks and some basic options to keep everyone happy and hydrated.
Food Item | Why it Pairs Well |
|---|---|
Brunch Charcuterie Board | Savory, salty, and a variety of textures |
Mini Quiches | Hearty and balanced flavor |
Savory Scones | A good alternative to sweet pastries |
Bruschetta | Fresh and light |
Fresh Fruit | Cleanses the palate |
Essential Tips for Cake Pop Success
Essential Tips for Cake Pop Success
Melting Matters
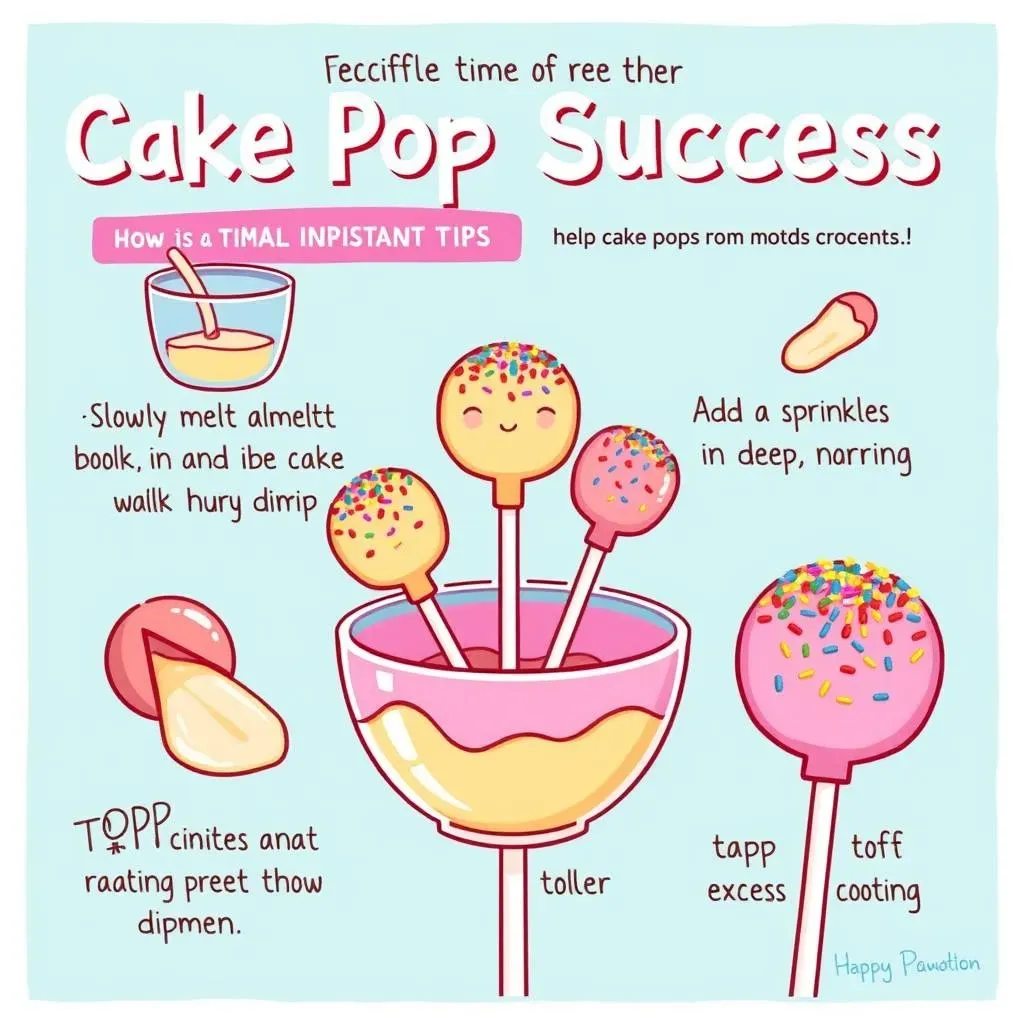
Okay, let's talk about melting your almond bark, because this is where things can go a little sideways if you're not careful. The key is to melt it slowly and gently. You can use a microwave, but do it in short intervals, like 30 seconds at a time, and stir in between. This prevents it from burning. You can also use a double boiler on the stovetop, which gives you more control. Whatever method you choose, make sure the almond bark is completely melted and smooth, with no lumps. If it's too thick, you can add a tiny bit of vegetable oil or shortening to thin it out, but do it sparingly. And remember, never add water to melting chocolate or almond bark; it will seize up and become unusable. I learned that one the hard way!
I remember the first time I tried melting chocolate in the microwave, I just put it in for a whole minute, and it turned into a burnt, lumpy mess. I was so frustrated! Now, I always melt it in short intervals and stir like crazy. It makes a world of difference. And if you're using a double boiler, make sure the water in the bottom pot isn’t touching the top pot. It’s all about that gentle heat.
Dipping Like a Pro
Now for the dipping! This is where the magic happens, or where things can get a little messy. You’ll need a deep, narrow container for dipping; I like to use a 2-cup measuring cup. It’s just the right size and depth. Drop the chilled cake pop ball into the melted almond bark and use a spoon or fork to gently coat it completely. Then, lift it out and let the excess drip off back into the cup. Don't swirl it around too much, or it’ll create air bubbles. Give it a gentle tap on the side of the cup to get rid of any extra coating. And here's a pro tip: add your sprinkles or decorations immediately after dipping, while the almond bark is still wet. This way, they'll stick perfectly. If you wait too long, the coating will harden, and your sprinkles will just slide right off.
I've tried dipping with a shallow bowl before, and it was a disaster. The cake pops weren't fully coated, and it was just a mess. Using a deep, narrow cup is a game changer. And always have your sprinkles ready to go, because timing is everything. It's like a race against the clock, but a fun one! I think the key is to have everything ready before you start, so you can work quickly and efficiently.
Tip | Why it matters |
|---|---|
Melt slowly and gently | Prevents burning and lumpiness |
Use a deep, narrow container | Ensures complete coating |
Add sprinkles immediately | Ensures they stick properly |
Tap off excess | Prevents drips and a thick coating |
Cake Pop Gender Reveal FAQs
Cake Pop Gender Reveal FAQs
Why Did My Candy Coating Crack?
Okay, so you've dipped your cake pops, they look amazing, and then... cracks! It's a frustrating moment, but don't worry, it's a common issue. The main culprit is temperature change. If your cake pops are too cold and you dip them in hot melted chocolate or almond bark, the rapid change in temperature can cause the coating to contract and crack. Another reason could be that the coating is too thick. If you've got a super thick layer of chocolate, it's more prone to cracking. To avoid this, make sure your cake pops are not ice cold when you dip them. Let them sit at room temp for about 10-15 minutes before dipping. Also, tap off any excess melted coating to keep it thin and even.
I remember the first time I made cake pops, they looked like they had been through a war zone! Cracks everywhere! It took me a few tries to realize it was because I was dipping them straight from the fridge. Now, I’m patient and let them warm up a little, and it makes a world of difference. It’s all about that gentle transition from cold to warm, not a sudden shock!
Why Are My Cake Balls Crumbly?
Crumbly cake balls are another common woe of the cake pop maker. This usually means that your mixture is too dry. You either didn't add enough frosting, or you added too many cake crumbs. The consistency should be like playdough, remember? If your mixture is too dry, the cake balls won't hold together, and they'll crumble when you try to dip them. The solution is simple: add more frosting! Start with a tablespoon at a time and mix until the mixture is moist enough to form a ball that holds its shape. You can also try adding a teaspoon of melted butter or a splash of milk to add some extra moisture. Just be careful not to overdo it, or they’ll become too wet and won’t stick to the sticks.
I’ve been there, staring at a bowl of dry, crumbly cake mix, wondering what went wrong. It's so tempting to just add more cake crumbs, but that just makes it worse. Now, I always start with less frosting and add more as I go, until it’s just right. It's all about finding that perfect balance, and it might take a little practice to get it just right.
Problem | Likely Cause | Solution |
|---|---|---|
Cracked Coating | Temperature shock, coating too thick | Let cake pops warm slightly, tap off excess coating |
Crumbly Cake Balls | Mixture too dry | Add more frosting, melted butter, or milk |
Can I Make These Ahead of Time?
Absolutely! Cake pops are a great make-ahead treat. You can make the cake balls and dip them a day or two before your party, and they’ll be just fine. Just make sure to store them in an airtight container, as mentioned earlier. If you're making them further in advance, you can even freeze them. Just let them thaw completely before you serve them. You can also dip them a day or two before and add your sprinkles or decorations right before serving, just make sure they are completely dry before storing them to avoid any sticking. Having this done in advance takes so much stress out of party planning. It's one less thing you have to worry about on the day of your gender reveal.
I always make my cake pops a day or two in advance. It gives me so much more time to focus on other party details. And it’s so nice to have that feeling of accomplishment when they’re all done and ready to go. I think the key is to break the process into smaller steps. Make the cake one day, roll the cake balls another day, and dip them the day before the party. It makes it so much less overwhelming.