Table of Contents
Planning a gender reveal party and want something that's both practical and adorable? Forget the same old balloons and confetti cannons. Let's talk about diaper cakes! These aren't your grandma’s diaper towers; they're creative centerpieces that double as a gift for the parents-to-be. This article is your go-to guide for amazing diaper cake ideas for gender reveal parties. We'll start with some super cool creative designs to make your party pop. Then, I'll walk you through how to make your own diaper cake, step-by-step, so you can impress everyone with your DIY skills. Finally, we will explore a range of unique themes and decorations that will make your diaper cake the star of the show. Get ready to ditch the boring and embrace the cute because we are about to explore the world of diaper cakes!
Creative Diaper Cake Ideas for Gender Reveal Parties
Creative Diaper Cake Ideas for Gender Reveal Parties
Themed Diaper Cakes
Okay, so you're tired of the same old pink and blue? I get it. Let’s kick things up a notch with themed diaper cakes! Think about the parents' hobbies or favorite things. Are they huge fans of "Star Wars"? A Millennium Falcon diaper cake with little Yoda and Princess Leia figurines would be epic! Or perhaps they're bookworms? A stack of diaper "books" with a cute little owl on top could be super adorable. The key is to make it personal. The more it reflects the parents, the more special it becomes. And honestly, who doesn’t love a little bit of geek-chic?
I once made a travel-themed diaper cake for a friend who's a total globetrotter. I used maps as the base, rolled the diapers to look like little suitcases, and added tiny airplanes and globes. It was a huge hit and a fun reminder of their adventures. Don't be afraid to think outside the box - that's where the magic happens!
Theme | Description | Extra Touches |
|---|---|---|
Star Wars | Millennium Falcon or Death Star shape | Yoda and Leia figurines, lightsabers |
Books | Stack of diaper "books" | Owl figurine, tiny book ornaments |
Travel | Suitcase or globe shape | Tiny airplanes, maps, globe ornaments |
Color-Based Diaper Cakes
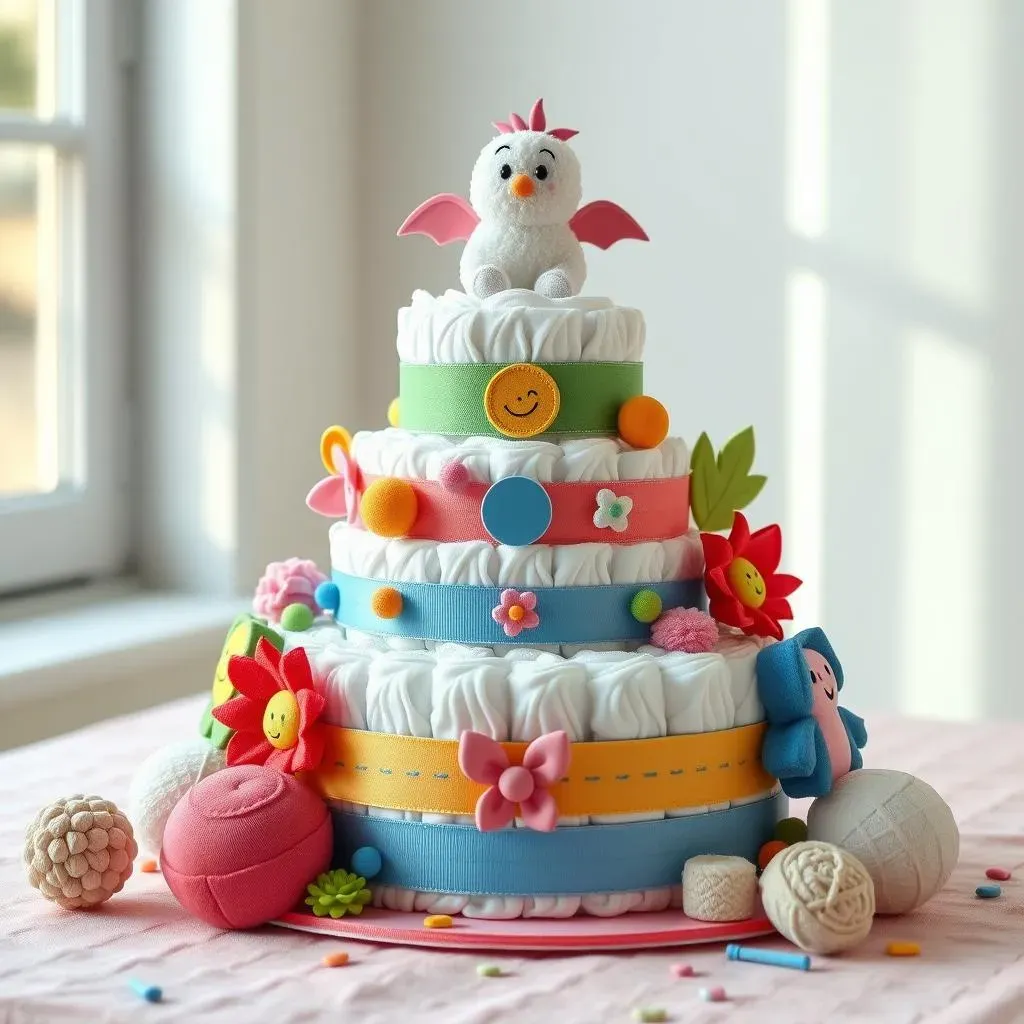
If you're not into themes, that’s totally fine! You can still make a statement with colors. Instead of just pink and blue, how about a ombre diaper cake? Start with a deep blue or pink at the bottom and fade to a lighter shade towards the top. It creates a beautiful, sophisticated look. Or you could go for a rainbow cake, which is perfect if the parents are keeping the gender a surprise! You can use different colored ribbons, paper, or even colored diapers if you're feeling bold.
Remember, the colors don’t have to be gender-specific either. Think about using yellows, greens, or even metallics for a modern twist. I saw a gold and white diaper cake once, and it was stunning! It was elegant and totally unexpected. It's all about playing with colors and creating something that reflects the parents’ style, not just the baby’s assumed gender.
Unique Shapes and Structures
Okay, let's ditch the traditional tiered cake for a second. Why not try a diaper cake shaped like a motorcycle or a castle? It sounds crazy, but with a little creativity, it's totally doable. You can use cardboard as a base to create different shapes, and then secure the diapers around it. It's a bit more work, sure, but the wow factor is off the charts! Plus, it's a super fun project to work on, especially if you get a friend or two to help. Think of it as a diaper art project!
I once saw a diaper cake shaped like a hot air balloon, and I was so impressed! They used a basket as the base, and then attached rolled diapers to create the balloon shape. It was whimsical and fun, and it totally stole the show. So, if you're feeling adventurous, don’t be afraid to experiment with different shapes and structures. It’s all about adding that extra bit of fun and creativity to your diaper cake.
StepbyStep Guide to Making Your Own Gender Reveal Diaper Cake

StepbyStep Guide to Making Your Own Gender Reveal Diaper Cake
Gather Your Supplies
Alright, so you're ready to dive into the DIY world of diaper cakes? Awesome! First things first, let’s get organized. You'll need a bunch of diapers, obviously – think about 50-70 for a decent-sized cake, depending on how many tiers you want. Grab some rubber bands, the small ones work best, and a sturdy base, like a cake board or a large plate. You will also need some decorative items like ribbons, paper, and any cute figurines or toys you want to add. Don't forget tape or glue to keep everything secure. And hey, a little bit of patience goes a long way here – trust me on that one!
I always like to lay everything out before I start. It’s like prepping for a cooking show, but instead of food, we're working with diapers. It makes the process so much smoother, and you won’t be scrambling for a rubber band when you're halfway through. Trust me, that’s a real nightmare. It’s also a good idea to have a clean workspace, because, you know, diapers!
Building the Base and Tiers
Now for the fun part: building the cake! Start by rolling each diaper tightly and securing it with a rubber band. You want them to be nice and snug, so they don’t fall apart. Once you have a bunch of rolled diapers, arrange them in a circle on your base. This will be your bottom tier. Secure them together with a large rubber band or some tape. Then, create smaller circles of rolled diapers for the upper tiers, making sure to reduce the number of diapers in each tier so it looks like a cake. It’s like building a mini-skyscraper, but with diapers. And it’s way more fun!
I remember one time I didn’t secure the bottom tier well enough, and the whole thing collapsed. It was like a diaper avalanche! So, learn from my mistakes, and make sure everything is nice and stable before moving on. You can also use a cardboard tube or a sturdy bottle in the center to give the cake extra support. This is especially helpful if you’re going for a tall cake. Nobody wants a leaning tower of diapers, right?
Step | Action | Tip |
|---|---|---|
1 | Roll each diaper tightly and secure with a rubber band | Make sure they are snug! |
2 | Arrange rolled diapers in a circle on your base | Use a large rubber band or tape to secure the base |
3 | Create smaller circles for upper tiers | Reduce the number of diapers in each tier |
4 | Use a central support for taller cakes | Cardboard tube or sturdy bottle works well |
Decorating and Adding the Finishing Touches
Okay, your diaper cake is built, and now it's time to make it pretty! This is where you can really let your creativity shine. Wrap ribbons around each tier to hide the rubber bands, and add some decorative paper or fabric for an extra touch of color. You can also add small toys, pacifiers, or even baby socks. I love adding a cute cake topper – it's like the cherry on top of a sundae. You can use a teddy bear, a figurine, or even a custom-made sign. Just make sure everything is securely attached so nothing falls off during the party!
Remember, the goal is to make it look good and also be practical. The parents should be able to easily take the cake apart and use the diapers. So, avoid using too much glue or anything that would damage the diapers. And most importantly, have fun with it! This is your chance to create something unique and special for the new parents. I usually add a touch of humor with a funny little tag or a quirky toy. It’s all about making it memorable and enjoyable for everyone involved.
Unique Themes and Decorations for Gender Reveal Diaper Cakes
Unique Themes and Decorations for Gender Reveal Diaper Cakes
Incorporating Gender Reveal Elements
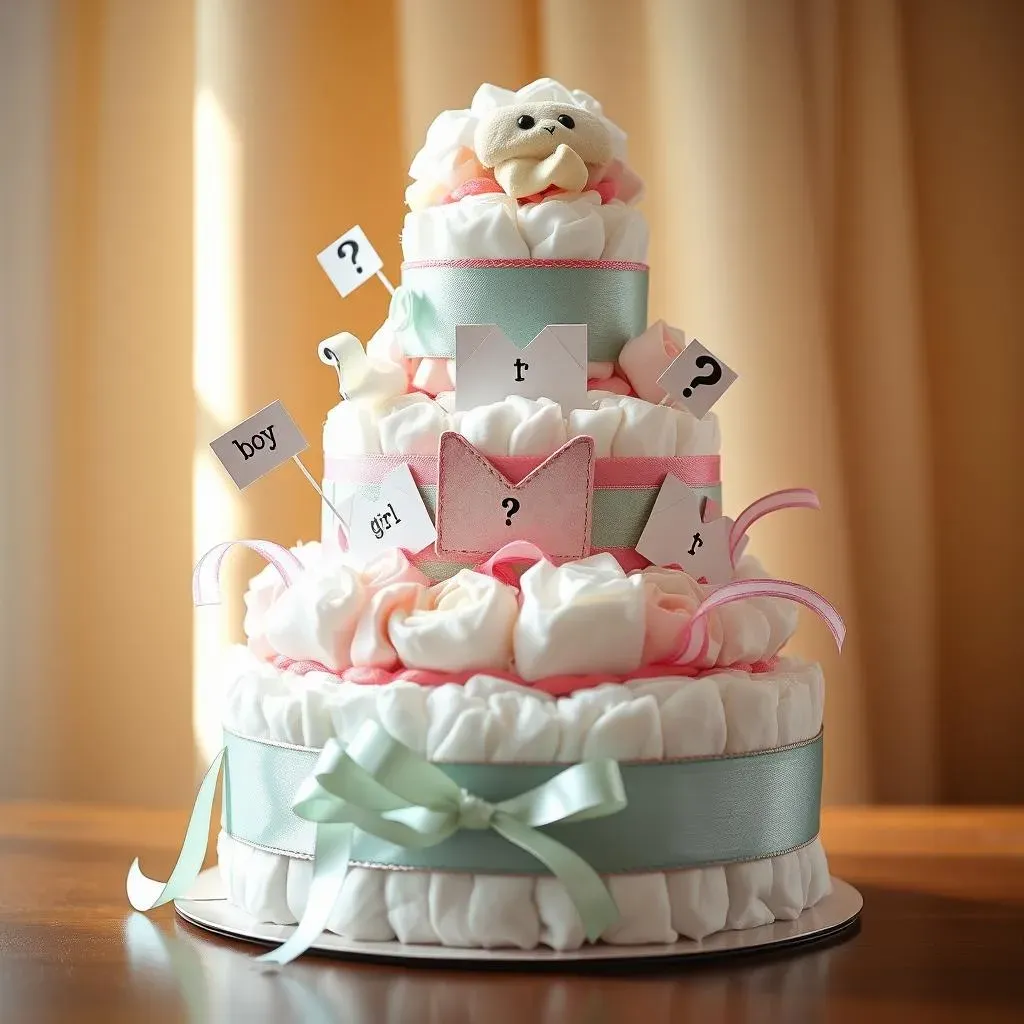
Alright, let’s get into making these diaper cakes scream "gender reveal!" It's not just about pink or blue anymore, it's about the big reveal! Think about adding elements that hint at the surprise inside. You could use question mark ribbons, or even tiny, unopened envelopes with "boy" or "girl" printed on them. I've seen people use little confetti poppers tucked into the cake, which are super fun when the parents take it apart. It's all about building the anticipation and making the reveal part of the cake itself, not just a separate moment. Make it interactive, make it memorable!
I remember attending a gender reveal where the diaper cake had a hidden compartment filled with colored candies. When the parents pulled a string, the candies spilled out, revealing the gender. It was such a clever idea and got everyone involved. You can also add small, gender-specific items like tiny bow ties or hair clips hidden within the layers. It's like a treasure hunt for the parents-to-be. The more creative you get, the more special the moment becomes. So, ditch the plain Jane and go for something that will really wow the crowd.
Personalized Touches and Customization
Now, let's talk about making these diaper cakes truly one-of-a-kind. Personalized touches are what take a diaper cake from "nice" to "OMG, where did you get that?!" Think about adding the baby's name or initials somewhere on the cake. You could use custom-made banners, or even little wooden letters that you can paint. I love adding small, meaningful details that are special to the parents. Maybe they have a favorite quote or a special place they love? Incorporating those elements will make the cake even more sentimental and memorable.
I once made a diaper cake for a couple who were huge fans of camping, and I added little pine tree ornaments, miniature lanterns, and even a tiny tent made of felt. It was so cute and completely personalized to their interests. You can also add photos of the parents-to-be, or even create a little family tree using small cutouts. It's all about making the cake a reflection of their unique story. So don't be afraid to get personal and add those special touches that will make the diaper cake a cherished keepsake.
Personalization | Example | Why it works |
|---|---|---|
Baby's name/initials | Custom banner or wooden letters | Adds a personal touch |
Meaningful details | Favorite quote or special place | Makes it sentimental |
Hobbies/interests | Small ornaments or figurines related to their interests | Shows thoughtfulness |
Photos or family tree | Small cutouts or picture frames | Adds a family element |