Table of Contents
Planning a gender reveal party? The cake is the centerpiece, and it's got to be amazing! Forget those plain vanilla cakes; let's talk showstoppers. This article is your guide to all things "gender reveal cake decorating ideas." I'm going to walk you through some classic designs that are always a hit. Then, we'll crank up the creativity with some unique ideas you might not have seen before. Don't worry if you're not a pro baker; I've got some simple DIY techniques that even beginners can pull off. Finally, I will give you some tips to keep your cake decorating stress-free so you can actually enjoy the party. Ready to make a cake that's as exciting as the big reveal? Let’s get started!
Classic Gender Reveal Cake Designs

Classic Gender Reveal Cake Designs
The Two-Toned Dream
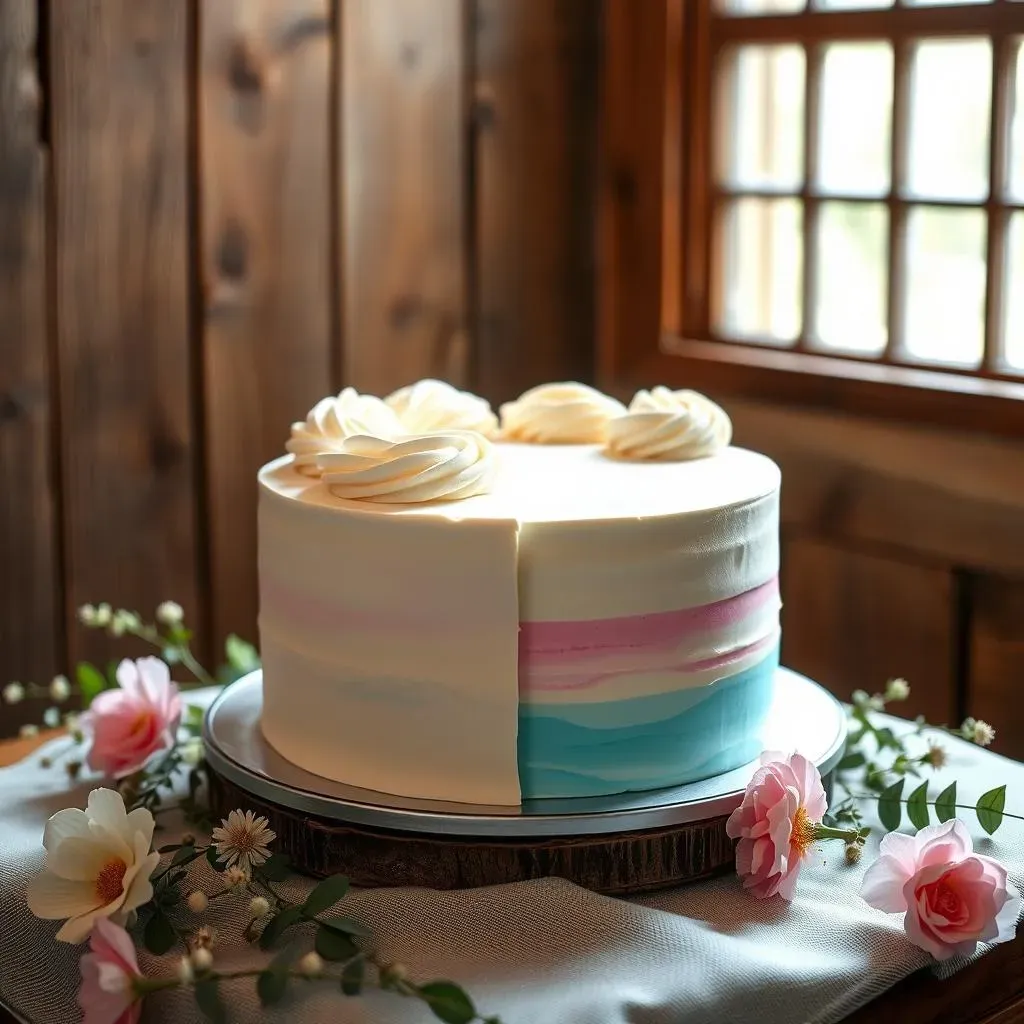
Okay, so let's start with the classics, right? The two-toned cake is like the reliable friend at the party. It's simple, but it always delivers. I'm talking about that beautiful reveal when you cut into the cake and BAM! Pink or blue. It's the inside that counts here. You can use a simple vanilla cake recipe, then divide your batter. Add pink or blue food coloring to each, and layer them up. For the outside, keep it neutral with a white or light-colored frosting. This makes the inside surprise even more dramatic. No need to get fancy with the decorations, this one is all about the reveal!
I remember when my cousin did this, she was so excited to see the blue inside. It was a simple cake, but everyone was so focused on the reveal. It's amazing how a little color can cause so much excitement.
The Rosette Reveal
Next up, we have the rosette cake, which is a little more elegant, but still super classic. Imagine a cake covered in beautiful, swirly frosting roses. You can use an ombre effect with pink and white, or blue and white frosting, or do a mix of both and have the inside with the actual color. It looks impressive, but it's really just piping frosting in a circle pattern. The big reveal comes when you cut into it. You can have a layer of pink or blue inside, or fill it with candy or sprinkles of the right color. I saw one where they had a tiny baby shoe inside. It was so cute!
Design Element | Description | Why it's Classic |
|---|---|---|
Two-Toned Cake | Neutral outside, colored inside | Simple, effective, and always exciting |
Rosette Cake | Frosting roses outside, colored inside or filling | Elegant, visually appealing, and still classic |
Drip Cake Surprise
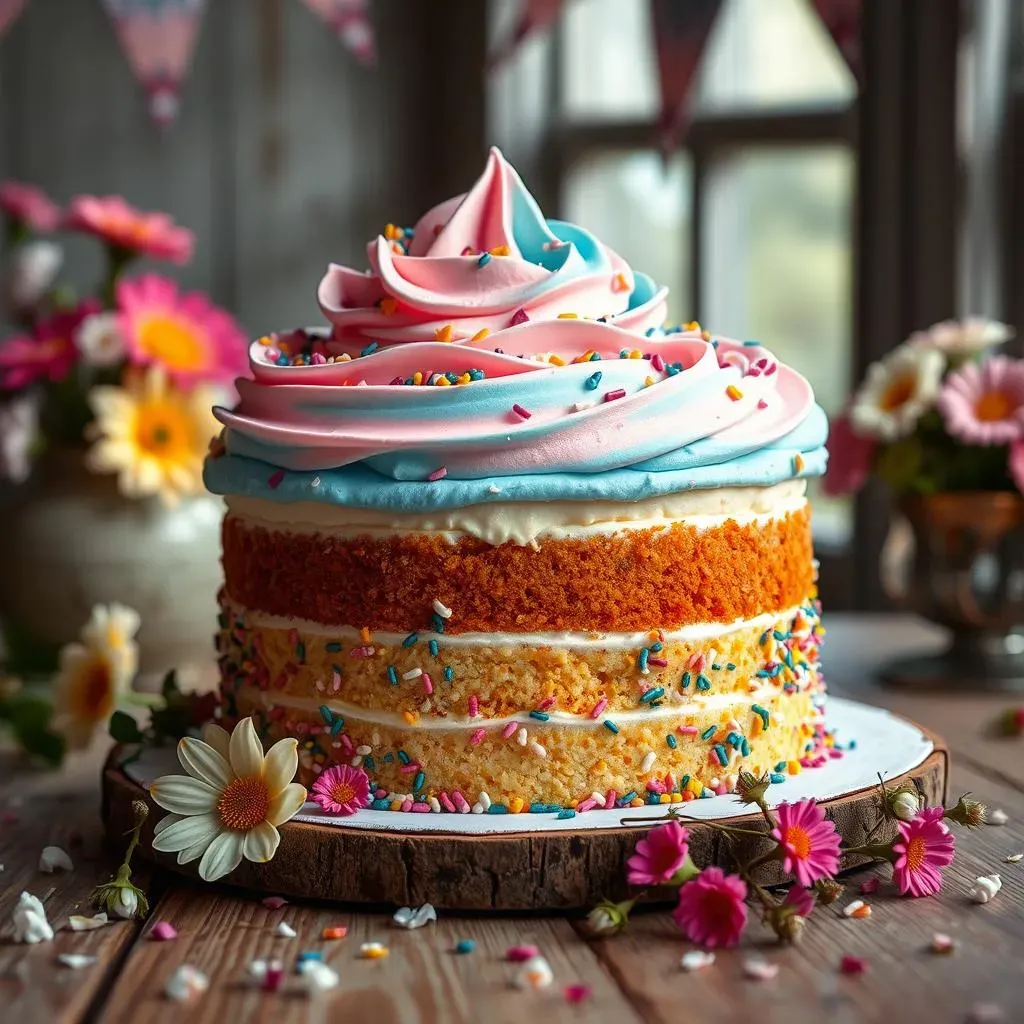
Finally, let's talk drip cakes. This is where you get a little more playful. You start with your base cake, frost it smoothly, and then drizzle a colored ganache or frosting down the sides. The drip can be pink, blue, or even white if you want the inside to be the surprise. It adds a fun, modern touch to a classic cake. Plus, you can add sprinkles, edible glitter, or small candies to really make it pop. I think the drip effect is just so visually pleasing, it's almost like watching paint drip down a canvas. It's a classic with a little modern twist. These are some solid choices, and they work for almost any party style.
Creative and Unique Gender Reveal Cake Decorating Ideas

Creative and Unique Gender Reveal Cake Decorating Ideas
Hidden Message Cakes
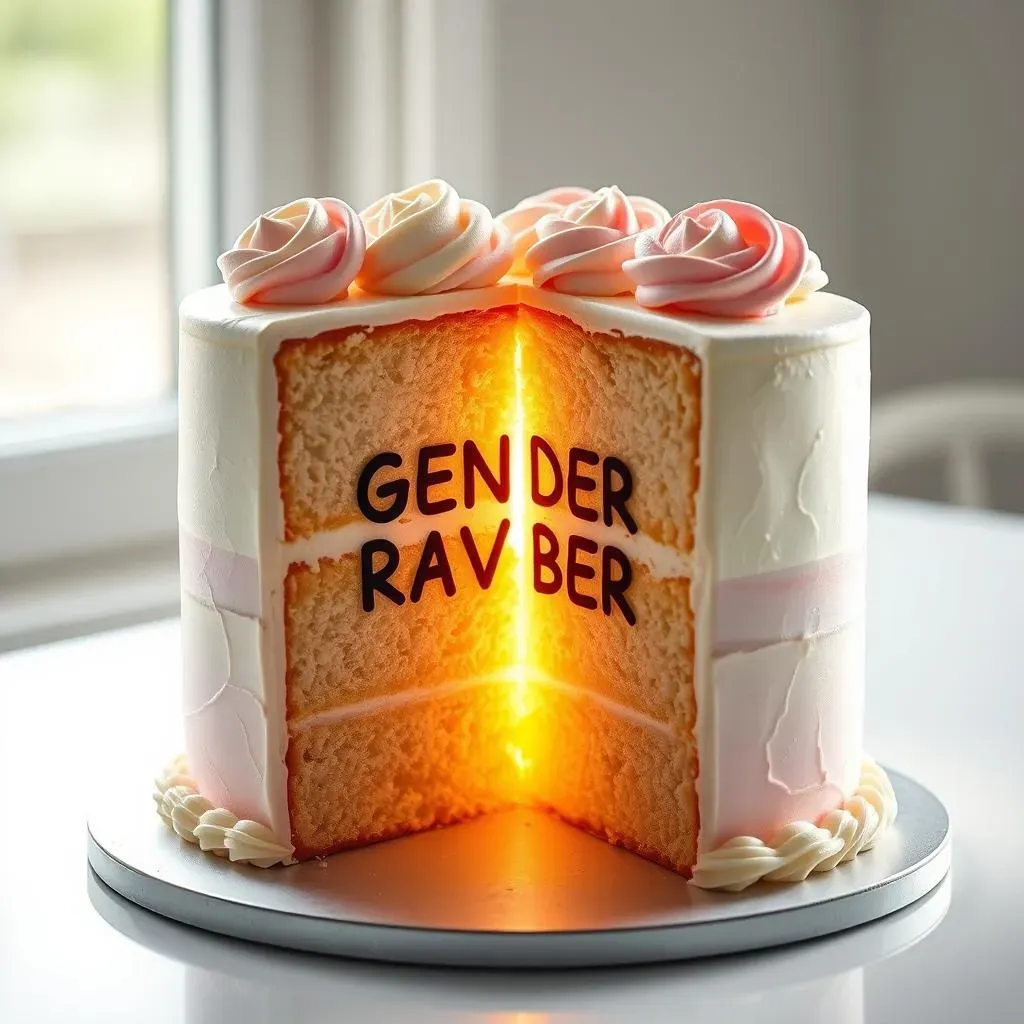
Okay, so you've seen the standard pink or blue inside, right? Let’s kick it up a notch. Imagine a cake that looks completely ordinary on the outside, maybe even a bit mysterious. But, when you slice it, a message is revealed! You can write "It's a Boy!" or "It's a Girl!" with colored batter inside, or even use edible ink to write on a thin layer of fondant that's hidden in the center. It’s like a secret code waiting to be cracked! I think this is great for people who love a bit of suspense. It’s more interactive than the typical color reveal, and it's sure to get your guests talking.
I saw one where the message was revealed with sprinkles that spelled out "Girl" when the cake was cut. It was so clever and unexpected.
Confetti Explosion Cakes
Now, who doesn’t love a good explosion? Not the messy kind, of course. I'm talking about a confetti explosion cake! This isn't just about color; it's about the whole experience. You create a hollowed-out center in your cake, and then fill it with pink or blue confetti. When you cut into it, the confetti bursts out, creating a super fun moment. Make sure to use edible confetti, though! You don’t want anyone eating plastic. You can use a cake ring or a small bowl when baking to create the hollow space. It's a bit more work, but it's totally worth it for the wow factor.
Design Element | Description | Why it's Unique |
|---|---|---|
Hidden Message Cakes | A message is revealed when you cut into the cake | Interactive, suspenseful, and unexpected |
Confetti Explosion Cakes | Confetti bursts out when you cut into the cake | Fun, exciting, and visually impressive |
Themed Character Cakes
Lastly, let's talk about themed character cakes. Instead of just focusing on color, why not make the cake a character from a favorite story? Think Winnie the Pooh for a more gender-neutral theme, or a superhero for a boy, or a princess for a girl. You can use fondant to mold the character or use edible images. The inside can still be the classic pink or blue reveal. It’s a great way to personalize the cake and make it more memorable. I think it’s especially awesome if the parents have a particular story or character they love. It adds a personal touch that guests will appreciate. This is where you can really let your imagination run wild.
DIY Gender Reveal Cake Decorating Techniques

DIY Gender Reveal Cake Decorating Techniques
Easy Colored Buttercream
Alright, let's get into the nitty-gritty of DIY! First up, colored buttercream. It's the bread and butter (pun intended!) of most cake decorating. You don’t need to be a pastry chef to nail this. Start with a basic buttercream recipe—butter, powdered sugar, a splash of milk, and vanilla. Then, divide the batch into two bowls. In one, add a few drops of pink food coloring, and in the other, blue. If you want a pastel shade, use just a tiny bit of color. Remember, you can always add more, but you can't take it away. Mix it well until you get your desired color, and you're good to go. I always tell my friends to start with less color; it is easier to add more!
I remember one time I added too much food coloring and got a super bright blue that was nearly neon! So, start slow and you can always add more.
Simple Piping Techniques
Now, let's talk about piping. It might look intimidating, but it’s really not that hard. For rosettes, just use a star tip and start in the center, then swirl outwards. It's like making a tiny cinnamon roll. For simple borders, use a round tip and just squeeze the frosting in a straight line, or do small dots. Don't worry about perfection, the beauty of DIY is that it's supposed to be a little bit imperfect. If you're doing a drip, just melt some chocolate or candy melts, add a bit of food coloring, and then drizzle it down the sides of the cake using a spoon or a squeeze bottle. The key is to go slow and steady. I always practice on a plate before going straight to the cake.
Technique | Description | Tips |
|---|---|---|
Colored Buttercream | Basic buttercream with food coloring | Start with less color, mix well |
Rosette Piping | Swirl frosting with a star tip | Start in the center, swirl outwards |
Drip Effect | Drizzle melted chocolate or candy melts | Go slow and steady, use a spoon or squeeze bottle |
Creating a Hidden Center
Okay, for a hidden center, you have a few options. If you want to add candy or sprinkles, use a small bowl or a cake ring when baking. Place it in the middle of the pan and pour your batter around it. Once it's baked, remove the ring and you'll have a hollow space. If you want to do a hidden message, bake a thin layer of cake separately. Once it's cooled, cut out your message with a cookie cutter or a knife, and place it inside the main cake before frosting it. You can even use edible markers to write a message on a thin layer of fondant, then hide it inside. It's a bit more work, but it’s so worth it for that surprise element. I always feel like a magician when I do this!
My friend tried the hidden message with edible glitter, it looked so amazing when she cut the cake!
Tips for a StressFree Gender Reveal Cake Decorating

Tips for a StressFree Gender Reveal Cake Decorating
Okay, so you're excited about making this awesome gender reveal cake, but maybe a little stressed? It’s totally normal! Cake decorating can be a bit of a rollercoaster, but it doesn't have to be. The key is planning and keeping things simple. I've learned a few tricks over the years that can really help. First, don't try to bake and decorate the cake all in one day. Break it down into steps. Bake the cake one day, make the frosting another, and then do the final decorating on the day of the party. This will help you avoid feeling overwhelmed. Also, don't be afraid to use store-bought cake mixes or frosting if you're short on time. It's all about enjoying the process, not stressing over it.
I remember my first attempt at a layered cake was a total disaster. I tried to do everything in one day, and it was a mess. Now, I always break things down, and it's so much easier!
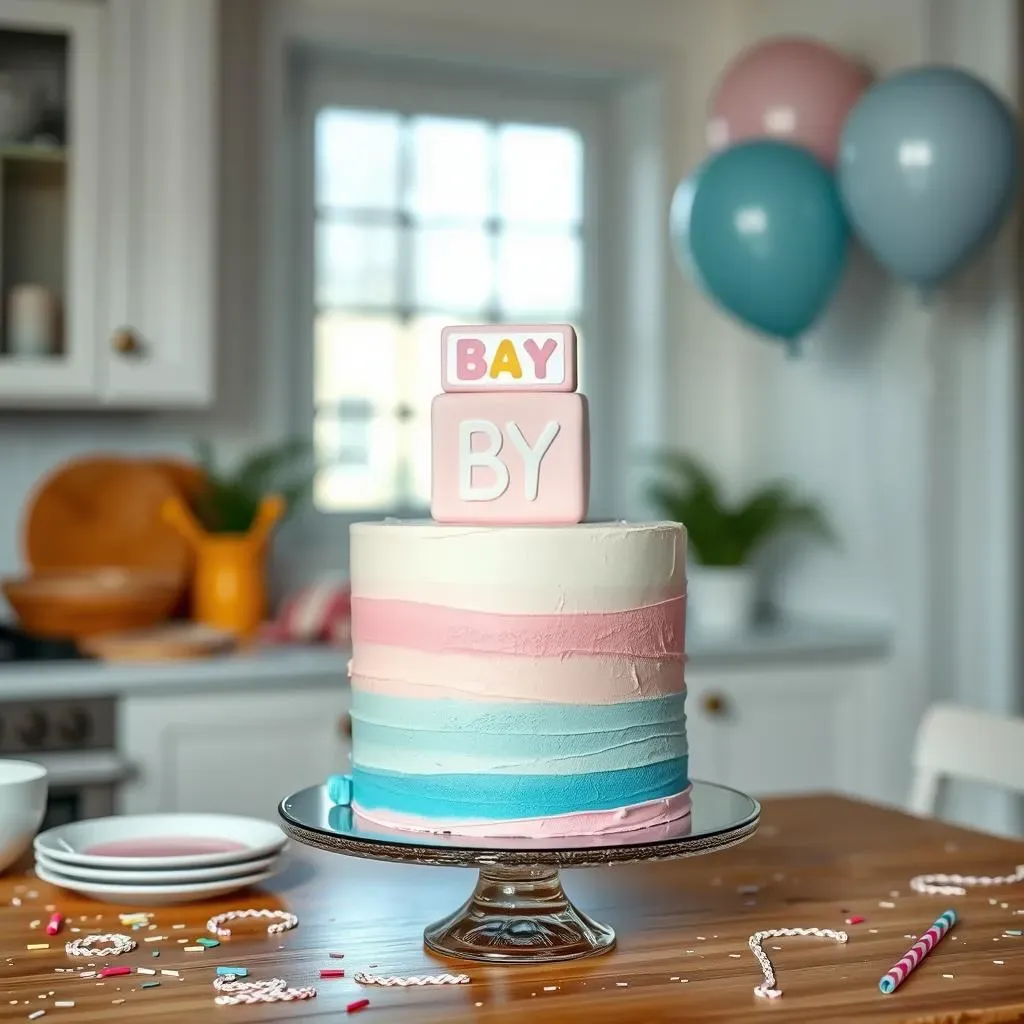
Another huge tip is to keep your design simple, especially if you’re not a pro baker. Don't try to make a five-tiered masterpiece if you've never done it before. Stick to a design that you know you can handle. Simple frosting patterns, a few sprinkles, and maybe a cute cake topper can look just as amazing as a super elaborate design. Also, make sure you have all your tools and ingredients ready before you start. There’s nothing worse than being in the middle of decorating and realizing you’re out of powdered sugar, or that your piping bag has a hole in it! Always double-check that you have everything you need before you start.
Tip | Description | Why it Helps |
|---|---|---|
Plan Ahead | Break the process into steps over a few days. | Avoids feeling overwhelmed. |
Keep it Simple | Stick to a design you can handle. | Reduces stress and potential mistakes. |
Prepare Everything | Gather all tools and ingredients in advance. | Prevents mid-decorating surprises. |
And finally, remember that it's okay if things don't go perfectly. This is a party, not a competition! If your frosting isn't perfectly smooth, or your drip doesn’t look quite right, don't sweat it. The most important thing is that you put your heart into it. Your friends and family will love it because you made it, not because it’s perfect. Take some deep breaths, put on some music you love, and have fun with it. It’s supposed to be a celebration, not a chore. Plus, you can always hide any major imperfections with extra sprinkles or a well-placed cake topper!
I had a friend once whose cake tilted a little bit, and she just called it the “leaning tower of cake.” Everyone thought it was hilarious, and it added to the charm. It’s all about perspective.
Wrapping Up Your Sweet Reveal
So, there you have it – a whole bunch of ideas to make your gender reveal cake truly special. From classic color schemes to unique designs and easy DIY techniques, you've got the tools to bake a memorable cake. Remember, the most important ingredient is having fun and celebrating this incredible moment. Don't stress too much about perfection; it's the joy and anticipation that truly matter. Now, go forth and create a cake that's as sweet as the little one on the way!