Table of Contents
The moment you slice into that cake, revealing pink or blue, is the centerpiece of many gender reveal parties. It's a big deal, a moment everyone's waiting for. Planning everything can feel overwhelming, and thinking about baking the cake yourself might seem like adding another layer of stress you just don't need. Visions of collapsed layers, uneven frosting, or the color bleeding through might dance in your head. But what if making a gender reveal cake easy was actually... well, easy? Forget the Pinterest fails and the bakery price tags. This article cuts through the complexity, showing you how to create that iconic reveal without needing a pastry chef's degree. We'll walk you through the simple steps, the minimal supplies required, and the smart shortcuts that make this project entirely doable, even if your baking experience is limited to boxed mixes. Get ready to bake a sweet surprise that's memorable for all the right reasons.
Simple Gender Reveal Cake: Why Easy is Best
Simple Gender Reveal Cake: Why Easy is Best
Look, planning a gender reveal party already involves juggling guest lists, decorations, maybe some silly games, and a healthy dose of anticipation. Adding a complex, multi-tiered cake project to that mix sounds less like fun and more like a recipe for a nervous breakdown. The whole point of a gender reveal cake is the moment of truth when the color pops out. Nobody is judging your fondant skills or the intricacy of your piping when everyone's buzzing with excitement. Opting for a Simple Gender Reveal Cake: Why Easy is Best is about sanity. It saves you time, reduces stress, and frankly, leaves more energy to actually enjoy the party you're throwing. An easy cake can still be beautiful and deliver that show-stopping reveal just as effectively as something that took you twelve hours and three near-meltdowns to assemble. It’s about achieving the desired effect with minimum fuss, which is a win in anyone's book.
Gathering Your Supplies for an Easy Gender Reveal Cake
Gathering Your Supplies for an Easy Gender Reveal Cake
Alright, so you're convinced that an easy route is the smart route for your gender reveal cake. Good. Now, let's talk about what you actually need to make this happen. Forget fancy equipment or exotic ingredients you'll use once and then shove to the back of a cupboard. Gathering Your Supplies for an Easy Gender Reveal Cake is about keeping it basic. You likely have most of this stuff already. We're talking standard cake pans, maybe a mixer if you're feeling energetic (or just a bowl and whisk if you're not), some food coloring (this is key!), and the usual suspects like flour, sugar, eggs, and butter or oil. The beauty of 'easy' is that the supply list isn't intimidating. Think minimalist baker, not Michelin-star pastry chef.
- Cake mix (or your favorite simple recipe ingredients)
- Frosting (store-bought is your friend here)
- Food coloring (gel colors work best for vibrant shades)
- Standard round cake pans (8 or 9 inch usually works)
- Mixing bowls and spoons/whisk or electric mixer
- Spatula or knife for frosting
StepbyStep Guide to Your Easy Gender Reveal Cake

StepbyStep Guide to Your Easy Gender Reveal Cake
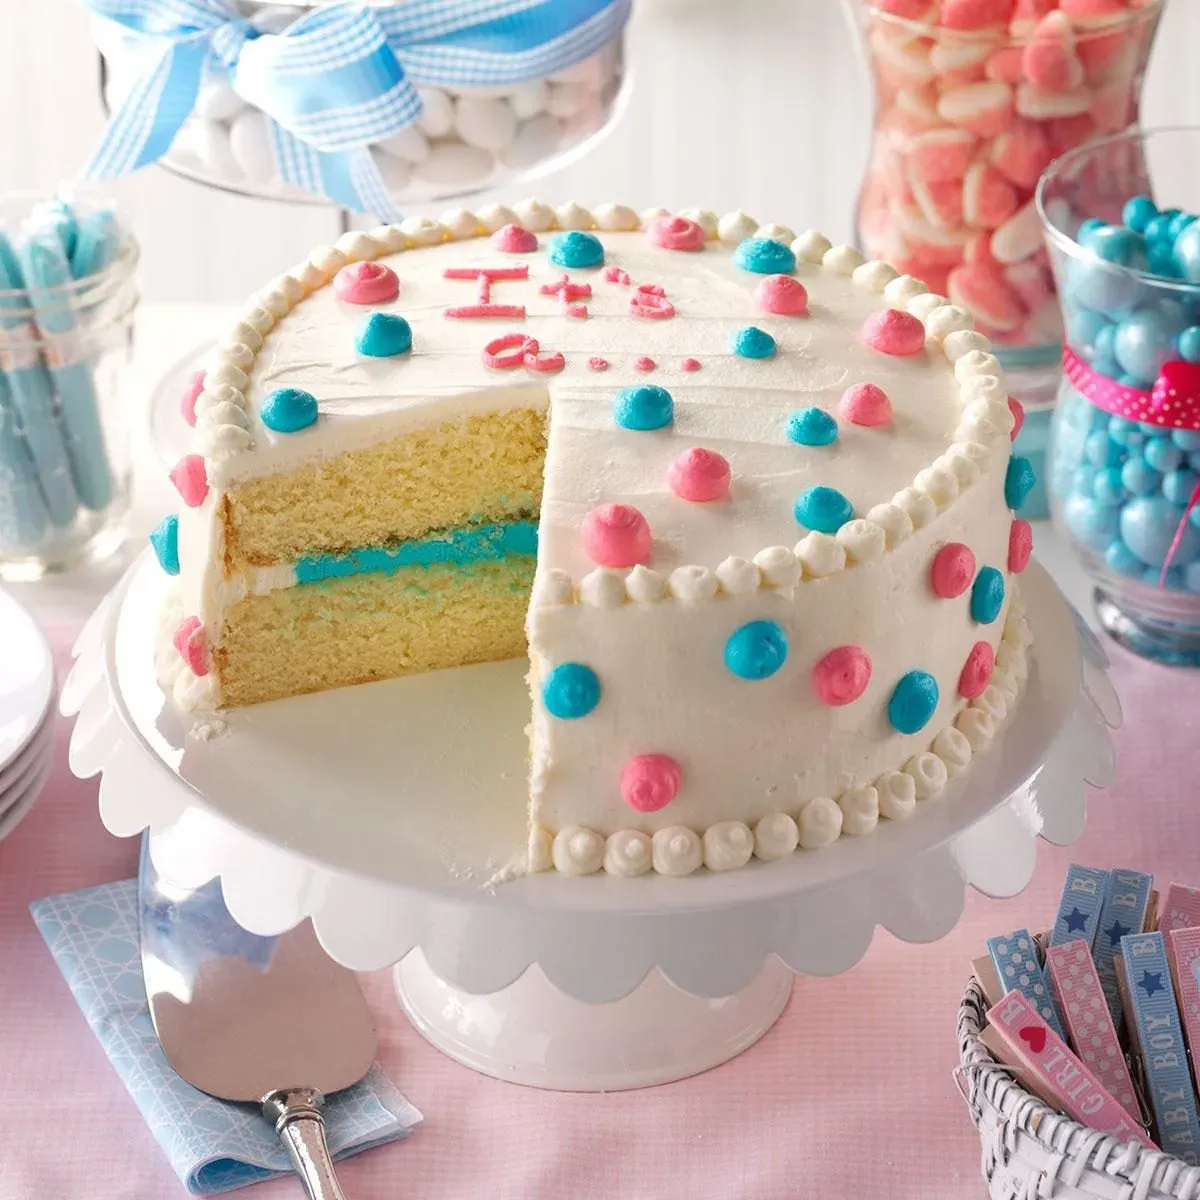
so you've got your supplies rounded up. Now for the fun part: putting it all together. The StepbyStep Guide to Your Easy Gender Reveal Cake isn't rocket science; it's about following a few simple actions to get that perfect reveal. First things first, bake your cake layers according to the mix instructions or your chosen simple recipe. Let them cool completely – trying to frost a warm cake is a fast track to disaster. Once cool, you'll need to carve out a small well in the center of one layer. This is where the magic happens. Don't go too deep or too wide; just enough to hold a good amount of your colored filling. Now, whip up your frosting (or open that tub of store-bought goodness). Separate a small amount and tint it with your chosen color – pink or blue gel food coloring is your best bet for intense, non-watery color. This colored frosting is what goes into the well you carved. Fill it up generously.
- Bake cake layers and cool completely.
- Carve a well in the center of one layer.
- Tint a small amount of frosting with pink or blue gel color.
- Fill the carved well with the colored frosting.
Pro Tips for Making Your Gender Reveal Cake Easy and Perfect
Pro Tips for Making Your Gender Reveal Cake Easy and Perfect
Chill Your Layers for Easier Handling
let's talk about avoiding frustration. One of the absolute best is chilling your cake layers before you do anything else with them. Once they're baked and completely cooled on a wire rack, pop them in the fridge for at least 30 minutes, or even the freezer for 15. Why? Cold cake is firm cake. It's less likely to crumble when you're trying to level it, carve that crucial center well, or stack it. Trust me, trying to work with warm, soft cake is a mess waiting to happen. I learned this the hard way trying to rush a birthday cake once – crumbs everywhere, layers sliding. Chilling makes everything cleaner and simpler, saving you time and minimizing the risk of a structural collapse before anyone even sees the inside.
Mastering the Color Reveal Core
Now, the heart of the operation: getting that color right and keeping it hidden until the big slice. You need vibrant color, so ditch the liquid food coloring you use for Easter eggs. Gel food coloring is concentrated and won't add excess liquid to your frosting. Use a good amount to get an intense pink or blue. When you carve the well in your bottom layer, don't go all the way through, obviously, and leave a decent border so the colored filling doesn't seep out the sides. After you fill that well generously with your tinted frosting or filling, place the top layer carefully on top. Press down gently to seal the colored core inside. Then, apply a thin "crumb coat" of frosting all over the cake. This traps any loose crumbs and, crucially, creates a barrier so the colored filling is totally hidden. Chill the cake again before applying your final layer of frosting. This two-step frosting process is key to a clean reveal.
Quick Tip Checklist for Success:
- Always chill cake layers before carving or frosting.
- Use gel food coloring for intense color.
- Carve a well deep enough for color but not through the layer.
- Fill the well generously with colored frosting or filling.
- Apply a thin crumb coat and chill before final frosting.
Beyond the Bake: Serving Your Easy Gender Reveal Cake
Beyond the Bake: Serving Your Easy Gender Reveal Cake
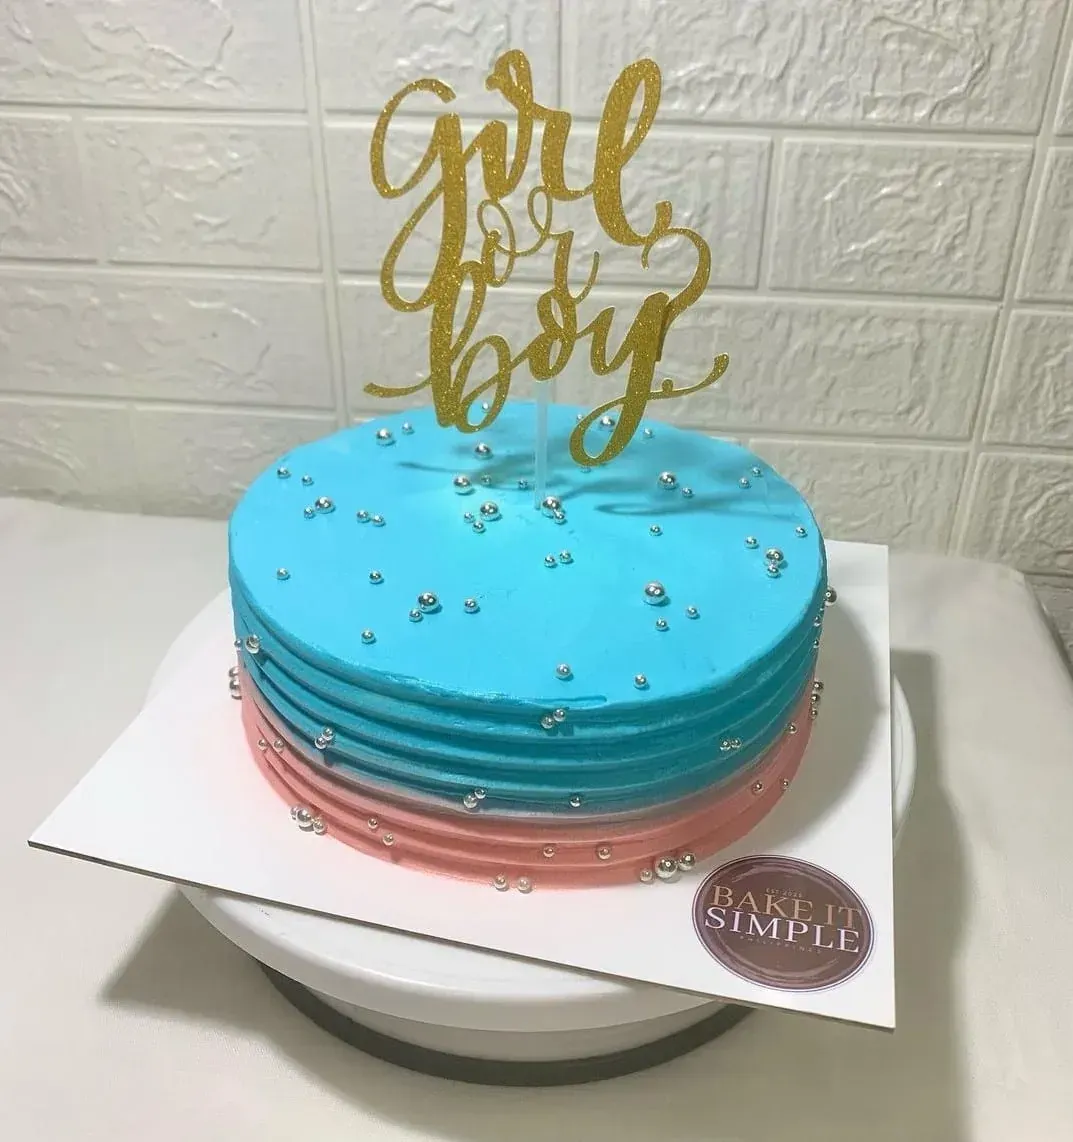
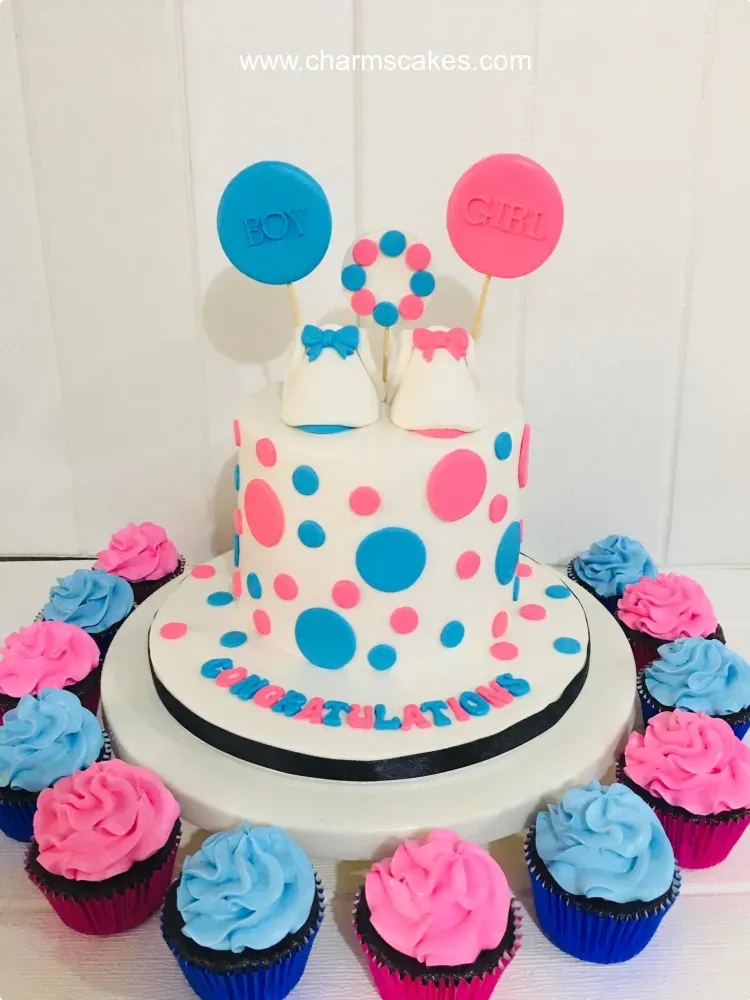
the baking is done, the frosting is smooth (or at least presentable), and the colored secret is tucked safely inside. You've conquered the kitchen with your gender reveal cake easy approach. Now comes the moment everyone's been waiting for: the reveal itself. Serving this cake isn't just about handing out slices; it's about building up the anticipation. Gather your guests, maybe have a little drumroll, and make a moment of the first cut. Pick a designated cutter – maybe the parents-to-be together – and make sure they slice deep enough into the center to expose that vibrant pink or blue core. Have cameras ready, because that reaction shot is gold. It's a simple act, cutting a cake, but when it holds this kind of surprise, it becomes the climax of the party. Don't overthink this part; the cake does the heavy lifting now.
Key Moment Checklist:
- Gather guests for the reveal.
- Designate who makes the first cut.
- Ensure the cut goes deep into the center.
- Have cameras ready for reactions.
- Enjoy the moment!
Your Easy Gender Reveal Cake Awaits
So there you have it. Making a gender reveal cake doesn't require a culinary school diploma or industrial-grade kitchen equipment. It’s about a few simple steps, some basic ingredients, and not overthinking the process. You've got this. The point is the moment, the shared anticipation, not achieving some unattainable level of cake perfection. A slightly lopsided layer or a less-than-perfect swirl of frosting won't diminish the cheers when that color is finally revealed. Go ahead, give it a shot. The payoff – that genuine surprise on everyone's faces – is absolutely worth the minimal effort.