Table of Contents
Planning a gender reveal party? Want a fun, delicious, and memorable way to share the big news? Look no further than gender reveal cake pops! These bite-sized treats are not only adorable but also incredibly easy to make. In this article, we'll guide you through every step of creating the perfect gender reveal cake pops, from baking the cake to decorating the final product. First, we'll explore the art of making perfectly smooth and delicious cake pops, ensuring your treats are as delightful as they are beautiful. Next, we'll unleash your creativity with a range of fun and unique decorating ideas, transforming plain cake pops into stunning works of art that perfectly match your party theme. We'll also share our best tips and tricks for baking success, helping you avoid common pitfalls and achieve professional-looking results. Finally, we'll cover how to serve and store your gender reveal cake pops, ensuring they stay fresh and appealing for your guests. Get ready to create a sweet surprise that will leave everyone wanting more! Prepare to be amazed by how simple yet stunning gender reveal cake pops can be. Let's get started!
Making Perfect Gender Reveal Cake Pops

Making Perfect Gender Reveal Cake Pops
So, you're diving into the world of gender reveal cake pops? Awesome! The key to perfection lies in a few simple steps. First, choose your cake wisely. A classic vanilla or white cake is ideal because it takes food coloring beautifully, giving you vibrant pink or blue pops. You can use a boxed mix for convenience, or whip up your own from scratch – check out these amazing cake recipes for inspiration! Once baked and completely cool, crumble the cake into fine crumbs. Don't skimp on the frosting; it's the glue that holds your cake pops together. Mix thoroughly until you have a pliable dough that holds its shape.
Ingredient | Quantity (adjust as needed) |
|---|---|
Cake Crumbs | 4 cups |
Frosting | 1 cup |
Next, portion your dough. Use a cookie scoop or spoon to create even-sized balls. This ensures consistent baking and dipping. Roll each ball gently between your palms to create a smooth surface. This is crucial for a professional finish. Before dipping, chill the cake balls in the fridge for at least 30 minutes. This firms them up, preventing cracks when you coat them in melted candy melts. If you want to make your cake pops extra special, try adding a touch of flavor to your cake batter before baking. A teaspoon of vanilla extract or almond extract can add a delightful twist. For more advanced decorating ideas, take a peek at these DIY cake topper ideas!
- Chill the cake balls before dipping
- Use a cookie scoop for even-sized balls
- Roll gently to create smooth surfaces
Remember, patience is key! Rushing the process can lead to cracked or uneven cake pops. Take your time, and enjoy the process. Making these gender reveal cake pops is a fun activity, so relax and have fun with it! And don't forget to check out some creative cake designs for some extra inspiration!
Creative Decorating Ideas for Gender Reveal Cake Pops

Creative Decorating Ideas for Gender Reveal Cake Pops
Classic Pink and Blue
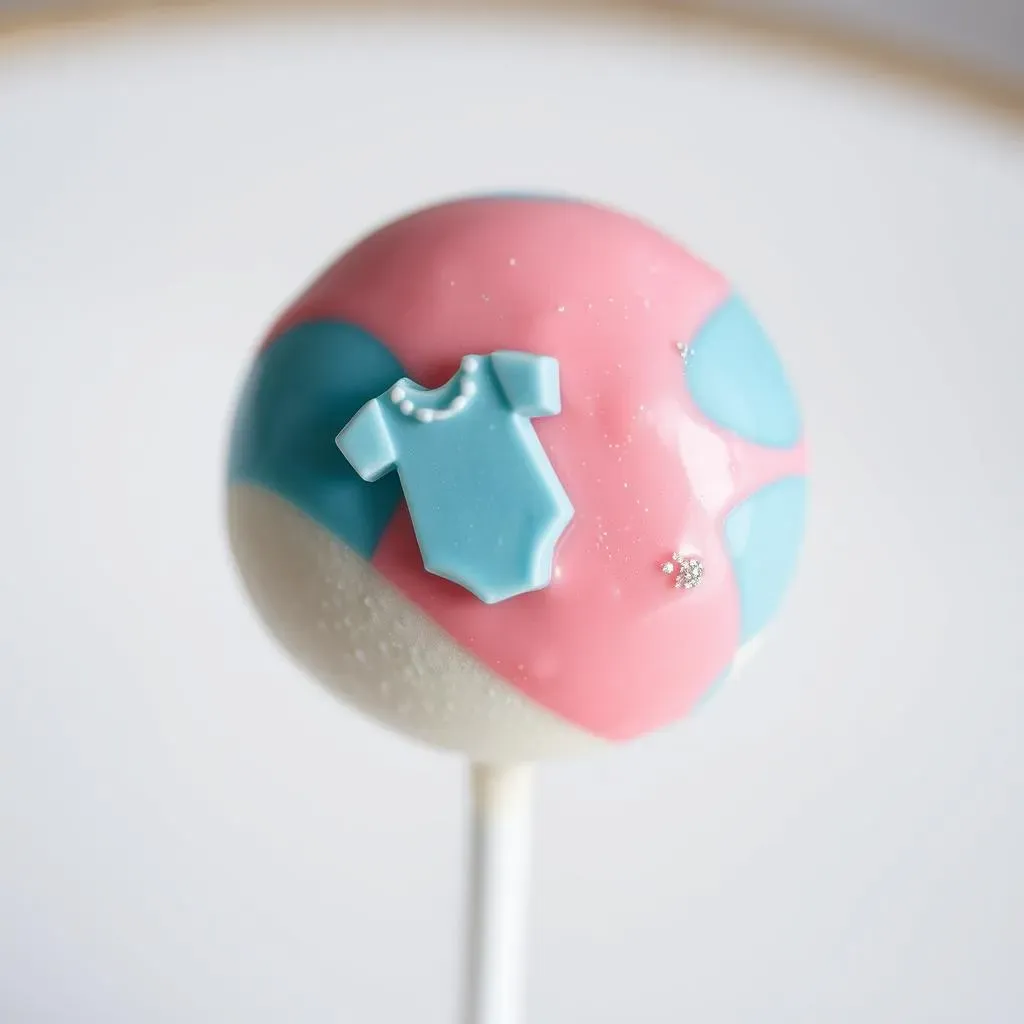
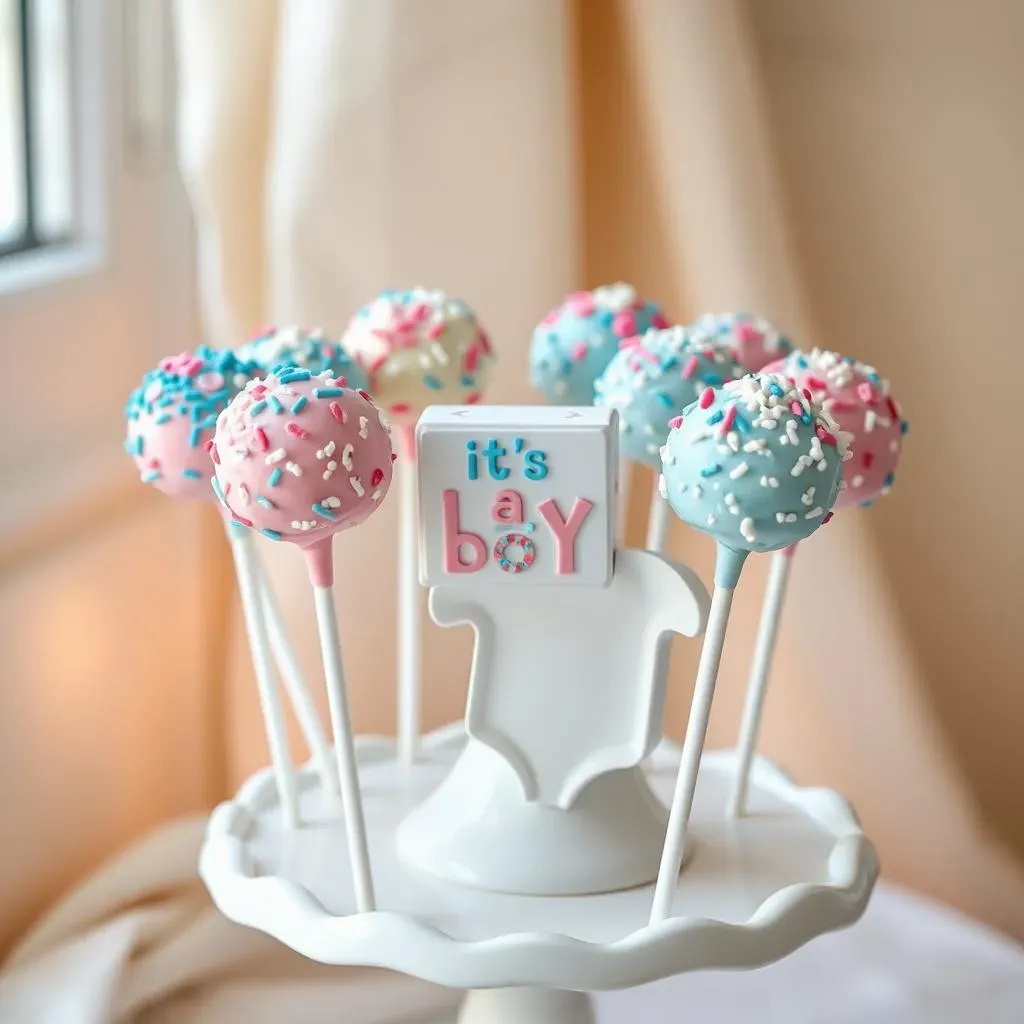
Let's start with the quintessential gender reveal colors: pink and blue! Dip your perfectly formed cake pops into melted white candy melts, then immediately sprinkle with pink or blue sanding sugar, creating a delightful contrast. For an extra touch, drizzle melted pink or blue candy melts in a zig-zag pattern over the white coating for added visual appeal. You can even create a marbled effect by swirling pink and blue candy melts together before dipping. Don't forget to add a cute question mark using melted chocolate in a contrasting color for that extra touch of fun! Check out these DIY cake topper ideas for some additional inspiration.
- Sanding sugar for a sparkly finish
- Drizzled melted candy melts
- Marbled effect with mixed colors
Themed Cake Pop Extravaganza
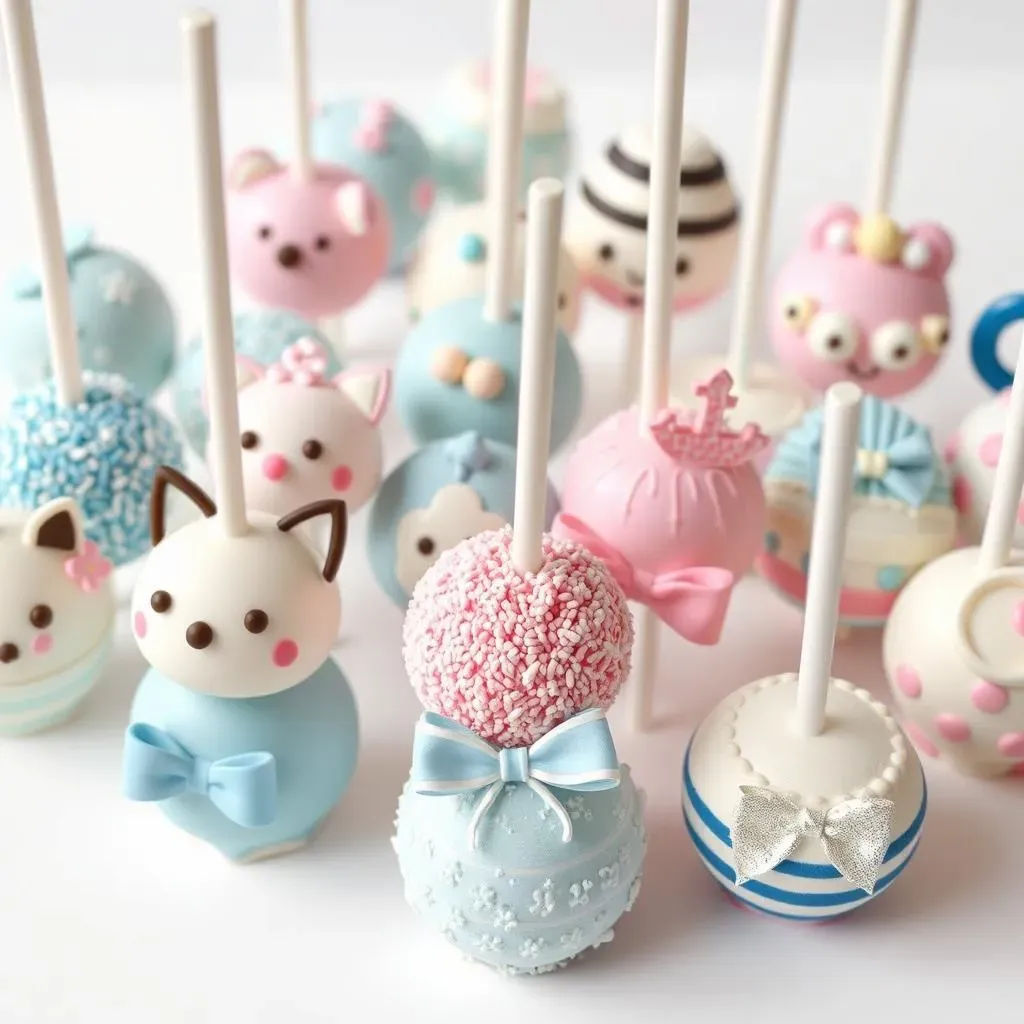
Why stick to just pink and blue? Get creative and incorporate themes into your cake pops! If you’re having a woodland-themed party, decorate your cake pops with miniature woodland creatures or tiny leaves. For a nautical theme, use blue and white candy melts and add miniature anchors or seashells. A superhero theme? Decorate with tiny superhero logos! The possibilities are endless! Remember to consider the overall aesthetic of your party when choosing a theme. For more ideas, browse our collection of creative cake designs to spark your imagination.
Theme | Decorating Ideas |
|---|---|
Woodland | Miniature animals, leaves |
Nautical | Anchors, seashells |
Superhero | Superhero logos |
Adding Personal Touches
Personalize your gender reveal cake pops to add a unique touch! Use edible markers to write the parents' names or the baby's initials on each pop. Add a tiny bow, a small ribbon, or a miniature stuffed animal to each cake pop for added charm. You could even use edible glitter or luster dust to create a glamorous effect. Consider adding a small tag with a fun message or the date of the gender reveal party. These small details can elevate your cake pops from simple treats to personalized keepsakes. For more ideas on adding a unique flair, check out these cake flavor ideas to complement your decorations!
Tips and Tricks for Baking Amazing Gender Reveal Cake Pops

Tips and Tricks for Baking Amazing Gender Reveal Cake Pops
Avoiding Common Cake Pop Pitfalls
Let's talk troubleshooting! One common issue is cake pops that are too dry. This usually happens when you don't add enough frosting to your cake crumbs. Aim for a moist, almost dough-like consistency. Too much frosting, on the other hand, can make them too sticky and difficult to handle. Find that sweet spot!
Another problem? Cracks! Cracks often appear if your cake pops aren't fully chilled before dipping. Always pop them in the fridge for at least 30 minutes to firm up. This allows the candy coating to adhere properly. Also, make sure your candy melts aren't too hot when you dip them. Let the melted candy cool slightly before dipping for the best results. For extra delicious cake recipes, check out these amazing cake recipes!
- Ensure correct frosting-to-crumb ratio
- Chill cake pops thoroughly before dipping
- Avoid using overly hot candy melts
Mastering the Dip
Dipping your cake pops is an art form! Make sure your candy melts are smooth and thinned to the right consistency. If they're too thick, they'll be difficult to work with and may crack. A little bit of shortening or oil can help thin them out. If you're using chocolate, make sure it's tempered properly to avoid seizing. A double boiler is your best friend here!
Dip your cake pops fully and quickly to avoid uneven coating or drips. Gently tap off excess candy before placing them on a parchment-lined baking sheet to cool completely. For a truly professional look, consider using a cake pop stand – it makes dipping and decorating a breeze! Don't forget to check out our creative cake designs for extra inspiration!
Problem | Solution |
|---|---|
Thick candy melts | Add shortening or oil |
Uneven coating | Dip quickly and fully |
Elevating Your Cake Pops
Want to take your gender reveal cake pops to the next level? Consider using high-quality ingredients. Better chocolate and candy melts make a huge difference in taste and texture. Experiment with different types of sprinkles, edible glitter, and other decorations to add a touch of elegance and personality. Don't be afraid to get creative! For unique flavor combinations, explore these cake flavor ideas.
Finally, presentation matters! Arrange your finished cake pops on a beautiful cake stand or platter. Add some decorative elements, like ribbons, flowers, or themed props, to create a visually stunning display. Remember, your cake pops are the centerpiece of your gender reveal, so make them shine! For unique and fun cake toppers, check out our DIY cake topper ideas!
Serving and Storing Your Gender Reveal Cake Pops

Serving and Storing Your Gender Reveal Cake Pops
Serving Your Sweet Creations
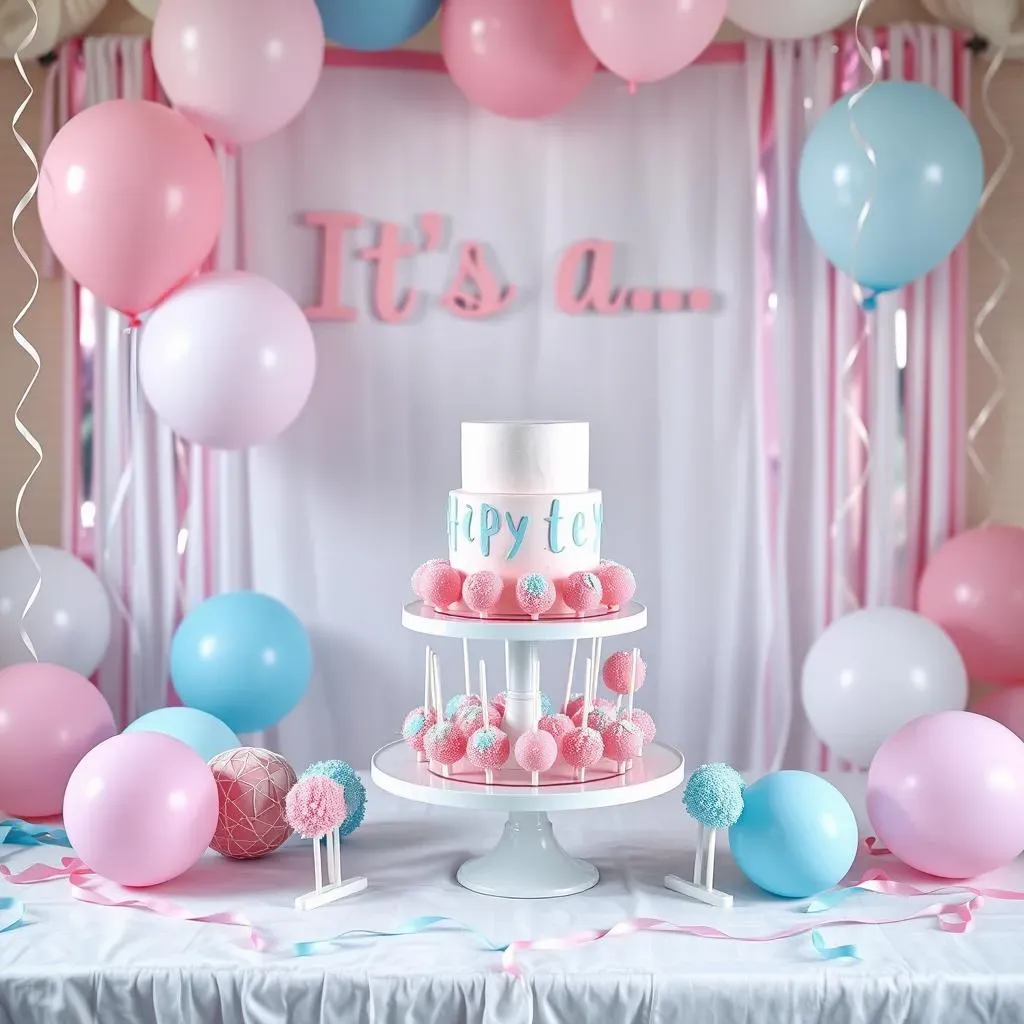
So, your gender reveal cake pops are ready! Now for the fun part – serving them! Arrange them beautifully on a cake stand or platter. Consider using a themed backdrop or table setting to complement your cake pops and create a cohesive look. Think pink and blue streamers, balloons, or even miniature stuffed animals, depending on your chosen theme. You can also arrange them in a decorative bowl or basket for a more rustic feel. For extra visual appeal, add some fresh flowers or greenery to the display. Don't forget the all-important "It's a..." banner to reveal the big news!
For a truly interactive experience, consider having guests pick their own cake pops. This allows everyone to participate in the reveal, making it more fun and engaging. Alternatively, you can present the cake pops in individual cellophane bags tied with ribbons, creating charming party favors for your guests to take home. If you're feeling extra fancy, consider adding small personalized tags to each bag with a cute message or the date of the gender reveal. For inspiration on coordinating your cake pops with your party theme, check out these creative cake designs.
- Cake stands or platters
- Themed table settings
- Individual cellophane bags
- Personalized tags
Storing Leftover Cake Pops
Even the most delicious cake pops might have a few leftovers. Proper storage is key to keeping them fresh and delicious. Store any remaining cake pops in an airtight container at room temperature for up to 3 days. Keep them away from direct sunlight and heat sources to prevent them from melting or drying out. For longer storage, you can freeze your cake pops for up to 2 months. Wrap them individually in plastic wrap, then place them in a freezer-safe bag or container. When ready to enjoy, thaw them at room temperature for about 30 minutes before serving. For some extra flavor inspiration, you might want to check out these delicious cake flavor ideas.
Remember, proper storage is essential for maintaining the quality and taste of your cake pops. By following these simple guidelines, you can ensure your delicious creations stay fresh and enjoyable for days, or even weeks, to come. Don't forget that those adorable cake pops can also be complemented with some creative DIY cake toppers for an extra special touch! This ensures that your gender reveal is not only delicious but also memorable.
Storage Method | Duration |
|---|---|
Room temperature (airtight container) | Up to 3 days |
Frozen (individually wrapped) | Up to 2 months |