Table of Contents
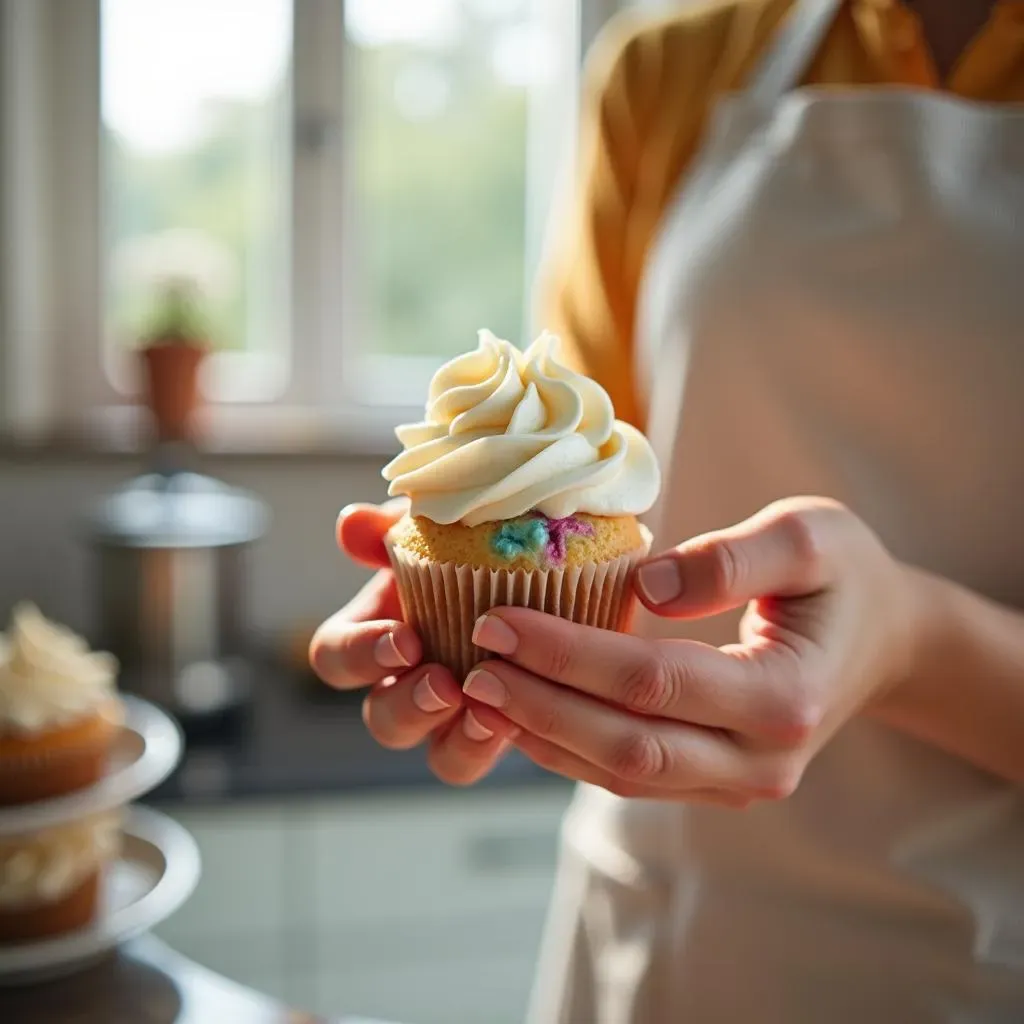
Planning a gender reveal party? Forget the smoke cannons and exploding confetti – let's talk cupcakes! These aren't just any cupcakes; they're tiny, delicious secrets waiting to be unveiled. We're diving into the world of "gender reveal party cupcake ideas" that are as exciting to make as they are to eat. Imagine biting into a fluffy cupcake, only to be greeted by a burst of pink or blue – talk about a sweet surprise! This article is your guide to creating these delightful treats, from the basic batter to the final sprinkle. We’ll cover the baking process, how to get that hidden color reveal just right, and how to decorate them so they look as good as they taste. Whether you're a seasoned baker or just starting out, I'll walk you through each step, ensuring your gender reveal is a memorable one. So, grab your apron, and let's get baking!
Baking the Perfect Gender Reveal Cupcakes
Baking the Perfect Gender Reveal Cupcakes
Okay, so you're ready to bake some magic, huh? Let's start with the base – the actual cupcake. I'm not talking about any old cake mix here. We want something that tastes amazing and has the right texture to hold our secret filling. I usually go for a white chocolate cupcake because it’s light, fluffy, and provides a great color contrast for the reveal. Think about it: a bright pink or blue hidden inside a white cupcake is just *chef's kiss*. But, you do you! If chocolate is your jam, go for it. The key is to use a recipe that you trust and that yields a consistent result. We’re not looking for surprises here – except for the gender reveal, of course!
Ingredient | Why It Matters |
|---|---|
White Chocolate | Adds richness and great contrast with the filling. |
Cake Flour | Creates a tender, light texture. |
Buttermilk | Keeps the cupcakes moist. |
Before you even think about preheating your oven, make sure you've got all your ingredients measured out. It's like getting your workout gear ready before hitting the gym – preparation is key. Whisk the dry ingredients together in one bowl and melt the white chocolate in another. Now, if you are using a stand mixer, this is where it shines. If you are using a hand mixer, that's okay too. Gradually add the melted chocolate and wet ingredients to the dry ingredients, mixing until just combined. Don’t over mix it; that’s a cardinal sin in the baking world. Overmixing leads to tough cupcakes, and nobody wants that at a party, especially a gender reveal party.
Filling the Gender Reveal Cupcakes with a Surprise
Filling the Gender Reveal Cupcakes with a Surprise
The Secret Core
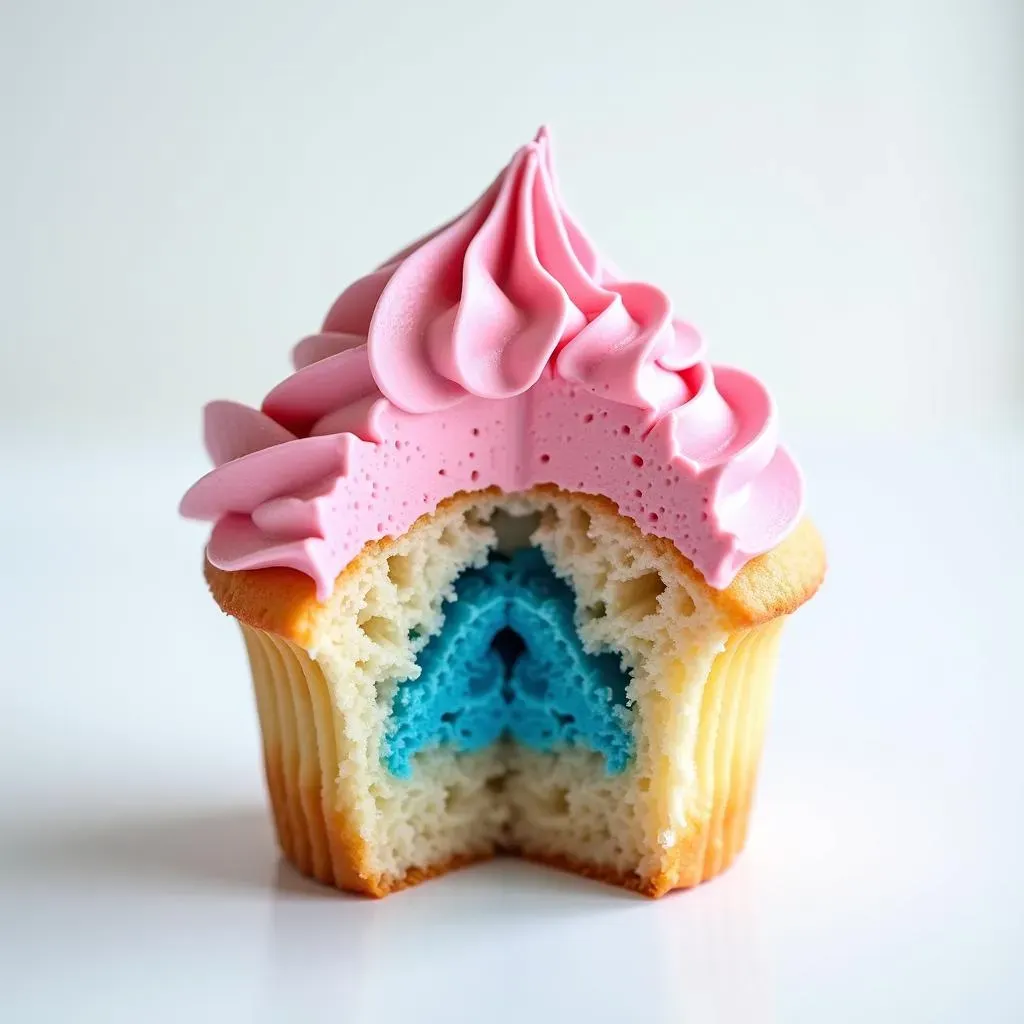
Alright, the cupcakes are baked and cooled. Now comes the fun part: creating the surprise! This isn't just about plopping some frosting in the middle; we need to make it a *reveal*. Using a cupcake corer (or a knife if you're feeling brave), carefully remove a small plug from the center of each cupcake. Don’t go all the way to the bottom. You want to leave enough cake to hold the filling in. This step is crucial, so take your time. Think of it like performing a tiny surgery on each cupcake. You need precision, but don't stress too much; a little imperfection adds character.
Next up, the filling! We're not using regular frosting here; we need something vibrant. Take a bit of your buttercream frosting, and divide it into two bowls. Add a few drops of pink food coloring to one bowl and blue to the other. Mix well until you get those perfect, eye-catching hues. Now, using a piping bag or a small spoon, fill the cavity of each cupcake with either pink or blue frosting, depending on the baby's gender, of course! Be generous but don’t overfill it, or it will spill over the sides when you put the plug back on. This is where the magic happens, the secret is literally inside.
Color Choices and Techniques
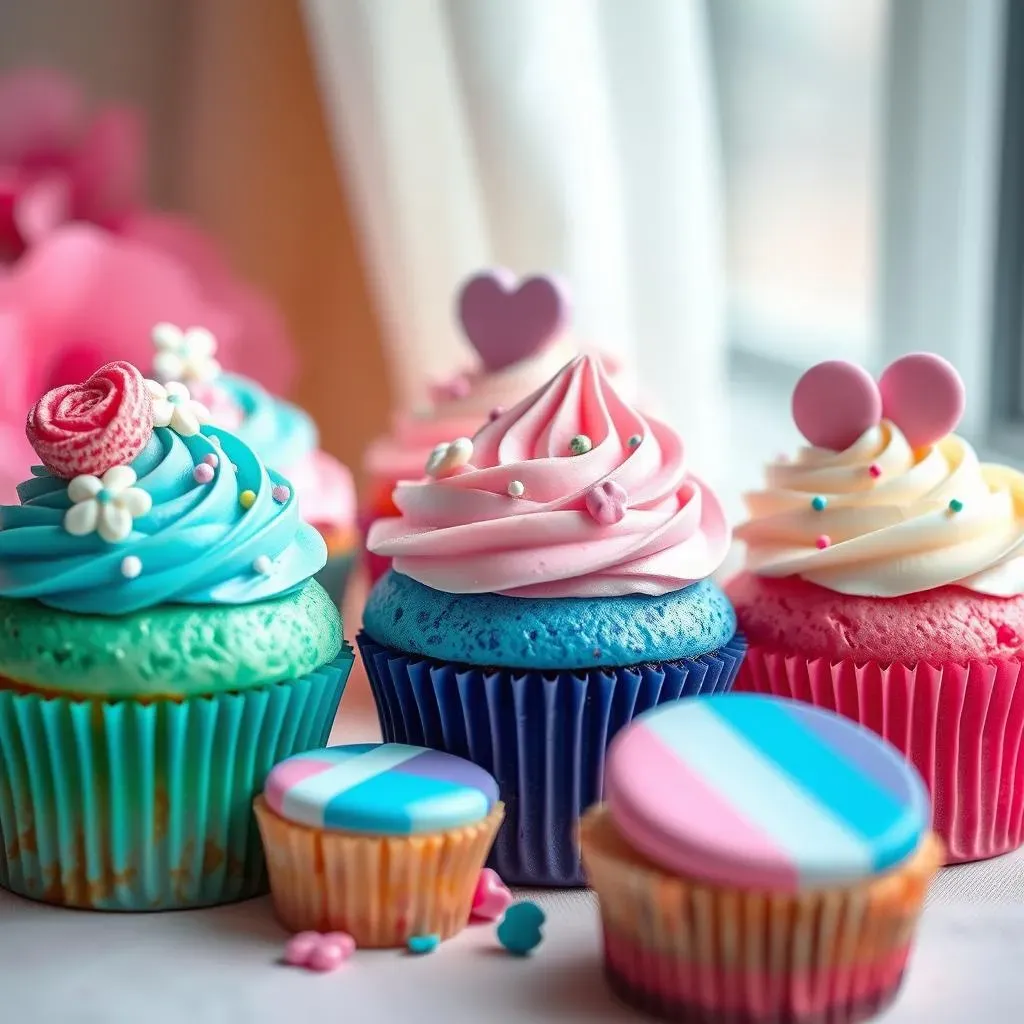
Now, let's talk about color choices and techniques. You might be tempted to go wild with different shades, but keep it simple. The classic bright pink and baby blue are always a hit. They pop against the white or vanilla cake and make the reveal super clear. If you are feeling fancy, you could use gel food coloring for more vibrant colors, or even add a touch of edible glitter. But honestly, the basics work wonders. When it comes to filling, you can use a piping bag for precision, or just a small spoon. The key is to get the frosting inside without making a mess. And remember, this is a fun process, so don’t be afraid to get a little messy.
Once your cupcakes are filled, carefully place the cake plug back on top. Gently press it down so that it seals the filling. Now, they look like regular cupcakes, but they are harboring a big secret. It’s like they are tiny treasure chests, waiting to be opened. This part can be a bit tricky, so take it slow and steady. You want the plug to blend in seamlessly, so you have a good surprise when someone bites into them. Now you're ready to move on to the final touches – decorating. But first, here's a little cheat sheet:
Filling Component | Tips |
|---|---|
Food Coloring | Use gel for vibrant colors, keep it simple with pink or blue. |
Piping Bag | Use for precision, but a spoon works too! |
Cake Plug | Press gently to seal, aim to blend in seamlessly. |
Decorating Your Gender Reveal Party Cupcake Ideas
Decorating Your Gender Reveal Party Cupcake Ideas
Okay, so the cupcakes are filled and ready for their big debut! Now, let's talk about making them look as good as they taste. This is where you get to unleash your inner artist. The first thing you'll need is the remaining buttercream frosting. If you want, you can split it in half and tint one half pink and the other blue. Or, you can just keep it white for a clean look. I personally like to go with a smooth layer of white frosting, it makes the reveal inside even more dramatic. But, you know, it is your party, your rules. Now, for the actual decorating, you can go simple or all out. A basic swirl of frosting is always elegant, or you can use a piping bag with a fancy tip for a more intricate design. It’s like dressing up your cupcakes for a special occasion, you want them to look their best!
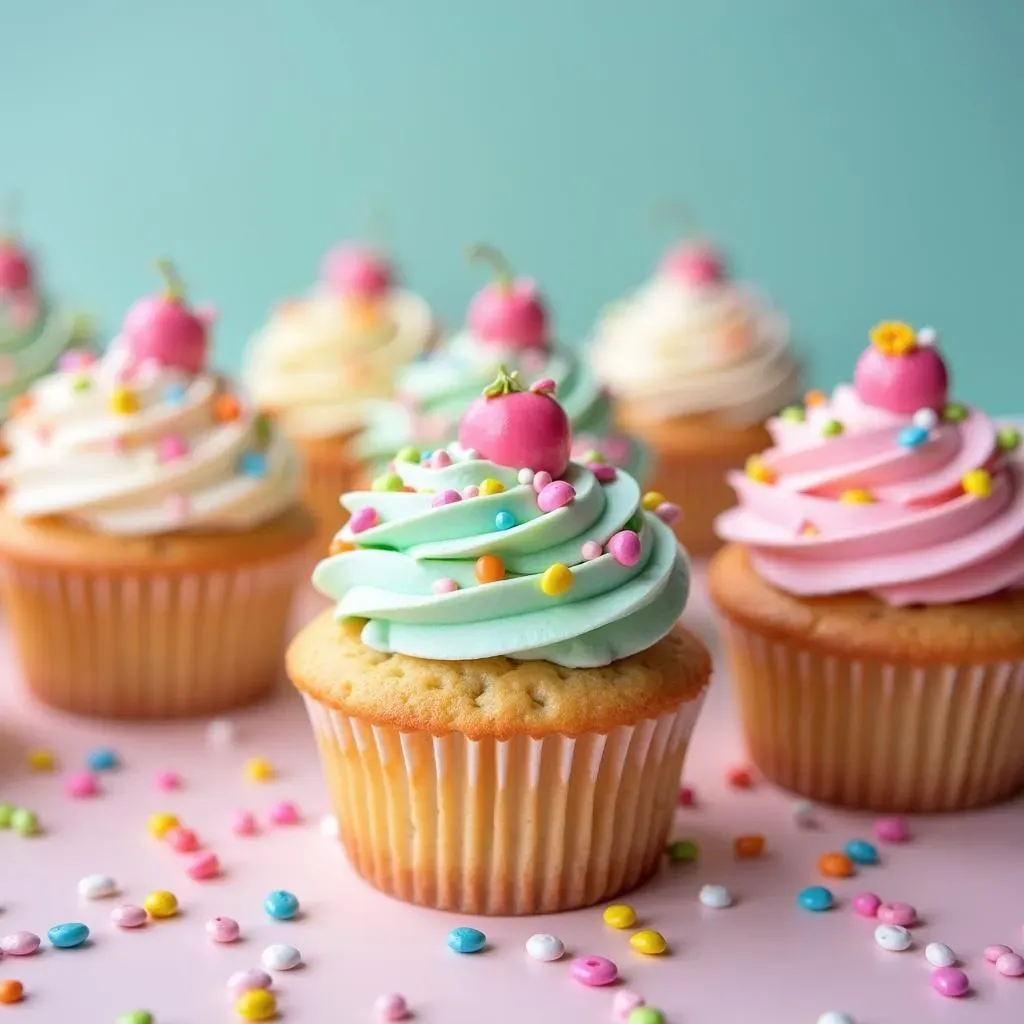
Sprinkles are your best friend here, folks. They add color, texture, and a whole lot of fun. You can use pink and blue sprinkles to hint at the reveal, or go with a mix of colors for a festive vibe. Some people like to use edible glitter, which adds a touch of sparkle. I say, why not? It’s a party! If you're feeling extra, you can even add little toppers, like tiny baby-themed decorations or edible pearls. Just make sure whatever you use is food-safe and won’t make your guests choke. Presentation is key, so take your time and have fun with it. It's not about perfection; it's about creating something special and memorable. Here's a quick guide to get you started:
Decoration | Tips |
|---|---|
Frosting | Use a smooth layer or fancy swirls, color it or keep it white. |
Sprinkles | Mix pink and blue or use a festive mix, add some edible glitter! |
Toppers | Use baby-themed decorations or edible pearls, make sure they are safe to eat. |
Tips, Variations, and Storage for Gender Reveal Cupcakes
Tips, Variations, and Storage for Gender Reveal Cupcakes
Baking Tips for Success
Alright, let's talk about some extra tips to make your gender reveal cupcakes even better. First off, make sure all your ingredients are at room temperature. This helps them combine more easily and gives your cupcakes a better texture. It's like making sure your car is warmed up before a long drive; it just runs smoother. If you’re using chocolate, don’t overheat it when melting. Use low heat or the microwave in short bursts. Burnt chocolate is a sad thing. And, as I mentioned before, don’t overmix your batter. Mix it until it's just combined, then leave it alone. Overmixing develops the gluten and gives you tough cupcakes, and no one wants tough love from a cupcake. Also, use a good quality cupcake pan and line it with cupcake liners. It makes cleanup a breeze. Here are some quick tips:
Another thing, always let your cupcakes cool completely before you start filling them. Warm cupcakes are too fragile, and you will end up with a mess. If you are in a hurry, you can put them in the fridge to speed up the process. But, don’t rush it too much. It's better to be patient and get it right than to have a bunch of messy cupcakes. And finally, if you are not a fan of buttercream, you can use other fillings. Cream cheese frosting, ganache, or even a simple whipped cream will work. The key is to choose a filling that is thick enough to hold its shape and doesn’t seep out of the cupcake.
Tip | Why It Helps |
|---|---|
Room Temperature Ingredients | Combines better, improves texture. |
Don't Overheat Chocolate | Avoids burning, keeps flavor intact. |
Don't Overmix Batter | Prevents tough cupcakes. |
Cool Completely | Makes filling and decorating easier. |
Creative Variations and Storage
Okay, let’s get creative! If you want to mix things up, you can try adding different flavors to your cupcakes. A little lemon zest, a dash of vanilla extract, or even a pinch of cinnamon can make a big difference. Experiment and see what you like best. You can also add some chocolate chips or nuts to the batter for extra texture and flavor. If you are feeling really adventurous, you can try making marble cupcakes by swirling different colors of batter together. It’s like a little art project with edible results. And, if you are not a fan of cupcakes, you can use this technique to make mini cakes, or even cake pops. The possibilities are endless! Just use your imagination and have fun with it.
Now, let's talk storage. You can store your decorated cupcakes at room temperature for a day or two, but if you need to keep them longer, store them in the fridge. Make sure they are in an airtight container to prevent them from drying out. If you are storing them in the fridge, you will need to let them come back to room temperature before serving them, or the frosting will be too hard. Don't put them in the freezer, they will lose their moisture and become dry. Here's the breakdown:
- Room Temperature: 1-2 days, in an airtight container.
- Fridge: Up to a week, in an airtight container.
- Freezer: Not recommended, changes texture.
Remember, the goal is to make the cupcakes look and taste amazing, but also to make the process fun and enjoyable. So, don’t stress too much about perfection, and enjoy the process! After all, you are making something special that will bring a lot of joy to your family and friends.
Sweet Endings and Exciting Beginnings
And there you have it, your guide to creating utterly adorable and secretly revealing gender reveal party cupcakes! From mixing the batter to adding that crucial pop of color, you've got all the tools to make your celebration extra special. Remember, baking is about having fun, so don't stress about perfection. Whether you’re a pro or a beginner, these cupcakes are a fantastic way to share the joy with your loved ones. Go ahead, bake a batch, and let the sweet reveal begin! I'd love to hear how they turn out, so feel free to share your experiences and any creative twists you added along the way. Happy baking, and congratulations!