Table of Contents
So, you're having a baby! That's awesome! And what's even more awesome? The gender reveal party! Forget the cakes and balloons for a sec. Let's talk about something way more personal and stylish: gender reveal party nails. Yeah, you heard right. Your nails can be the star of the show, announcing whether you're having a little dude or a tiny diva.Are you picturing it? Imagine the gasps, the "oohs" and "aahs," all directed at your perfectly polished fingers! This isn't just about painting your nails pink or blue. It's about making a statement, showing off your excitement, and having a little fun before the sleepless nights kick in.In this guide, we're diving deep into the world of gender reveal nail designs. We'll explore trendy ideas, from simple DIY options to salon-worthy masterpieces. Plus, we'll cover the essential tips to keep your nails healthy and strong during pregnancy. Get ready to transform your fingertips into the ultimate gender reveal accessory!
Why Gender Reveal Party Nails are the Perfect Accessory

Why Gender Reveal Party Nails are the Perfect Accessory
A Touch of Personal Flair
Let's be real, gender reveal parties can sometimes feel a bit... cookie-cutter. Everyone's doing the same balloons, the same cakes, the same "it's a boy/girl" banners. But your nails? That's where you can inject some serious personality. It's a chance to showcase your style, your creativity, and your excitement in a way that's totally unique to you. Think of it as a tiny canvas for your big news!
I remember when my cousin had her gender reveal. Everything was blue and pink overload, but her nails? She had these amazing galaxy-themed nails with hidden blue and pink glitter. When she scratched off the top layer, BAM! Pink glitter everywhere. It was so unexpected and so her. That's the kind of personal touch that makes a gender reveal truly special.
Subtle Announcement, Major Impact
Not into grand gestures? No problem! Gender reveal nails can be as subtle or as bold as you want them to be. You could go for a simple color scheme, like alternating pink and blue on each nail, or opt for a more intricate design with hidden symbols or patterns. The beauty is that you're in control. It's a fun way to keep people guessing, and then surprise them with the big reveal when they least expect it.
Plus, let's not forget the photos! Your hands are going to be all over those announcement pictures, holding the cake, popping the balloons, etc. Having a killer manicure ensures your hands look picture-perfect, adding an extra touch of glam to your special moment. It's a small detail that can make a big difference in how you remember the day.
Feature | Benefit |
|---|---|
Personalization | Reflects your unique style and excitement. |
Subtlety | Allows for a gradual or surprising reveal. |
Photo-Ready | Ensures your hands look great in announcement photos. |
Top Gender Reveal Nail Design Ideas to Announce Your Little One

Top Gender Reveal Nail Design Ideas to Announce Your Little One
Classic Colors with a Twist
Pink and blue? Groundbreaking, I know. But hear me out! Instead of just slapping on solid colors, let's get creative. Think ombre effects, where the colors blend seamlessly into each other. Or maybe a French manicure with a pink or blue tip. You could even do a different shade of pink or blue on each nail for a subtle, yet stylish, rainbow effect. The key is to elevate the classics with a little bit of flair.
I saw this one design online that I'm obsessed with. It's a clear base with tiny pink and blue confetti sprinkled on top. It's so simple, but it looks so festive and fun! Plus, it's super easy to DIY if you're not a nail art pro. Just grab some confetti from your local craft store and go to town!
Here's a table of classic color combinations that are proven to work:
Color 1 | Color 2 | Description |
|---|---|---|
Pastel Pink | Pastel Blue | Soft and sweet, perfect for a delicate reveal. |
Hot Pink | Electric Blue | Bold and vibrant, for a modern twist. |
Rose Gold | Navy Blue | Elegant and sophisticated, a touch of glam. |
Hidden Symbols and Surprise Reveals
Want to take things to the next level? Incorporate hidden symbols or surprise reveal elements into your nail design. You could paint tiny question marks on each nail, or use nail stickers with baby-related images like rattles, bottles, or footprints. For the big reveal, try scratch-off nail polish that hides the baby's gender underneath. Guests can scratch off the polish to reveal pink or blue, adding an interactive element to your party.
Another cool idea is to use glow-in-the-dark nail polish. Paint your nails with a neutral color, then add pink or blue dots that only appear in the dark. Turn off the lights at the party and watch everyone's faces light up (literally!) when they see the hidden gender revealed on your nails. Talk about a memorable moment!
Here are some ideas for hidden symbols:
- Tiny footprints
- Question marks
- Baby bottles
- Stars
- Hearts
DIY Gender Reveal Nails: Tips, Tricks, and Safety First
DIY Gender Reveal Nails: Tips, Tricks, and Safety First
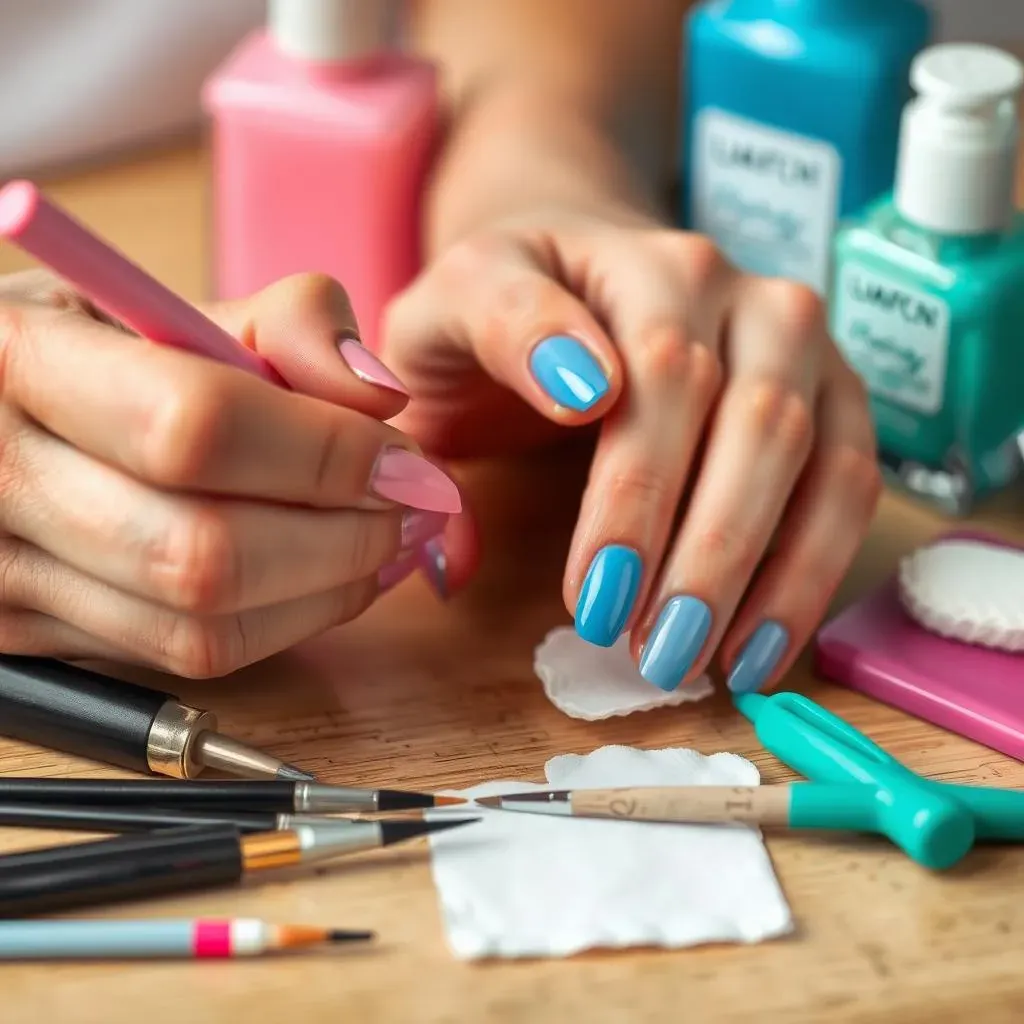
Gather Your Arsenal
Alright, so you're going the DIY route? Awesome! First things first, you'll need to assemble your nail art toolkit. This isn't just about grabbing any old polish. Think quality, my friend! Invest in some good base coats, top coats, and of course, your pink and blue polishes. Don't forget the essentials like nail files, cuticle pushers, and a steady hand (or at least the determination to fake one!).
I always recommend water-based or non-toxic polishes, especially when you're pregnant. Your body is already working overtime, so let's not add any unnecessary chemicals to the mix. Plus, these types of polishes tend to be gentler on your nails, preventing them from becoming brittle or damaged. It's a win-win!
Here's a quick checklist to get you started:
- Base coat
- Top coat
- Pink and blue nail polishes (water-based or non-toxic)
- Nail files
- Cuticle pusher
- Nail art brushes (optional)
- Nail polish remover (acetone-free)
- Cotton balls or pads
Technique is Key
you've got your supplies. Now it's time to talk technique. If you're new to nail art, start with something simple. A basic color block or alternating colors on each nail is a great way to ease in. As you get more comfortable, you can experiment with more intricate designs like gradients, dots, or even freehand drawings. YouTube tutorials are your best friend here! Seriously, there are tons of amazing nail artists out there who can guide you step-by-step.
One trick I learned is to work in thin layers. It might take a little longer, but it prevents the polish from getting gloopy and ensures a smoother, more even finish. Also, don't be afraid to use tape to create clean lines or stencils for more complex designs. Remember, practice makes perfect! Don't get discouraged if your first attempt isn't a masterpiece. Just keep at it, and you'll be rocking those gender reveal nails in no time.
Here are some nail art techniques to master:
Technique | Description | Difficulty |
|---|---|---|
Color Blocking | Painting different sections of the nail with solid colors. | Easy |
Ombre | Blending two or more colors seamlessly together. | Medium |
Dotting | Creating dots with a nail art tool or toothpick. | Easy |
Freehand | Drawing designs directly onto the nail with a brush. | Hard |
Conclusion: Nail the Reveal!
From subtle hints to dazzling displays, gender reveal party nails are the perfect way to add a personal touch to your big announcement. Whether you opt for a professional manicure or a DIY design, remember that the most important thing is to have fun and celebrate this special moment. So go ahead, pick your favorite design, and get ready to nail the reveal!