Table of Contents
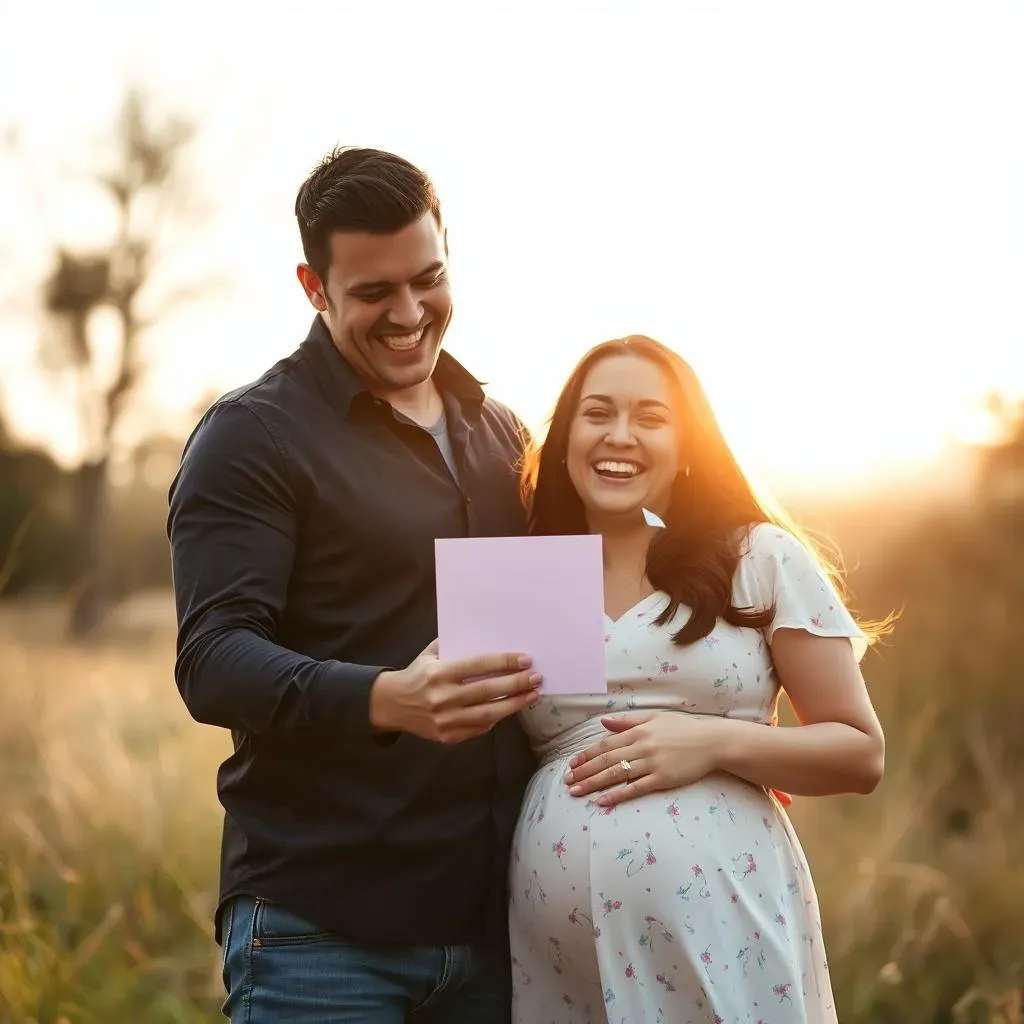
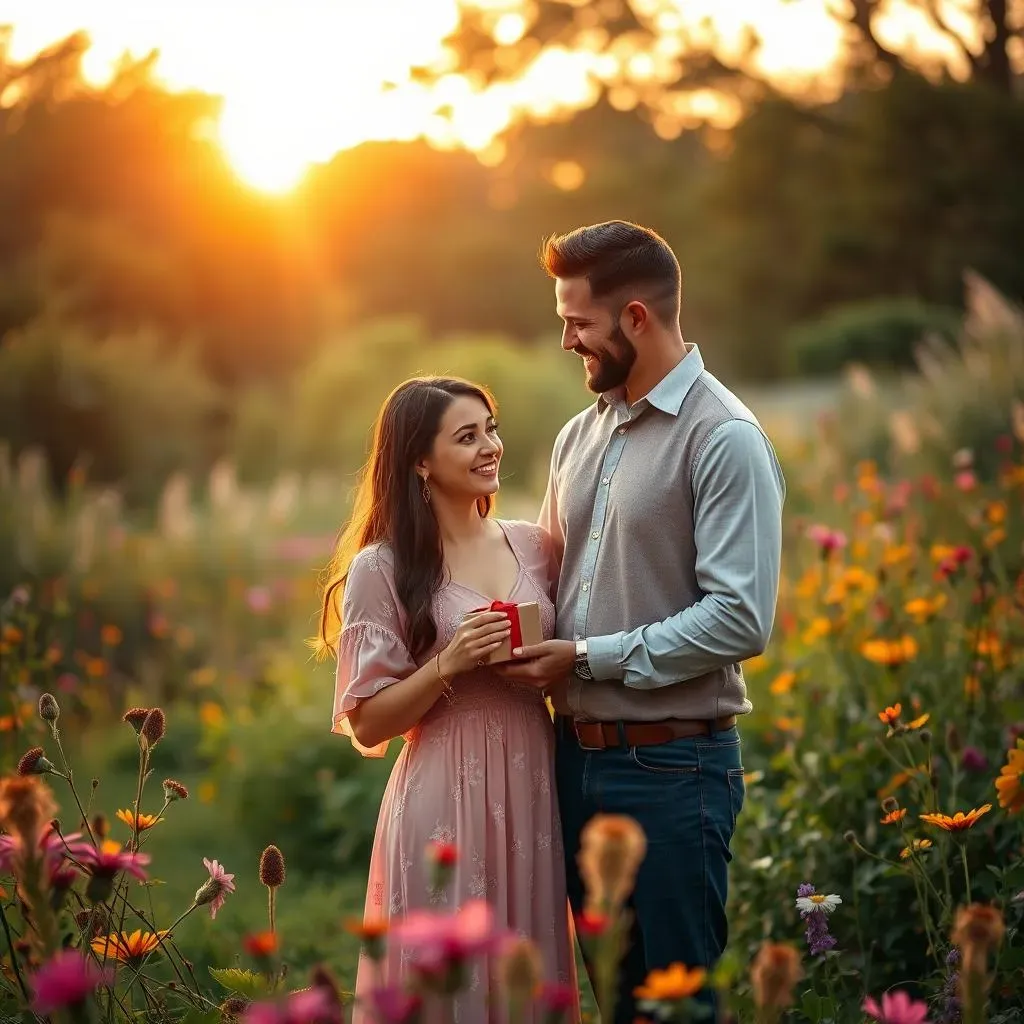
Picture this: a soft, golden light blankets the sky, casting a warm, magical glow. It's the perfect setting for a moment you’ll cherish forever – your gender reveal! I’m here to spill the secrets on how to capture those breathtaking photos during the coveted golden hour. I've been there, camera in hand, heart pounding with excitement, trying to get that perfect shot. It's not just about snapping a picture; it's about creating a memory. This article will guide you through the essentials of planning a successful gender reveal photography during golden hour. We will discuss why this time of day is a game-changer, how to plan your session, what gear to bring and safety tips. Also, I'll share some posing and composition tricks. Whether you are a seasoned photographer or a parent-to-be with a phone, I will give you the knowledge to make your gender reveal photos truly shine. Get ready to make some magic!
Why Golden Hour is Perfect for Gender Reveal Photography

Why Golden Hour is Perfect for Gender Reveal Photography
Okay, so you're probably wondering, what's the big deal with "golden hour," right? It's not just some fancy term photographers throw around to sound cool. It’s the real deal! Golden hour, that magical time right after sunrise and before sunset, bathes everything in this warm, soft light. It's like nature's own filter, making skin tones look amazing and colors pop. Forget harsh shadows and squinty eyes; golden hour gives you this dreamy, ethereal vibe that's just perfect for a gender reveal. Plus, that soft light is super flattering, so everyone looks their best, and who doesn't want that? Trust me, it's not just about the pretty light; it’s about capturing the emotion and joy of this moment in the most beautiful way possible. It's like turning up the volume on the magic of the day.
Light Characteristic | Midday Sun | Golden Hour |
|---|---|---|
Color Temperature | Cool, bluish | Warm, golden |
Shadows | Harsh, dark | Soft, diffused |
Skin Tones | May appear washed out | Warm, flattering |
Planning Your Gender Reveal Photo Shoot During Golden Hour

Planning Your Gender Reveal Photo Shoot During Golden Hour
Timing is Everything
Okay, so golden hour isn't actually a full hour. It's more like a window, and it shifts every single day. You've got to do your homework. Use a golden hour calculator app or website. Plug in the date and location of your shoot. This will tell you exactly when that sweet, soft light will show up. Don't just guess! And remember, the best light happens right at the start and end of that window, so plan to be set up and ready to go a little before the actual golden hour begins. Trust me, you don't want to be rushing around while that perfect light is slipping away.
Think of it like a limited-time offer, you know? It’s there for a bit, and then it’s gone. You have to be prepared to make the most of it. If you are doing a reveal with smoke bombs or confetti, practice a few times before the actual shoot. This way, you can make the most of the time and the light!
Location, Location, Location
Choosing the right spot is as important as getting the timing right. You want a place with an open view, so you can really capture the golden light. Parks, fields, or even a beach can be fantastic. Avoid places with lots of trees or buildings that can block the light or cast weird shadows. It's about finding a spot where the light can wrap around you and your subject. Also, think about your background; it should complement the event and not be distracting. Sometimes, the simplest backgrounds are the best. A wide-open field with a clear horizon can create the most beautiful, dramatic shots.
The Reveal Method and Props
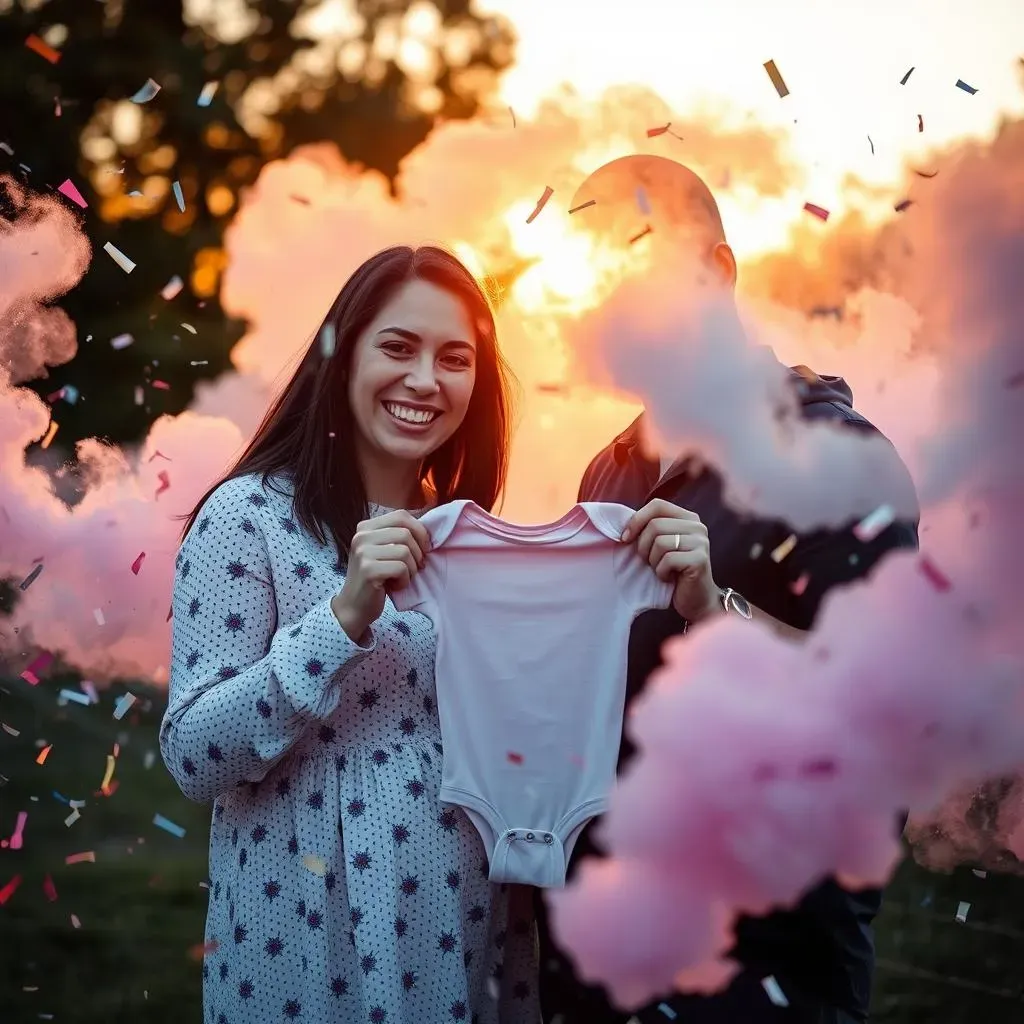
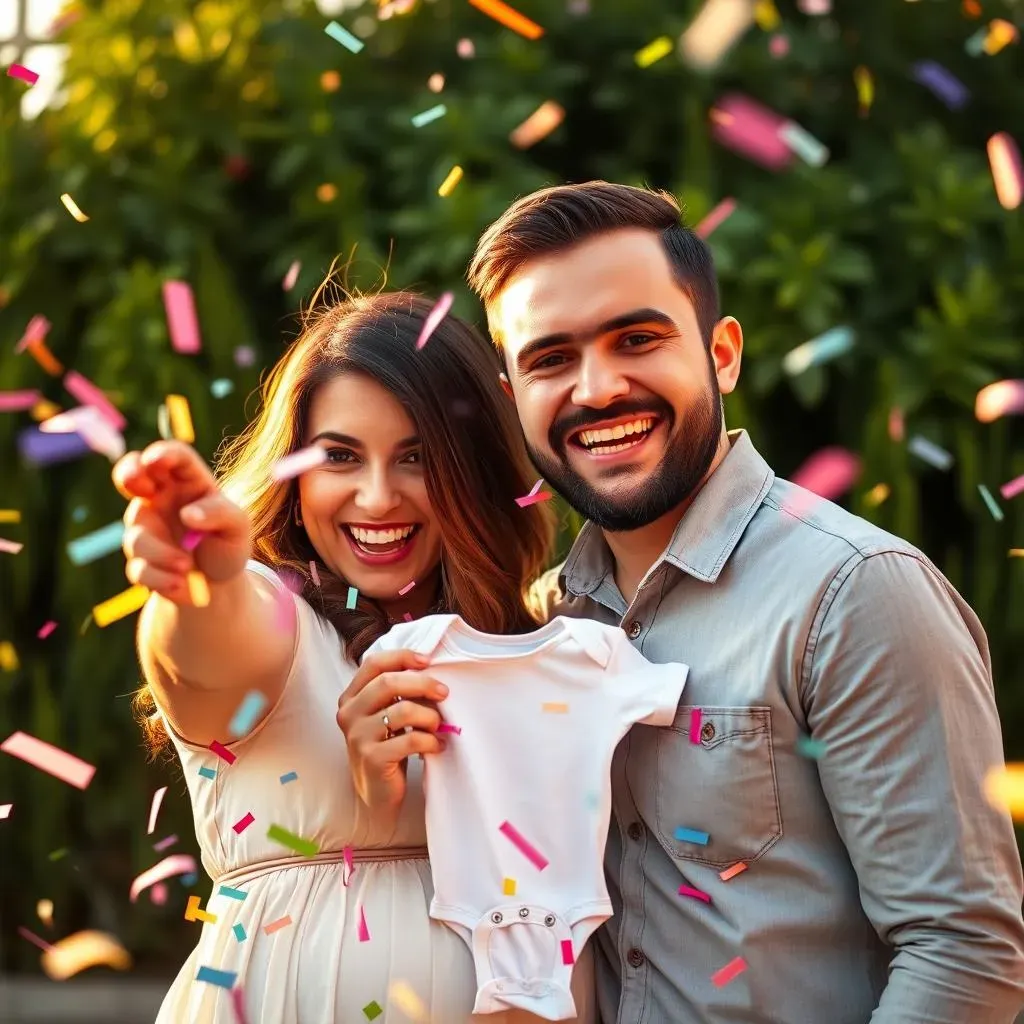
Now, let’s talk about the fun part – how you’re going to reveal the gender! Smoke bombs, confetti cannons, balloons, even colored powder; the options are endless. Pick something that fits your style and the location. If you're using smoke bombs, make sure they are the right color and practice lighting them a few times beforehand. Confetti cannons can be a little messy, but they look awesome in photos. Balloons are great for a classic look. Whatever you choose, make sure it's safe and that you have all the supplies you need. It's also helpful to have an assistant to help with setting off the props, so you can focus on capturing the moment!
Also, remember to consider the environment. Smoke bombs can be great, but they can also be a little messy, and some places may not allow them. Think about using eco-friendly confetti or biodegradable balloons, if possible. It's always a good idea to be respectful of the location and to leave it as you found it.
Prop | Pros | Cons |
|---|---|---|
Smoke Bombs | Dramatic, colorful | Can be messy, may not be allowed everywhere |
Confetti Cannons | Fun, festive | Can be messy, not eco-friendly |
Balloons | Classic, easy to use | Can be harmful to environment |
Essential Gear and Safety Tips for Golden Hour Gender Reveal Photography

Essential Gear and Safety Tips for Golden Hour Gender Reveal Photography
Camera and Lenses: Capturing the Moment
Okay, let's talk gear. You don't need the most expensive camera to get great shots, but having a decent one helps. A DSLR or mirrorless camera gives you more control over settings like aperture and shutter speed, which are important for golden hour photography. For lenses, a versatile zoom lens is a good start. Think something in the 24-70mm range; it allows you to capture wide shots and close-ups. A prime lens, like a 50mm, is awesome for those super sharp, dreamy portraits. Don’t forget extra batteries and memory cards! Trust me on this one, you don’t want to run out of juice or space right in the middle of the big reveal.
Also, consider bringing a camera bag that’s easy to carry. You might need to move around a bit to get the best angles, and having your gear organized will save you some stress. If you're using a phone, that's totally fine too! Just make sure your lens is clean and that you know how to adjust the exposure to get the best results in the golden light. The key here is to know your gear and be ready to use it efficiently.
Lighting and Accessories: Enhancing the Scene
Golden hour light is gorgeous, but sometimes you need a little extra help. A reflector can bounce that warm light back onto your subject, filling in any shadows. It’s like having a portable sun! If you’re using smoke bombs or confetti, a lighter is essential. Bring a few, just in case one doesn’t work. Also, if you are going to use smoke bombs, a lighter with a long nozzle is a must, it will help you light it without burning yourself. A tripod can be useful, especially if you're shooting video or want to get some sharp, still shots. And don't forget a lens cleaning cloth! You'd be surprised how much a little smudge can mess up your photos. A good cleaning cloth is a must in my bag.
Also, a small first aid kit can be very helpful. This should include bandages, antiseptic wipes, and pain relievers. You never know when someone might get a minor cut or scrape, especially if you're in a more rugged location. Having these things on hand ensures you’re prepared for anything. Always be prepared and plan for the worst.
Gear | Purpose | Why it's Important |
|---|---|---|
Reflector | Bounces light onto subject | Reduces shadows, enhances light |
Lighters | Lights props like smoke bombs | Essential for reveal props |
Tripod | Stabilizes camera | Sharp photos, stable video |
Safety First: Protecting Yourself and Others
Okay, safety isn't the most exciting part, but it’s super important. If you're using smoke bombs, make sure you're in a safe, open area away from dry grass or anything that could catch fire. Have a bucket of water or a fire extinguisher nearby, just in case. Be aware of your surroundings; watch out for uneven ground, and make sure no one trips over anything. Keep kids and pets at a safe distance. If you’re using confetti, use the biodegradable kind and be prepared to clean up afterward. It’s always a good idea to let the location owners know that you’ll be using confetti, so they are aware. And, please, don’t forget to wear sunscreen and a hat! Even though the golden hour light is soft, the sun's rays can still be strong, especially in the late afternoon. Remember, a sunburn can ruin the fun of a photoshoot.
Also, make sure you have someone designated as a safety monitor. This person's job is to keep an eye out for any hazards and to help keep everyone safe. This is particularly important if you’re in a crowded area or if you have a lot of props. The key is to be prepared and to think ahead. A little planning can go a long way in ensuring that everyone has a safe and enjoyable experience.
Capturing the Magic: Posing and Composition for Stunning Gender Reveal Photos

Capturing the Magic: Posing and Composition for Stunning Gender Reveal Photos
Posing for Emotion: Natural and Authentic
Alright, let's get into posing. This isn't about stiff, awkward stances; it's about capturing genuine emotion. Encourage the parents-to-be to interact naturally. Have them look at each other, laugh, and touch their baby bump. The best poses are the ones that feel real. Think about the anticipation of the reveal; you want to capture that excitement and joy. If you’re using smoke bombs or confetti, get them in position beforehand, and then let them react to the reveal. Don’t over-pose; sometimes the most simple, candid shots are the most powerful. It’s all about telling their story through the lens. Remember, you're capturing a moment, not staging a photoshoot. So, let the magic unfold!
Also, think about the angles. Shooting from a slightly lower angle can make the parents-to-be look more heroic, while shooting from above can emphasize their connection. Experiment with different angles to see what works best for the couple and the location. Sometimes, a simple change in perspective can make a huge difference in the overall impact of the photo. Don't be afraid to try new things and go for the unexpected shot.
Posing Tip | Description | Why it Works |
|---|---|---|
Natural Interaction | Encourage laughter, touch, and eye contact | Captures genuine emotions |
Anticipation | Capture the moment before the reveal | Builds suspense and excitement |
Candid Moments | Don't over-pose; capture real reactions | Creates authentic, heartfelt photos |
Composition Techniques: Framing the Scene
Now, let’s talk about composition. Think of your camera as a painter's brush, and the scene as your canvas. Use the rule of thirds to create balanced and visually appealing shots. Imagine your frame is divided into nine equal parts by two horizontal and two vertical lines. Place your subjects along these lines or at the points where they intersect. This will draw the viewer's eye to the most important parts of the photo. Also, use leading lines to guide the eye through the image. Roads, fences, or even shadows can help create depth and interest. Don’t be afraid to experiment with different compositions and try new things. Sometimes, the most unexpected shot can be the most powerful. The key is to be intentional about how you frame the scene.
Also, think about the background. A cluttered or distracting background can take away from the main subject. Try to find a clean, simple background that complements the couple and the reveal. Sometimes, a wide-open space with a clear horizon is the best option. Remember that the golden light can also act as a background, creating a warm and magical atmosphere. Also, try to include some environmental elements in the photo, like trees or flowers, to add depth and context. This will help to tell the story of the event and make the photos more meaningful.
Capturing the Reveal: The Peak Moment
Okay, this is the big moment – the reveal! Whether it's smoke, confetti, or balloons, make sure you're ready to capture that split-second reaction. Use burst mode on your camera to capture a series of shots in rapid succession. This will increase your chances of getting that perfect photo with the right expression. If you’re shooting video, make sure you’re recording before the reveal actually happens, so you capture everything. Anticipate the action and be ready to move quickly. Also, don’t forget to capture the aftermath of the reveal! Those smiles, hugs, and tears of joy are just as important as the reveal itself. These are the moments that everyone will want to remember. Be ready to move around to get different angles and perspectives. You might have to move quickly to capture the best shots.
Also, be sure to focus on the details. The way the light hits the smoke, the way the confetti falls, the way the parents’ eyes light up. These are the small details that make the photos truly special. Don’t get so caught up in the big picture that you forget the little things that add texture and emotion to the moment. The key is to be present and aware of everything that’s happening around you. This will help you capture the most meaningful and memorable photos.