Table of Contents
Planning a gender reveal is exciting, and capturing that magical moment with stunning photos is a must. But what if the lighting isn't cooperating? That’s where mastering "gender reveal photography with flash" comes into play. It's not just about snapping a picture; it's about creating a lasting memory. This article is your guide to ensuring those precious photos are as vibrant and joyful as the occasion itself. We'll walk through the crucial steps, from timing the perfect shot to choosing the right location. We will discuss how to use flash effectively to illuminate the reveal and how to coordinate outfits for the best visual impact. You'll learn how to pose creatively and capture those all-important details that make the moment unique. Finally, we will talk about the right camera settings and, most importantly, safety when using flash and other props. Get ready to transform your gender reveal into an unforgettable visual story.
Timing is Key for Flash Gender Reveal Photos

Timing is Key for Flash Gender Reveal Photos
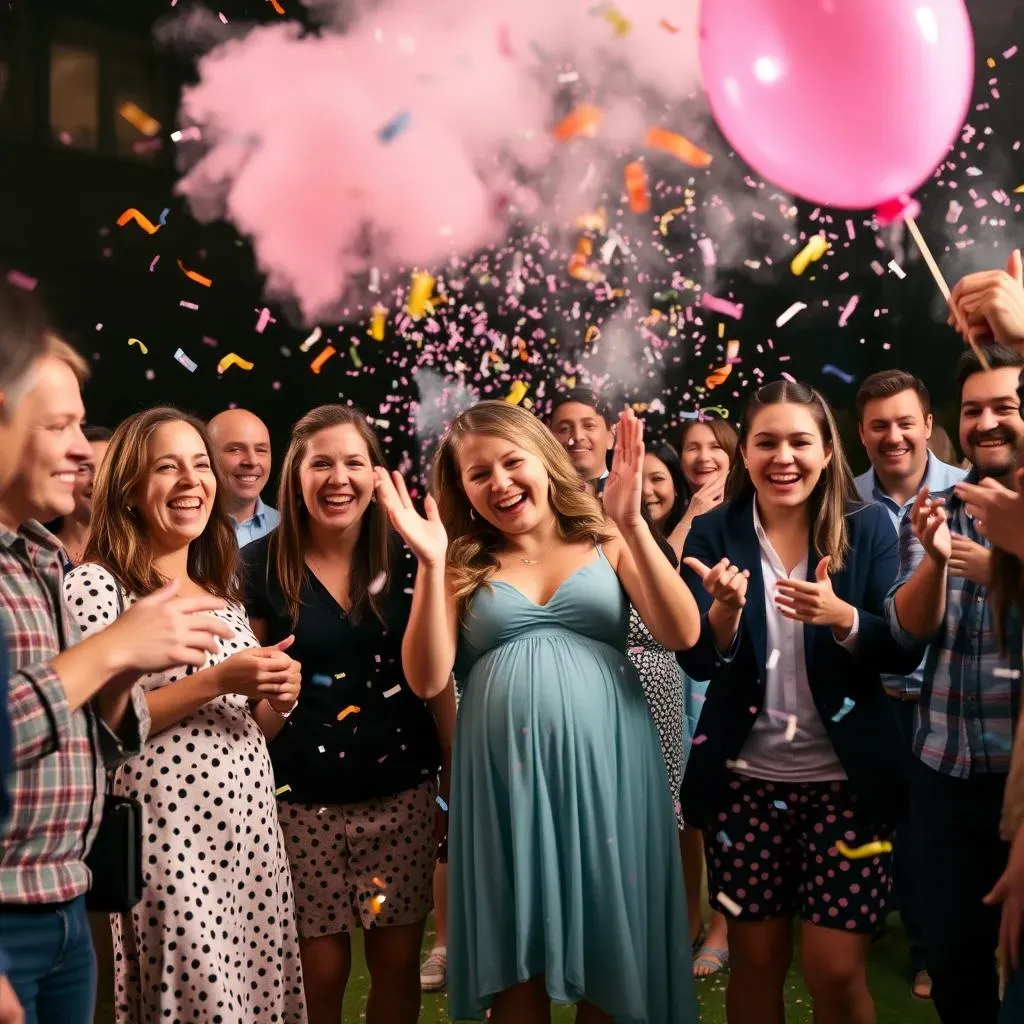
Okay, so you're aiming for that perfect "pop" moment, right? The kind where the smoke billows out, the confetti flies, or the balloon bursts, and everyone's reaction is pure, unfiltered joy. Well, timing is everything. You can't just snap away haphazardly and hope for the best. Think of it like a well-choreographed dance. You need to know exactly when the reveal will happen. Talk to the parents-to-be, figure out their plan, and then position yourself for the best shot. It's not just about pressing the shutter button; it’s about anticipating the peak of the action. If you're using smoke bombs, for example, you need to be ready just as the smoke starts to form its full shape. A split second too early or late, and you miss the magic. So, rehearse the reveal, communicate clearly, and be prepared to capture that fleeting moment. Trust me, it makes all the difference between a good photo and an epic one.
Location and Lighting for Flash Photography

Location and Lighting for Flash Photography
Finding the Perfect Spot
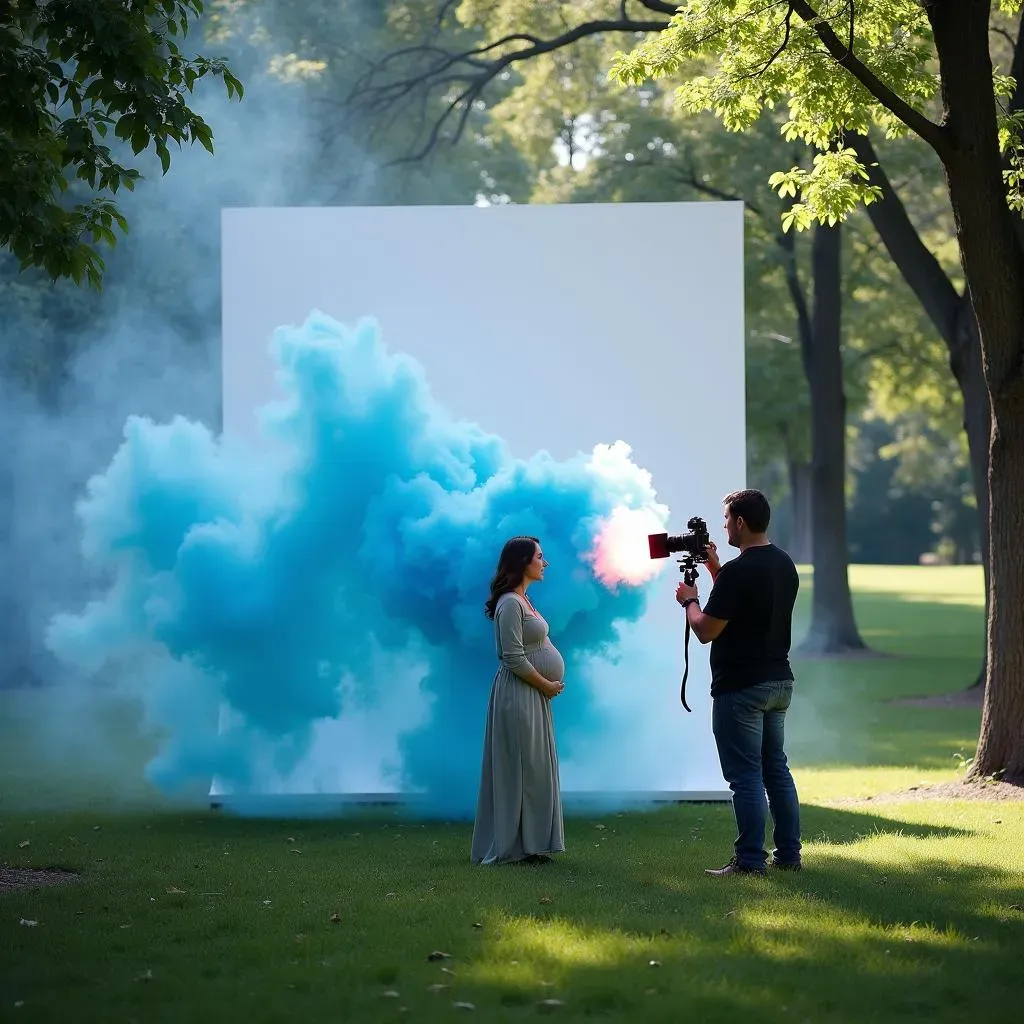
Alright, let's talk location. You wouldn’t set up a picnic in the middle of a busy highway, would you? Same goes for your gender reveal shoot. You need a space that's not only visually appealing but also practical. Think open areas, like a park or a large backyard, where you have plenty of room to move around and capture the action. Avoid cluttered backgrounds that could distract from the main event. You want the focus to be on the reveal, not the random assortment of garden gnomes in the background. Look for a backdrop that complements the colors you plan to use, whether it's blue or pink smoke, confetti, or balloons. A neutral background, like a plain wall or a grassy field, can work wonders. And, remember, safety first! Make sure there's enough space for everyone to stand back safely, especially if you're using smoke bombs or confetti cannons.
Mastering the Flash
Now, let's get to the juicy part: lighting. Natural light is amazing, especially during the golden hour, that magical time right after sunrise and before sunset. It makes everything look warm and dreamy. But, let's be real, you can't always rely on Mother Nature to cooperate. That’s where your flash comes in, like a superhero ready to save the day. Using flash correctly is like wielding a lightsaber; it can create amazing images, or it can totally ruin a shot. The key is to use it subtly, not like a deer caught in headlights. You want to fill in shadows and highlight the action without overpowering the scene. Experiment with different flash settings and angles. Bounce the flash off a wall or ceiling for a softer, more natural look, or use a diffuser to spread the light more evenly. And, if you’re shooting outdoors, use the flash as a fill light to counteract harsh shadows. Don't be afraid to play around and find what works best for your setup.
Lighting Type | Pros | Cons |
|---|---|---|
Natural Light (Golden Hour) | Warm, soft, flattering | Unpredictable, limited time |
Direct Flash | Powerful, consistent | Can be harsh, create shadows |
Bounced Flash | Softer, more natural | Less powerful, requires a surface |
Diffused Flash | Even, reduces harshness | May reduce light intensity |
Creative Poses and Details with Flash

Creative Poses and Details with Flash
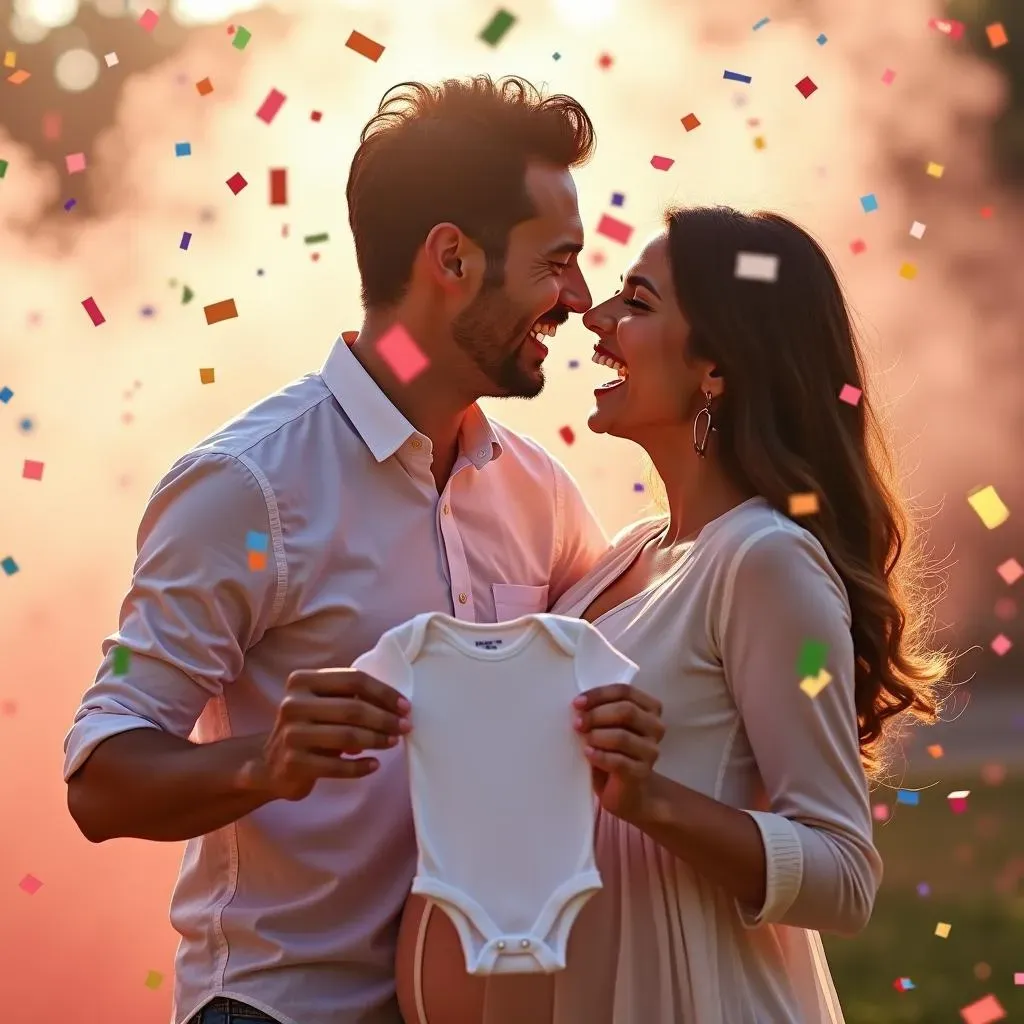
Alright, now that we've nailed the timing and lighting, let's talk about adding some personality to your "gender reveal photography with flash". Poses can make or break a photo, so let's get creative. You've got the classic reaction shot, where the parents-to-be are genuinely surprised and overjoyed—a must-have. But, don't stop there! Think about a spin, where they twirl around as the smoke or confetti goes off, capturing the motion and excitement. Or, how about a silhouette against the flash, creating a dramatic and artistic effect? And, remember to capture those candid moments too. The laughter, the hugs, the tears of joy—those are the details that make the photos truly special. Don't be afraid to experiment, have fun, and encourage everyone to let their personalities shine.
- The Classic Reaction: Capture the pure joy and surprise on the parents' faces as they see the reveal.
- The Spin: Add movement and excitement with a twirling pose amidst the reveal.
- The Silhouette: Create a dramatic and artistic effect by posing against the flash.
- Candid Moments: Capture the laughter, hugs, and tears of joy shared with family and friends.
Now, let’s not forget the little details that can really elevate your "gender reveal photography with flash". Think about the setup itself – the cute decorations, the themed props, the tiny shoes or onesies that hint at the baby's gender. Capture those elements before the big reveal, as they add context and tell a story. And, don’t forget to get some close-ups of the smoke or confetti, the way it swirls and catches the light. These details might seem small, but they contribute to the overall feel and make your photos more engaging. They’re like the little Easter eggs in a movie that make you want to watch it again. And, when you're editing, don't overlook the power of color correction to enhance those vibrant pinks and blues, or the subtle tones of the scene.
Camera Settings and Safety for Flash Photography

Camera Settings and Safety for Flash Photography
Okay, let's get technical for a moment, but don't worry, it's not rocket science. When you're doing "gender reveal photography with flash," your camera settings are your secret weapon. You need a fast shutter speed, something like 1/200th of a second or faster. This helps freeze the action, especially if you're capturing smoke or confetti flying through the air. A wide aperture, like f/2.8 or f/4, will let in more light and create that nice blurry background, making your subject pop. Don't be afraid to bump up your ISO if needed, but keep it as low as possible to avoid grainy images. And, of course, shoot in RAW format if you can. This gives you more flexibility when editing. Think of your camera settings as the recipe for a perfect dish—get them just right, and you'll be amazed at the results. And, remember, every camera is different, so experiment and find what works best for your gear.
Now, let’s talk safety, because having a perfect photo isn’t worth risking anyone's well-being. When using smoke bombs, always make sure you’re outdoors, in a well-ventilated area, and that everyone is at a safe distance. Read the instructions carefully, and never let kids handle them. And, be aware of your surroundings; dry grass or leaves can be a fire hazard. If you're using confetti cannons, make sure to aim them away from people's faces and eyes. And, when using flash, be mindful of not overexposing your subjects, or making it too harsh for someone's eyes. It's always a good idea to have a first-aid kit nearby, just in case. Remember, safety first always, then the perfect photo. No photo is worth an injury. So, be smart, be prepared, and have a safe and fun reveal.
Setting | Why it's Important | Recommended Value |
|---|---|---|
Shutter Speed | Freezes motion | 1/200th second or faster |
Aperture | Controls depth of field and light | f/2.8 - f/4 |
ISO | Sensitivity to light | Keep as low as possible, adjust when needed |
File Format | Flexibility in editing | RAW |