Table of Contents
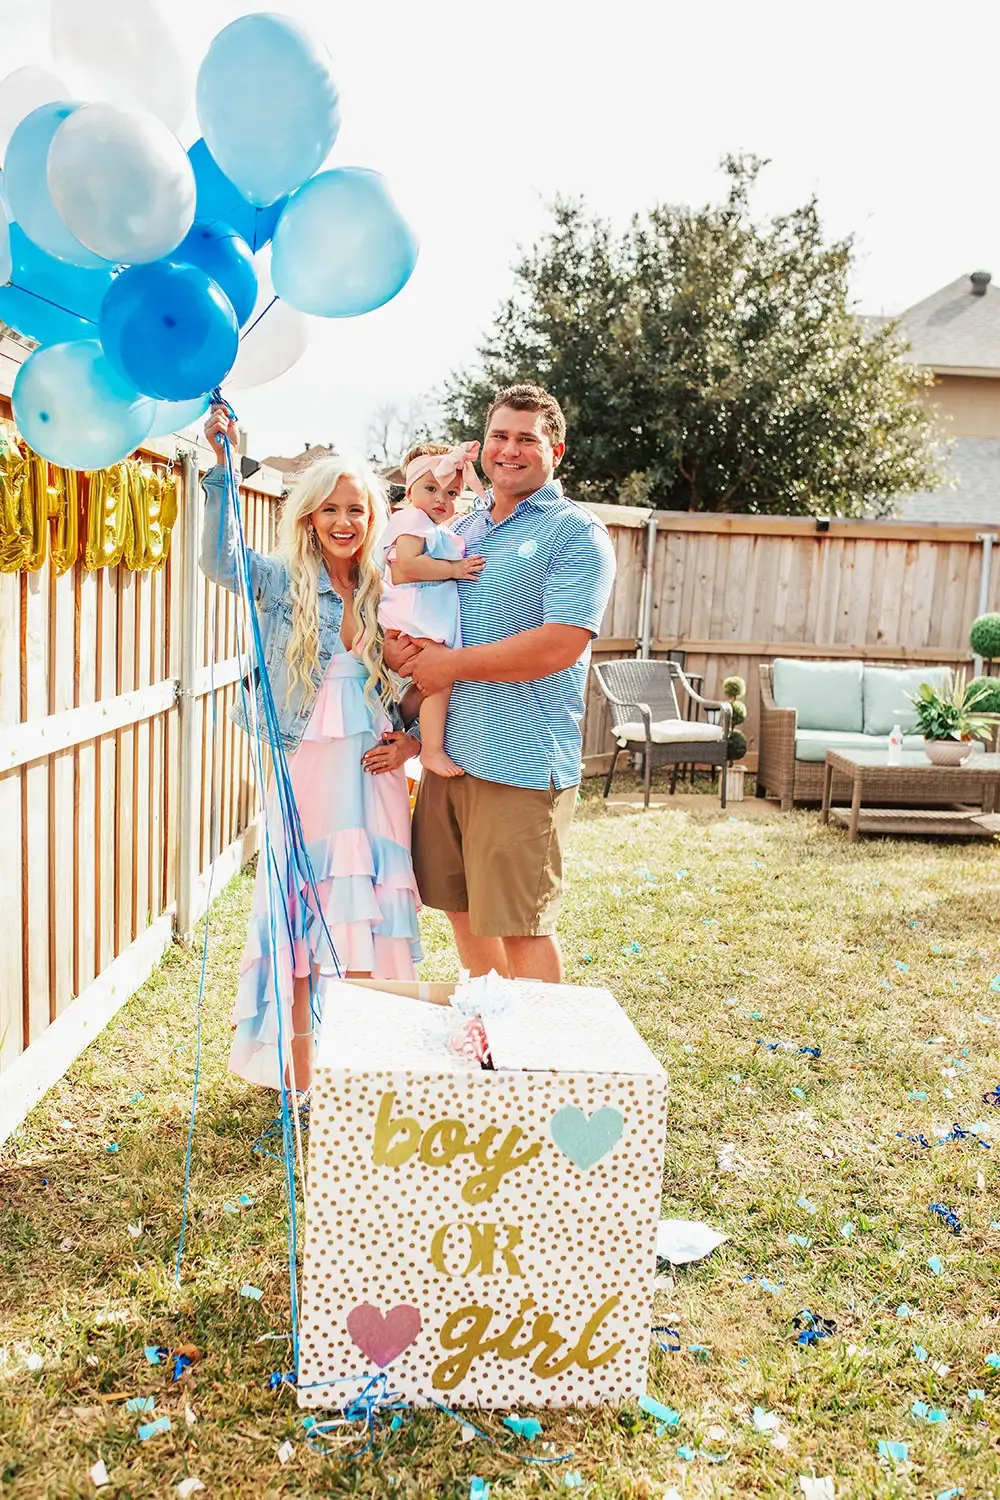
So, you've got the big secret tucked away, the tiny heartbeat's assigned color waiting for its grand debut. The gender reveal box isn't just a cardboard container; it's the vessel for that moment everyone's buzzing about. You could just use a plain box, sure, but where's the fun in that? The reveal itself lasts seconds, maybe a minute if the confetti is stubborn. But the box? That's the visual anchor, sitting there, building anticipation. Getting it right means making that photo op pop, giving folks something pretty to look at before the blue or pink explosion. This isn't about crafting a museum piece, it's about adding personality without adding stress. If you're wondering exactly how to decorate a gender reveal box to make it memorable without requiring a fine arts degree or a week off work, you're in the right place. We'll walk through simple, effective ways to turn that plain box into a highlight reel star, covering everything from basic paint jobs to adding those little touches that make it uniquely yours. Forget Pinterest fails; we're aiming for easy wins.
Why Decorate Your Gender Reveal Box? Getting Started
Why Decorate Your Gender Reveal Box? Getting Started
More Than Just Cardboard: Making the Moment Shine
Look, a plain brown box works. It holds the goods, right? But think about the pictures, the videos, the moment everyone gathers around. That box is going to be front and center. It's the visual cue that something big is about to happen. Decorating it isn't just busywork; it's about building the anticipation, adding to the spectacle. It sets the mood. A little effort here turns a functional item into a centerpiece for a really special memory. It shows you put thought into it, making the reveal feel even more personal and celebratory. Why decorate your gender reveal box? Because the memory deserves a little sparkle.
So Where Do We Even Begin?
Alright, you're convinced. Let's make this box look good. First things first, you need a box. A sturdy cardboard one works best. Think about the size – big enough to hold whatever you're putting inside (balloons, confetti, etc.) but not so massive you can't manage it. Don't overthink it initially. Just grab a basic box. Next, you need a rough idea of what you want it to look like. Simple? Elaborate? Does it match a theme for the party? Just a quick brainstorm. This isn't about locking in every detail, just getting a direction before you start grabbing supplies. It's about having a plan, even a loose one, before you dive into paint or paper.
- Get a sturdy box (size matters for what goes inside).
- Pick a general vibe (simple, themed, colorful).
- Gather basic supplies (paint, paper, tape).
- Don't aim for perfection, aim for fun.
How to Decorate a Gender Reveal Box: DIY Methods
How to Decorate a Gender Reveal Box: DIY Methods
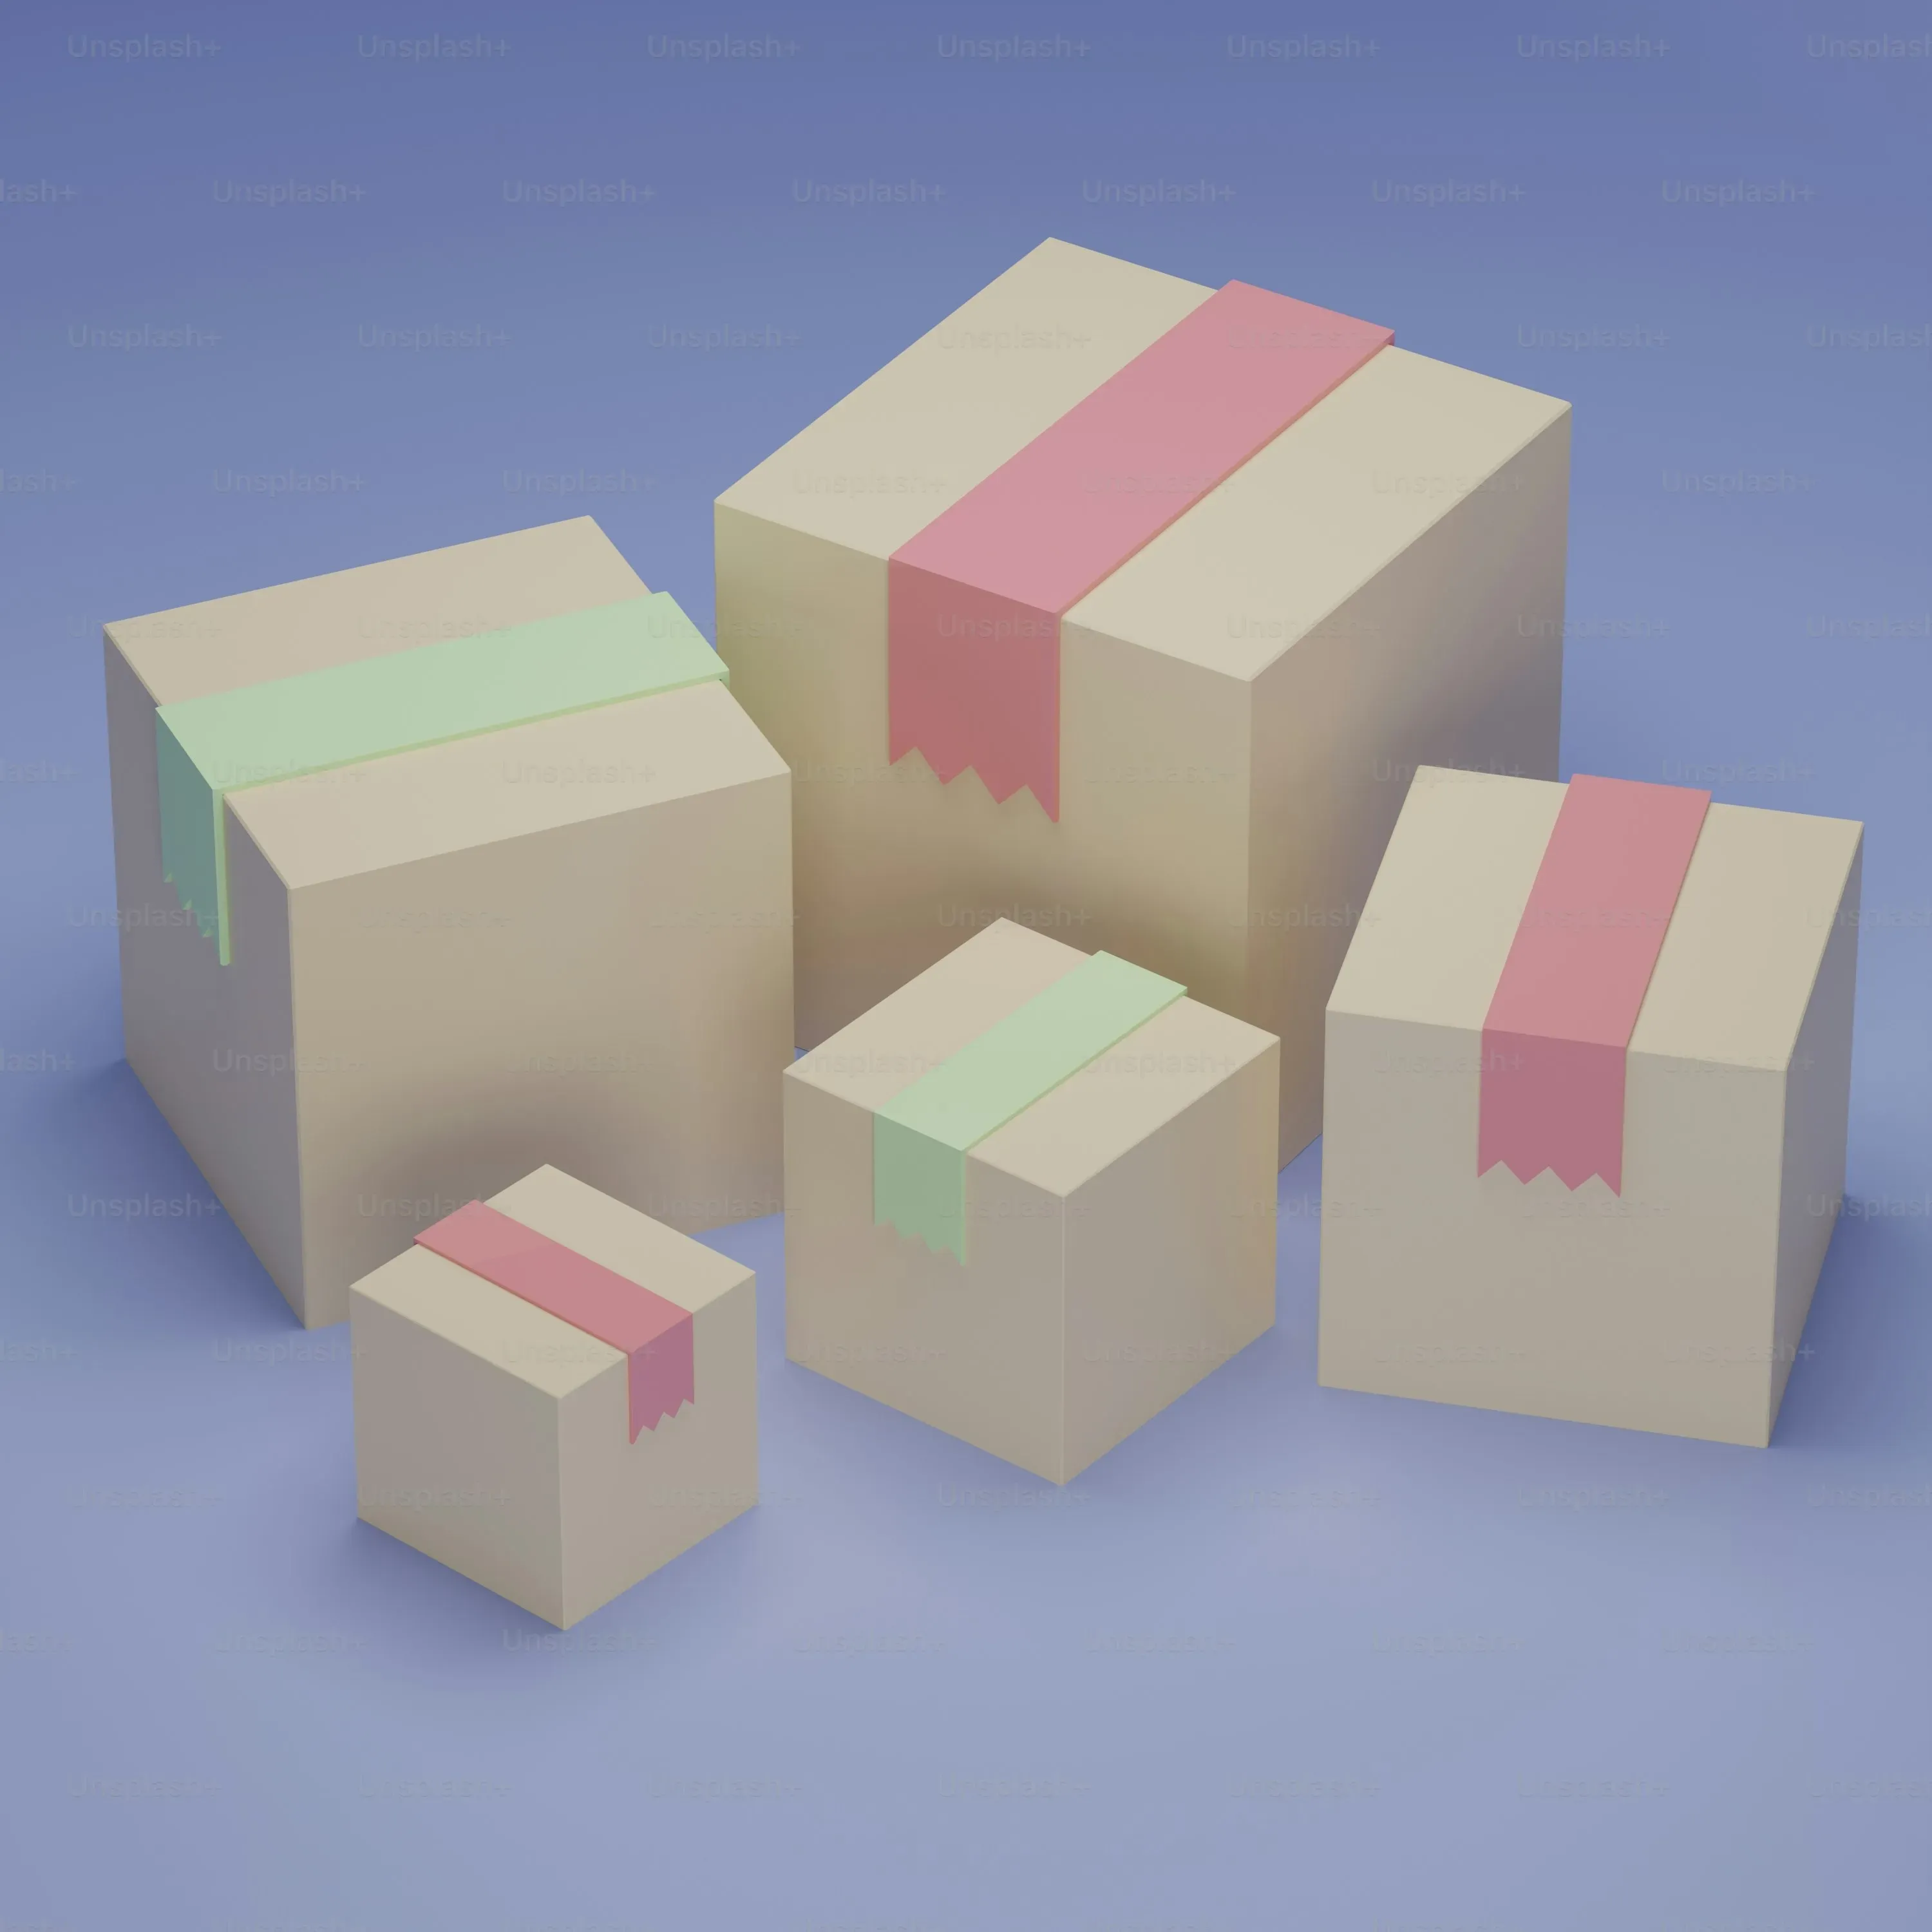
Painting and Wrapping: The Quick Wins
Alright, let's get our hands dirty, or at least covered in paint or tape. The simplest way to tackle how to decorate a gender reveal box is with a solid base color. Grab some acrylic paint – the kind meant for crafts works just fine. You can go classic white or maybe a soft pastel that hints at the mystery inside without giving it away. Paint the whole box, inside and out if you're feeling ambitious, or just the outside if you're short on time (and who isn't?). Two coats usually does the trick to get good coverage over that brown cardboard. Let it dry completely. If painting feels like too much work or you're worried about drips, wrapping paper is your friend. Pick a fun pattern or a solid color and treat the box like a giant present. Use strong tape to keep everything smooth and secure. Either method gives you a clean canvas to work on or can be the finished look itself.
Adding Layers: Stencils and Fabric Fun
Once you have that base layer sorted, you can stop there, or you can add some flair. This is where you really start to personalize how to decorate a gender reveal box. Stencils are ridiculously easy and make you look way more artistic than you might be. You can find letter stencils to write "Boy or Girl?" or cute patterns like hearts or stars. Just position the stencil, dab paint lightly with a sponge or brush, and lift carefully. Boom, instant design. Another tactile option is fabric. You can glue pieces of fabric onto the box for texture and color. Burlap gives a rustic feel, while satin ribbon adds a touch of elegance. Don't be afraid to mix and match materials. A painted box with a ribbon tied around it is simple but effective. A wrapped box with stenciled text looks polished. It’s about finding what works for your style and skill level.
Quick DIY Supply Checklist:
- Cardboard Box (sturdy!)
- Acrylic Paint or Wrapping Paper
- Paint Brushes or Strong Tape
- Stencils (optional)
- Craft Glue
- Ribbon, Fabric Scraps (optional)
- Scissors or Craft Knife
Beyond the Box: Adding Thematic Touches and Personal Flair
Beyond the Box: Adding Thematic Touches and Personal Flair
Making it Yours: Themes and Personal Details
the box has a base color or wrapping. Now, let's make it *mean* something beyond just holding secrets. This is where you tie it into your life, your personality, or maybe even the nursery theme you've secretly been pinning. Think about adding elements that reflect your journey. Did you meet traveling? Maybe tiny paper airplanes or maps. Are you huge book lovers? Glue on some old book pages or cut out letters from a favorite title. It doesn't have to be complicated. Stickers are your best friend here – find some that match your vibe, whether it's woodland creatures, outer space, or just cute little hearts and stars. You can also print photos of you and your partner and stick them on. It makes the box a mini-scrapbook of your anticipation, not just a generic prop. Adding these personal touches is how you elevate how to decorate a gender reveal box from generic craft project to a genuine memento.
Making the Moment Pop: Finalizing Your Gender Reveal Box
Making the Moment Pop: Finalizing Your Gender Reveal Box
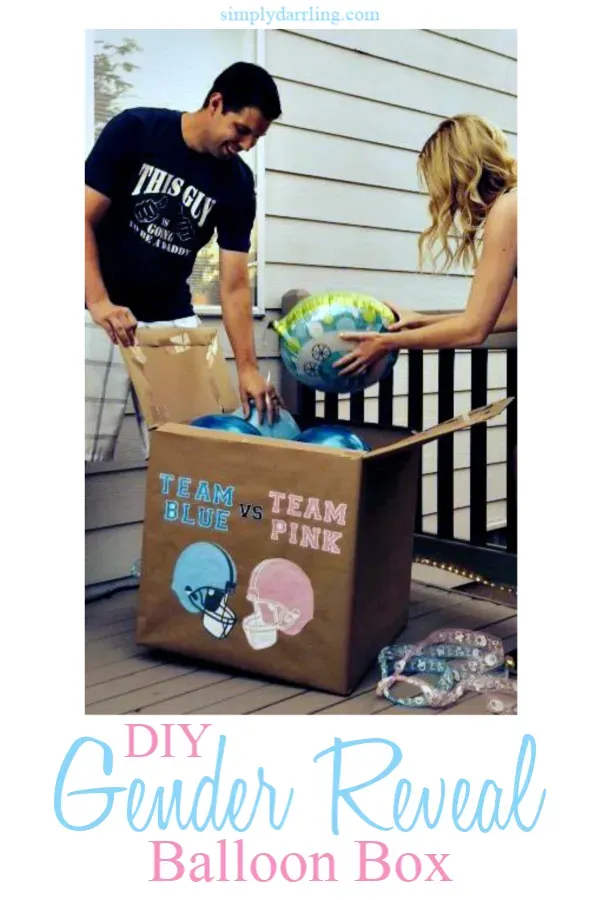
Filling the Box and Sealing the Deal
the box looks great on the outside. You've nailed the base, added some flair, maybe even stuck on embarrassing photos of the parents-to-be. Now comes the actual secret cargo. This is where the magic happens, or, you know, where the colored stuff goes. Whether you're using balloons filled with helium that float out, or confetti and streamers that tumble down, make sure it's securely packed but also easy to release. For balloons, tie them to a weight at the bottom so they don't fly out the second you open the top flap prematurely. For confetti, fill generously – nobody ever complained about too much confetti. Once the goods are in, you need to seal the box. Don't tape it shut permanently; you need to open it! Use something like velcro dots, a simple latch, or just tuck the flaps in securely so they stay closed until the big moment but aren't a struggle to open under pressure. Testing this before the crowd gathers is non-negotiable. A box that won't open defeats the entire purpose of learning how to decorate a gender reveal box.
Adding the Final Flourishes and Checking the Mechanism
With the secret tucked away and the box sealed just right, it's time for those absolute final touches. Did you add a big bow on top? Maybe some extra ribbon trailing down the sides? This is your last chance to make it visually stunning before the reveal. Think about how the box will look from different angles as people watch. Ensure any added decorations won't interfere with the opening mechanism. If you're using balloons, double-check the weight holds them down but isn't so heavy it makes the box impossible to lift. If it's confetti, make sure the top flaps are loose enough to spring open easily. The last thing you want is a beautifully decorated box that refuses to reveal its secret. A quick, discreet test run of the opening mechanism is crucial. Just mimic the motion without actually releasing the contents. This final check ensures all your hard work on how to decorate a gender reveal box pays off in a smooth, dramatic reveal.
Before the big moment, ask yourself:
- Is the box sealed securely but still easy to open?
- Are the reveal contents packed correctly (weighted balloons, loose confetti)?
- Will any exterior decorations snag during the reveal?
- Have you tested the opening motion?
Making Your Gender Reveal Box Pop
Decorating your gender reveal box isn't about winning a crafting competition; it's about adding a layer of anticipation and visual interest to a moment that, frankly, is over in a flash. A little paint, some ribbon, maybe a few strategically placed letters – these simple steps transform a basic container into a focal point. It’s the backdrop for those photos everyone will share. The effort, minimal as it might be, shows you put thought into the reveal beyond just buying the confetti cannon. The box holds the secret, and making it look the part just makes the big reveal feel a bit more, well, official. So go ahead, give that box some character. It’s worth it for the pictures alone.