Table of Contents
Expecting a little one and ready to share the joy? Gender reveal parties are all the rage, and what better way to announce the big news than with a cake? But who says you need a massive, over-the-top creation? Let's talk small gender reveal cake ideas! These bite-sized beauties are perfect for intimate gatherings, budget-friendly celebrations, or simply because you don't want a ton of leftover cake tempting you for days. This article will guide you through creating the perfect small gender reveal cake, from baking moist and flavorful layers to achieving that stunning reveal moment. We'll cover everything from basic cake batter recipes and dyeing techniques (including natural options!) to assembling and frosting your masterpiece. Plus, we'll show you how to adjust the recipe for a charming 6-inch cake. Get ready to dive into a world of sweet surprises and create a memorable treat that will have everyone guessing – is it a boy or a girl? Let's get baking!
Baking the Perfect Small Gender Reveal Cake: Key Ingredients and Prep
Baking the Perfect Small Gender Reveal Cake: Key Ingredients and Prep
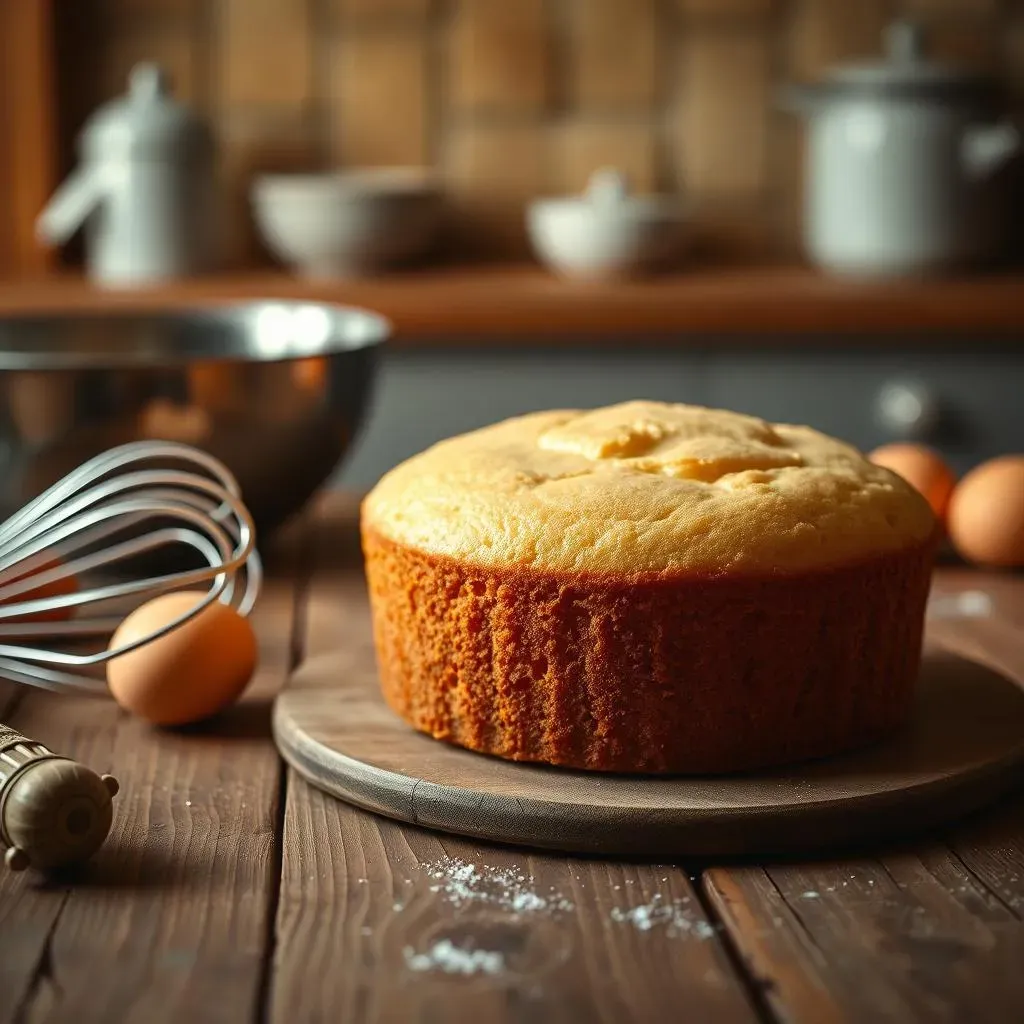
Alright, let's get down to the nitty-gritty of baking that perfect small gender reveal cake! First things first, you've gotta nail the base. I'm talking about a moist, tender vanilla cake that practically melts in your mouth. For this, you'll need your usual suspects: all-purpose flour, sugar, baking powder, salt, eggs, milk (or buttermilk for extra richness!), vanilla extract, and of course, butter. Make sure your butter and eggs are at room temperature – this is crucial for a smooth batter and even baking. Trust me, it makes a world of difference. And don't skimp on the vanilla! A good quality extract will elevate the flavor and make your cake sing. Now, before you even think about preheating that oven, gather all your ingredients and measure them out precisely. Baking is a science, after all!
Dyeing Cake Batter for a Stunning Gender Reveal: Ombre and Natural Options
Dyeing Cake Batter for a Stunning Gender Reveal: Ombre and Natural Options
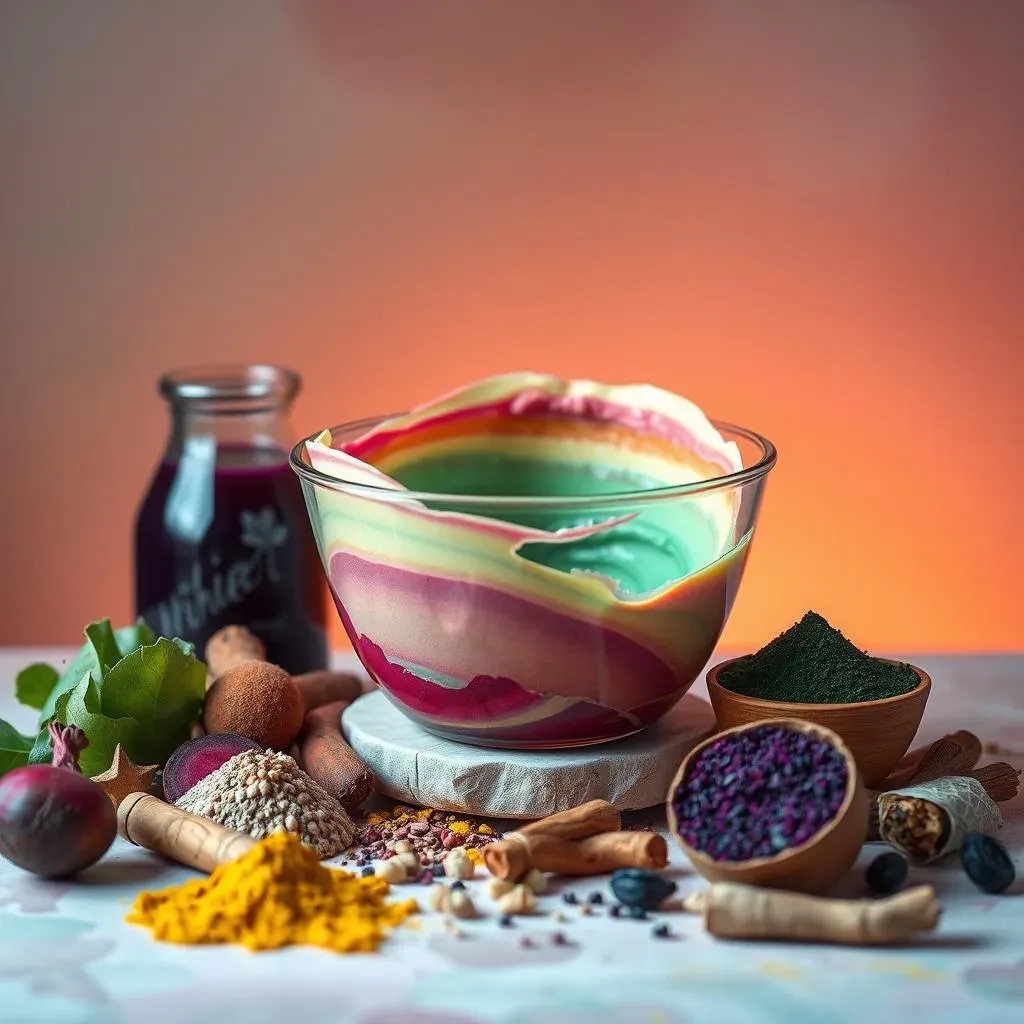
now for the fun part: dyeing the batter! This is where the magic happens and you create that "wow" moment. For a classic gender reveal, you'll want either pink or blue food coloring. Gel food coloring is your best bet – it's more concentrated, so you won't need as much, and it won't thin out your batter. Now, if you're feeling fancy (and who isn't?), let's talk ombre. Divide your batter into three bowls. In the first, add a generous amount of food coloring for a deep, vibrant shade. In the second, use a smaller amount for a lighter hue. And in the third, add just a tiny drop for the palest shade. This will give you that beautiful gradient effect when you stack the cake layers. But wait, there's more! If you're looking for a more natural approach, you can totally ditch the artificial dyes and use plant-based alternatives.
Think beet juice for pink, spirulina for blue-green (it bakes up more blue, trust me), or turmeric for a golden hue that can lean towards yellow for a non-binary reveal. The key with natural dyes is that the colors might not be as vibrant as artificial ones, so you might need to experiment a bit to get the shade you want. Also, some natural dyes can subtly alter the flavor of the cake, so keep that in mind. For example, beet juice can add a slightly earthy note. But hey, a little bit of earthy flavor never hurt anyone, right? Just make sure to taste your batter as you go and adjust accordingly.
Dye Type | Color | Source | Notes |
|---|---|---|---|
Gel Food Coloring | Pink/Blue | Artificial | Vibrant, easy to use |
Beet Juice | Pink | Natural | Earthy flavor, less vibrant |
Spirulina | Blue | Natural | Can affect taste, less vibrant |
No matter which dyeing method you choose, remember to gently fold the color into the batter until it's just combined. Overmixing can develop the gluten in the flour, resulting in a tough cake – and nobody wants that! So, take your time, be gentle, and let those colors shine!
StepbyStep Guide: Assembling and Frosting Your Small Gender Reveal Cake
StepbyStep Guide: Assembling and Frosting Your Small Gender Reveal Cake
Leveling and Layering Like a Pro
Alright, your cake layers are baked and cooled – now comes the fun part! But before you start slathering on that frosting, take a peek at your layers. Are they perfectly flat? If not, don't panic! Grab a serrated knife and gently trim off any domes. You want those layers nice and even so your cake doesn't end up looking like the Leaning Tower of Pisa. Now, place one layer on your serving plate or cake stand. If you're worried about it sliding around, add a dab of frosting to the plate first – it'll act like glue. Next, spread a generous layer of frosting on top of the first cake layer. I'm talking a good half-inch thick! This is what's going to hold everything together and add that extra bit of sweetness. Carefully place the second layer on top of the frosting, pressing down gently to secure it. Repeat with the final layer, and you're ready for the crumb coat!
The Crumb Coat: Your Secret Weapon
The crumb coat is basically a thin layer of frosting that seals in all those pesky crumbs. Trust me, you don't want crumbs getting into your final layer of frosting – it's a total buzzkill. So, using an offset spatula, spread a thin layer of frosting all over the cake, making sure to cover every nook and cranny. Don't worry about making it perfect – this is just a base layer. Once you've got the whole cake covered, pop it in the fridge for about 30 minutes to let the crumb coat set. This will make frosting the final layer so much easier!
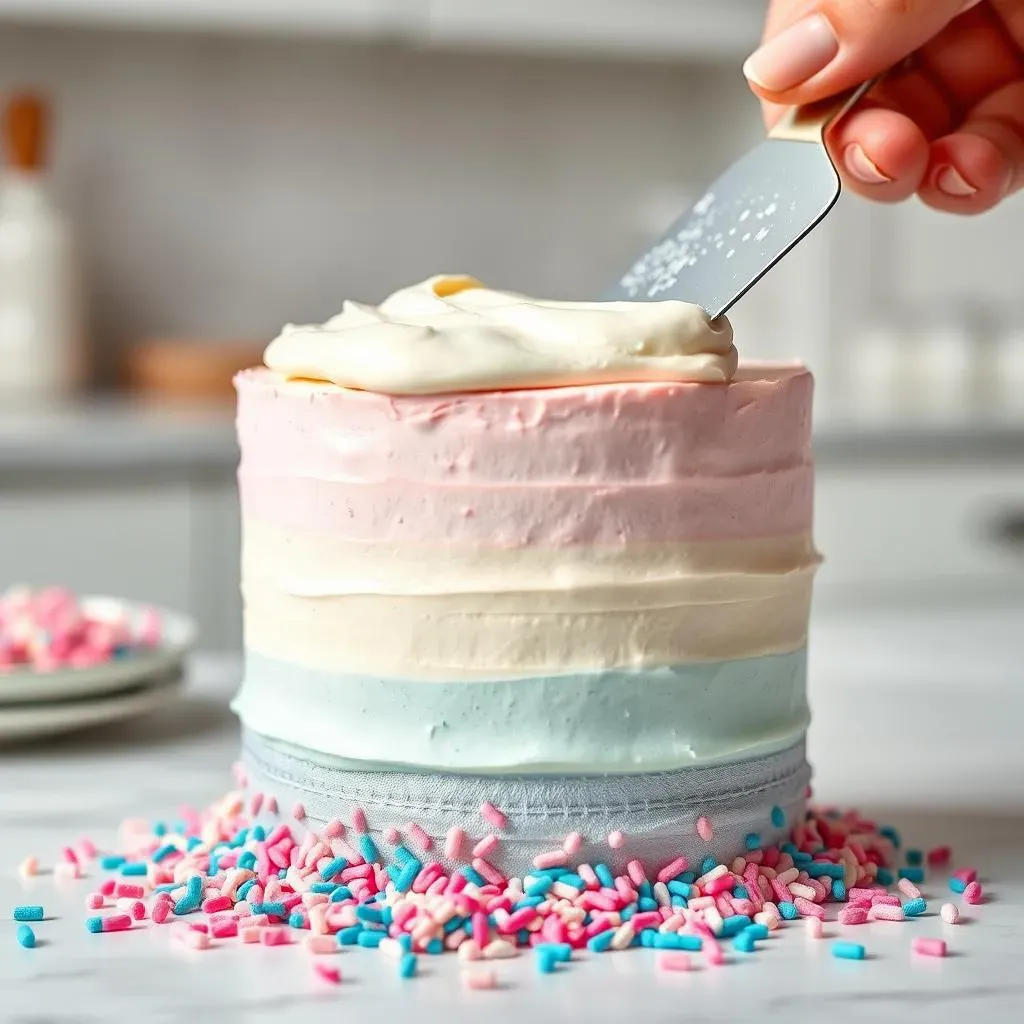
Final Frosting and Decorations: The Grand Finale
Now for the pièce de résistance: the final layer of frosting! Take your cake out of the fridge and get ready to transform it into a work of art. Using your offset spatula, apply a generous layer of frosting all over the cake, smoothing it out as you go. You can go for a classic smooth finish, or get creative with swirls, textures, or even a drip effect. The possibilities are endless! Once you're happy with the frosting, it's time to add the decorations. This is where you can really let your personality shine! Think sprinkles, edible glitter, fondant decorations, or even fresh flowers. For a gender reveal cake, you could add pink or blue sprinkles around the base, or create a question mark design on top. And of course, don't forget the big reveal element – whether it's hidden candies inside or a frosting color surprise, make sure it's the star of the show!
Here's a little table for inspiration:
Decoration Idea | Description | Perfect For |
|---|---|---|
Sprinkles | Pink and blue mix around the base | Classic, fun reveal |
Fondant Question Marks | Adorn the top with playful question marks | Adds a whimsical touch |
Edible Glitter | Subtle shimmer for an elegant look | Sophisticated celebrations |
Adapting the Recipe: Making a 6Inch Small Gender Reveal Cake
Adapting the Recipe: Making a 6Inch Small Gender Reveal Cake
Scaling Down: The 6-Inch Secret
so you're thinking a 6-inch cake is the way to go? Smart choice! It's adorable, easy to manage, and perfect for smaller gatherings. But how do you adapt the recipe without ending up with a cake that's either too dense or too dry? The golden rule is to halve everything. Seriously, every single ingredient. If the original recipe calls for 2 cups of flour, use 1 cup. If it calls for 4 eggs, use 2. You get the idea. This will ensure that your cake layers bake properly and have the right texture. Also, keep a close eye on the baking time. A smaller cake will bake faster, so start checking for doneness around 20 minutes. You'll know it's ready when a toothpick inserted into the center comes out clean.
Here's a quick cheat sheet:
- Halve all ingredients: Flour, sugar, butter, eggs, milk – everything!
- Reduce baking time: Start checking at 20 minutes.
- Use 6-inch cake pans: This might seem obvious, but it's worth mentioning!
Baking and Adjusting for Perfection
Now, even with perfectly halved ingredients, your baking time might still need a little tweaking. Every oven is different, so it's important to pay attention to your cake. If it starts to brown too quickly on top, you can tent it with foil to prevent it from burning. Also, don't be afraid to experiment with different oven temperatures. Sometimes lowering the temperature by 25 degrees can help the cake bake more evenly. And remember, patience is key! Don't open the oven door too often, or you'll let out all the heat and your cake might sink. Once your cake is baked, let it cool in the pans for about 10 minutes before inverting it onto a wire rack to cool completely. This will prevent it from sticking to the pans and ensure that it stays nice and moist.
Creative Small Gender Reveal Cake Ideas: Decorations and Surprise Elements

Creative Small Gender Reveal Cake Ideas: Decorations and Surprise Elements
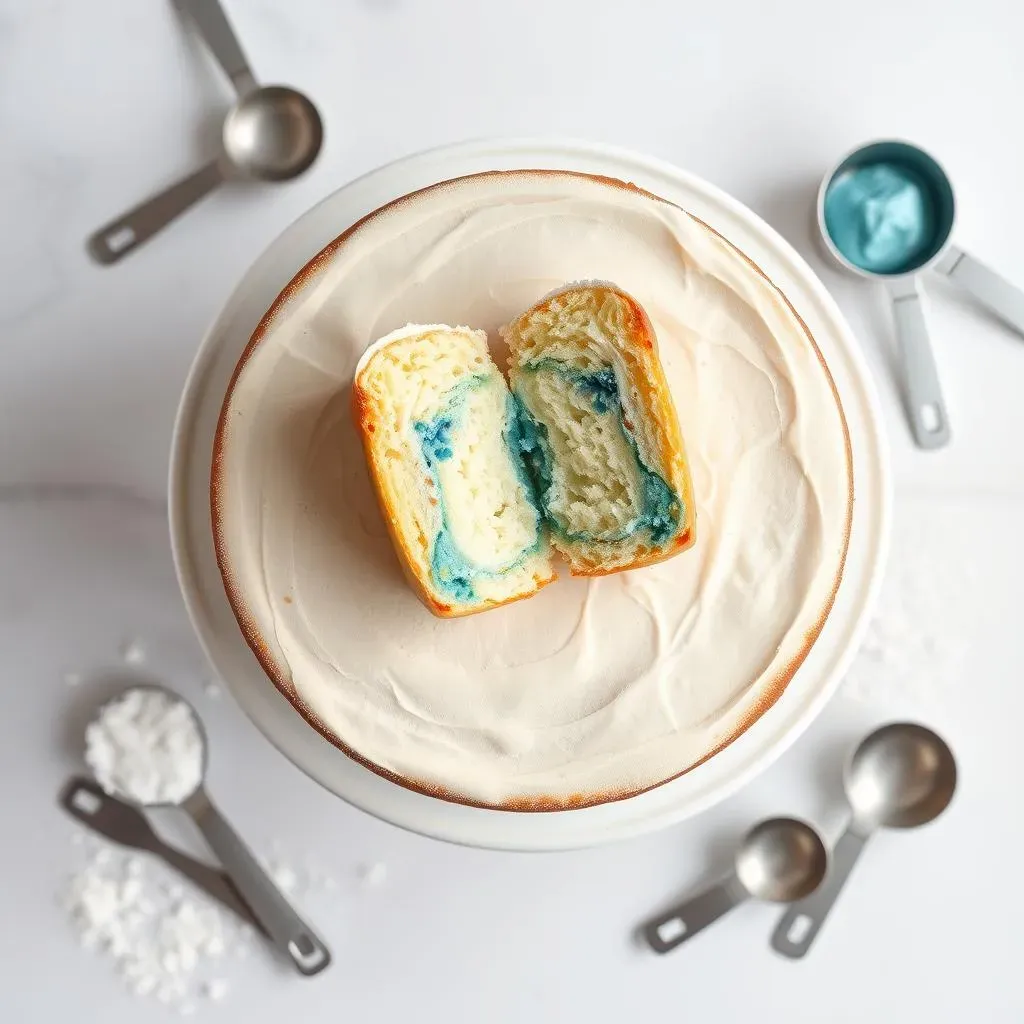
Hidden Treasures: The Inside Scoop
Alright, let's get to the heart of the reveal – what's hiding inside that cake? Forget boring old frosting; we're talking about elements of surprise! One classic idea is filling the center with pink or blue candies or sprinkles. When you cut into the cake, they spill out, creating a delightful cascade of color. But why stop there? Get creative! Think mini chocolate chips, colored popcorn, or even small edible glitter for an extra touch of sparkle. You can also hollow out the center and fill it with a mousse or pudding in the appropriate color. Just make sure whatever you choose is small enough to create a good visual effect without making the cake too unstable. It's all about that "wow" moment!
Here are some ideas:
- Sprinkles: Classic and colorful.
- Mini Chocolate Chips: Adds a touch of chocolatey goodness.
- Colored Popcorn: Unexpected and fun.
- Edible Glitter: For a touch of sparkle and glam.
Exterior Extravaganza: Decorations That Wow
The outside of your cake is just as important as the inside! This is your chance to tease the reveal and build anticipation. Think beyond basic frosting – let's get creative with decorations! One popular option is using a neutral-colored frosting (like white or vanilla) and then adding pink and blue accents. You could do a half-and-half design, ombre effect, or even a simple border of sprinkles. Another fun idea is using fondant to create cute shapes like baby booties, rattles, or question marks. You can also use edible markers to write a message like "He or She?" or "Boy or Girl?" And if you're feeling really ambitious, you could try creating a drip cake with pink or blue ganache dripping down the sides. The key is to make it visually appealing and hint at the surprise to come!
Going the Extra Mile: Unique and Unforgettable Touches
Want to really take your small gender reveal cake to the next level? Think about adding some unique and unforgettable touches that will make it truly special. One idea is incorporating a cake topper that reflects the parents' personalities or hobbies. For example, if they love hiking, you could use a miniature mountain range as a topper. Or if they're into gaming, you could use pixelated fondant decorations. Another fun idea is creating a "scratch-off" cake. Cover the frosting with a layer of edible silver or gold paint and then provide a small tool for guests to scratch off and reveal the color underneath. And if you're feeling extra generous, you could include small favors or gifts for each guest to take home. It's all about creating an experience that they'll never forget!
Here's a table with some unique ideas:
Idea | Description | Why it's Special |
|---|---|---|
Personalized Cake Topper | Reflects the parents' hobbies | Adds a personal touch |
"Scratch-Off" Cake | Guests scratch to reveal the color | Interactive and fun |
Small Favors | Gifts for each guest | Creates a lasting memory |
Sweet Endings: Celebrating with Small Gender Reveal Cake Ideas
So, you've mastered the art of the small gender reveal cake! From mixing the batter to that final, thrilling slice, you're now equipped to create a memorable and delicious surprise. Whether you opted for a classic pink or blue filling, a vibrant ombre effect, or a creative decorative touch, your cake is sure to be a hit. Remember, the most important ingredient is the love and excitement you pour into it. Happy baking, and congratulations on your upcoming arrival!